
Finishing vehicle roof channels and trunk floor seams requires flawless cosmetic smoothness. Applying standard non-sag sealers leaves tooling marks and uneven ridges that show through glossy topcoats, ruining factory appearance.
Automotive assembly plants and restoration shops rely on self leveling seam sealer to eliminate manual scraping. This specialized material flows under gravity, filling recessed spot-welded recesses before self-leveling into a glass-flat finish.
Improper dispensing techniques cause edge sagging, trapped bubbles, or solvent pop during paint baking. This standard operating procedure outlines rheological viscosity limits, masking protocols, and curing controls for horizontal vehicle joints.
Key Takeaways: Self-Leveling Sealer Application Protocols
- Controlled Rheology: Formulated with Newtonian low-shear viscosity, allowing material to self-level within 10 to 15 minutes before skinning begins.
- Zero-Tooling Requirement: Eliminates manual spreading, spatula marks, and sanding along roof ditches and spare tire wells.
- Slope Limits: Restricted to horizontal joints and shallow recesses with pitch angles below 5 degrees to prevent gravity flow displacement.
- Paint Window: Compatible with wet-on-wet automotive basecoats after 30 minutes of surface skin formation.
- Bubble Prevention: Eliminates entrapped air through gradual upward self-degassing, preventing solvent pop in paint bake ovens.
Rheology and Flow Dynamics of Self-Leveling Formulations
Standard seam sealers feature high thixotropy, staying in place on vertical quarter panels without sagging. In contrast, self leveling seam sealer features reduced low-shear yield stress.
Once dispensed from the nozzle, gravity flattens the extruded bead across the joint trough. The material fills micro-crevices around resistance weld nuggets, eliminating air pockets that harbor moisture.
Viscosity Benchmarks and Surface Tension
Viscosity testing under ASTM C639 confirms balanced horizontal flow. High-performance formulations maintain a dynamic viscosity between 25,000 and 45,000 mPa·s at 20°C.
This viscosity range balances rapid puddle leveling against uncontrolled capillary creep. The material wets electro-coated steel and cured epoxy primers evenly, stopping at masked tape boundaries without spilling over.
Polymer chemists optimize surface wetting energy through non-reactive organosilane surfactants. High wetting ensures that the fluid creeps into microscopic laser braze pores, displacing trapped air before crosslinking initiates.
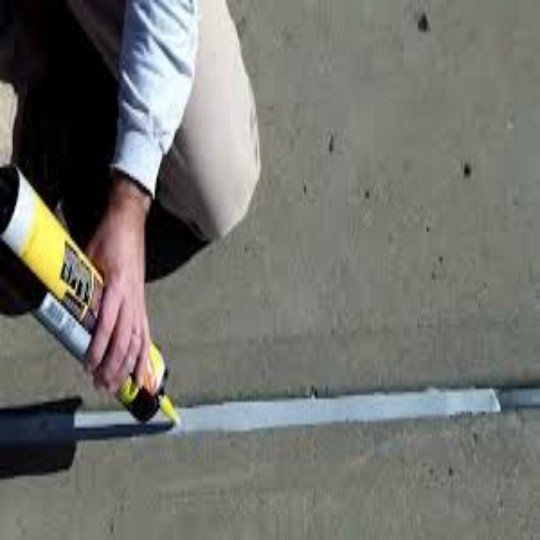
Figure 1: Demonstration of liquid self-leveling polymer flowing into horizontal joint channels to form an automated glass-smooth surface.
Self-Leveling vs Non-Sag Sealer Specification Matrix
Body engineers must evaluate joint orientation before specifying material grades. The following parameters highlight key performance differences between self-leveling and non-sag automotive sealers.
| Technical Metric | Self-Leveling Sealer | Standard Non-Sag Sealer | Standard Test |
|---|---|---|---|
| Flowability Rating | Self-leveling under gravity | Thixotropic (Zero sag) | ASTM C639 |
| Permissible Slope Angle | 0 to 5 degrees max | 0 to 90 degrees (Vertical) | Workshop Incline Test |
| Tooling Requirement | Zero manual tooling | Spatula / Profiling blade | Application Manual |
| Skin Formation Time | 15 – 30 minutes | 25 – 45 minutes | ASTM C679 |
| Elongation at Break | 350% – 400% | 300% – 450% | DIN 53504 |
| Shore A Hardness | 35 – 45 | 40 – 55 | ASTM D2240 |
Critical Joint Incline Limits
Applying self-leveling sealants to inclined surfaces above 5 degrees causes gravitational pooling. The sealant slumps toward the lowest elevation, leaving thin starved margins at upper sections.
On curved roof arches or sloped trunk transitions, technicians must blend self-leveling materials with non-sag products. Understanding this flow boundary prevents costly masking leaks and run-out cleanup.
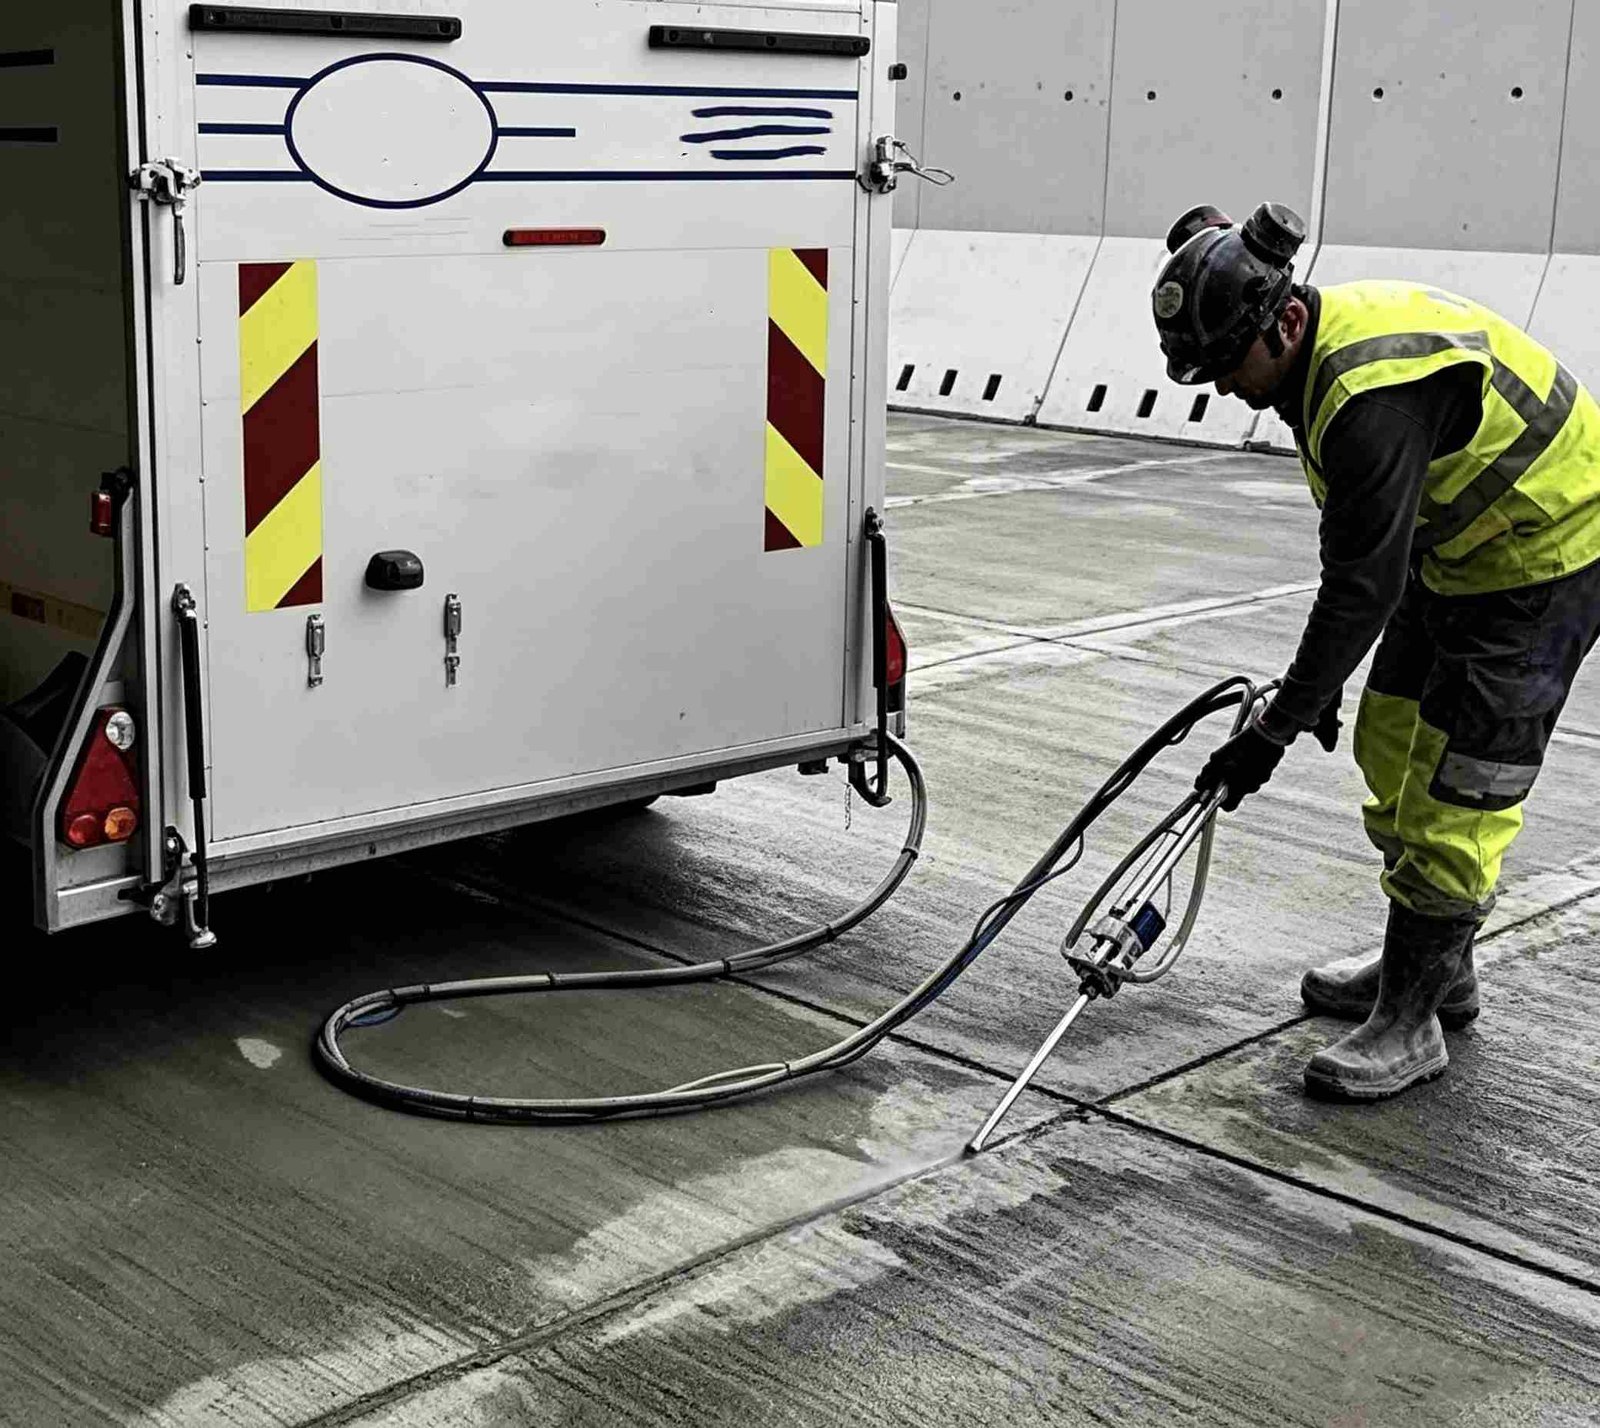
Figure 2: Precision horizontal joint sealing execution showcasing flat, gap-free polymer filling across wide linear recesses.
Step-by-Step SOP: Roof Ditch & Trunk Channel Sealing
Roof ditch channels combine laser-brazed and spot-welded steel seams. Technicians must follow a rigorous four-stage standard operating procedure to replicate OEM factory appearance.
Four-Stage Application Protocol
- Surface Preparation: Scuff the primed channel using P320 abrasive pads. Clean with virgin solvent degreaser and allow ten minutes of complete flash-off.
- Precision Masking: Apply premium fine-line masking tape along both channel edges, setting tape height 1 mm above desired final sealant elevation.
- Continuous Extrusion: Using a professional seam sealer gun, extrude a continuous bead along the channel centerline. Let the fluid settle into corner crevices naturally.
- Tape Removal Window: Strip masking tape away within 8 to 10 minutes of dispensing, pulling at a 45-degree angle before surface skinning occurs.
Trunk Channel and Spare Tire Well Sealing
Trunk drainage channels feature complex sheet metal stampings. A high-grade car body seam sealer with self-leveling capabilities fills stamping depressions without leaving spatula brush marks.
Technicians repairing rear collision damage consult our drip rail seam sealer guide to ensure water drainage paths remain unobstructed by excess sealant pooling.
Selecting an authentic self leveling seam sealer allows technicians to seal spare tire wells in under five minutes. The material creates a continuous protective barrier against road moisture and exhaust gas intrusion.
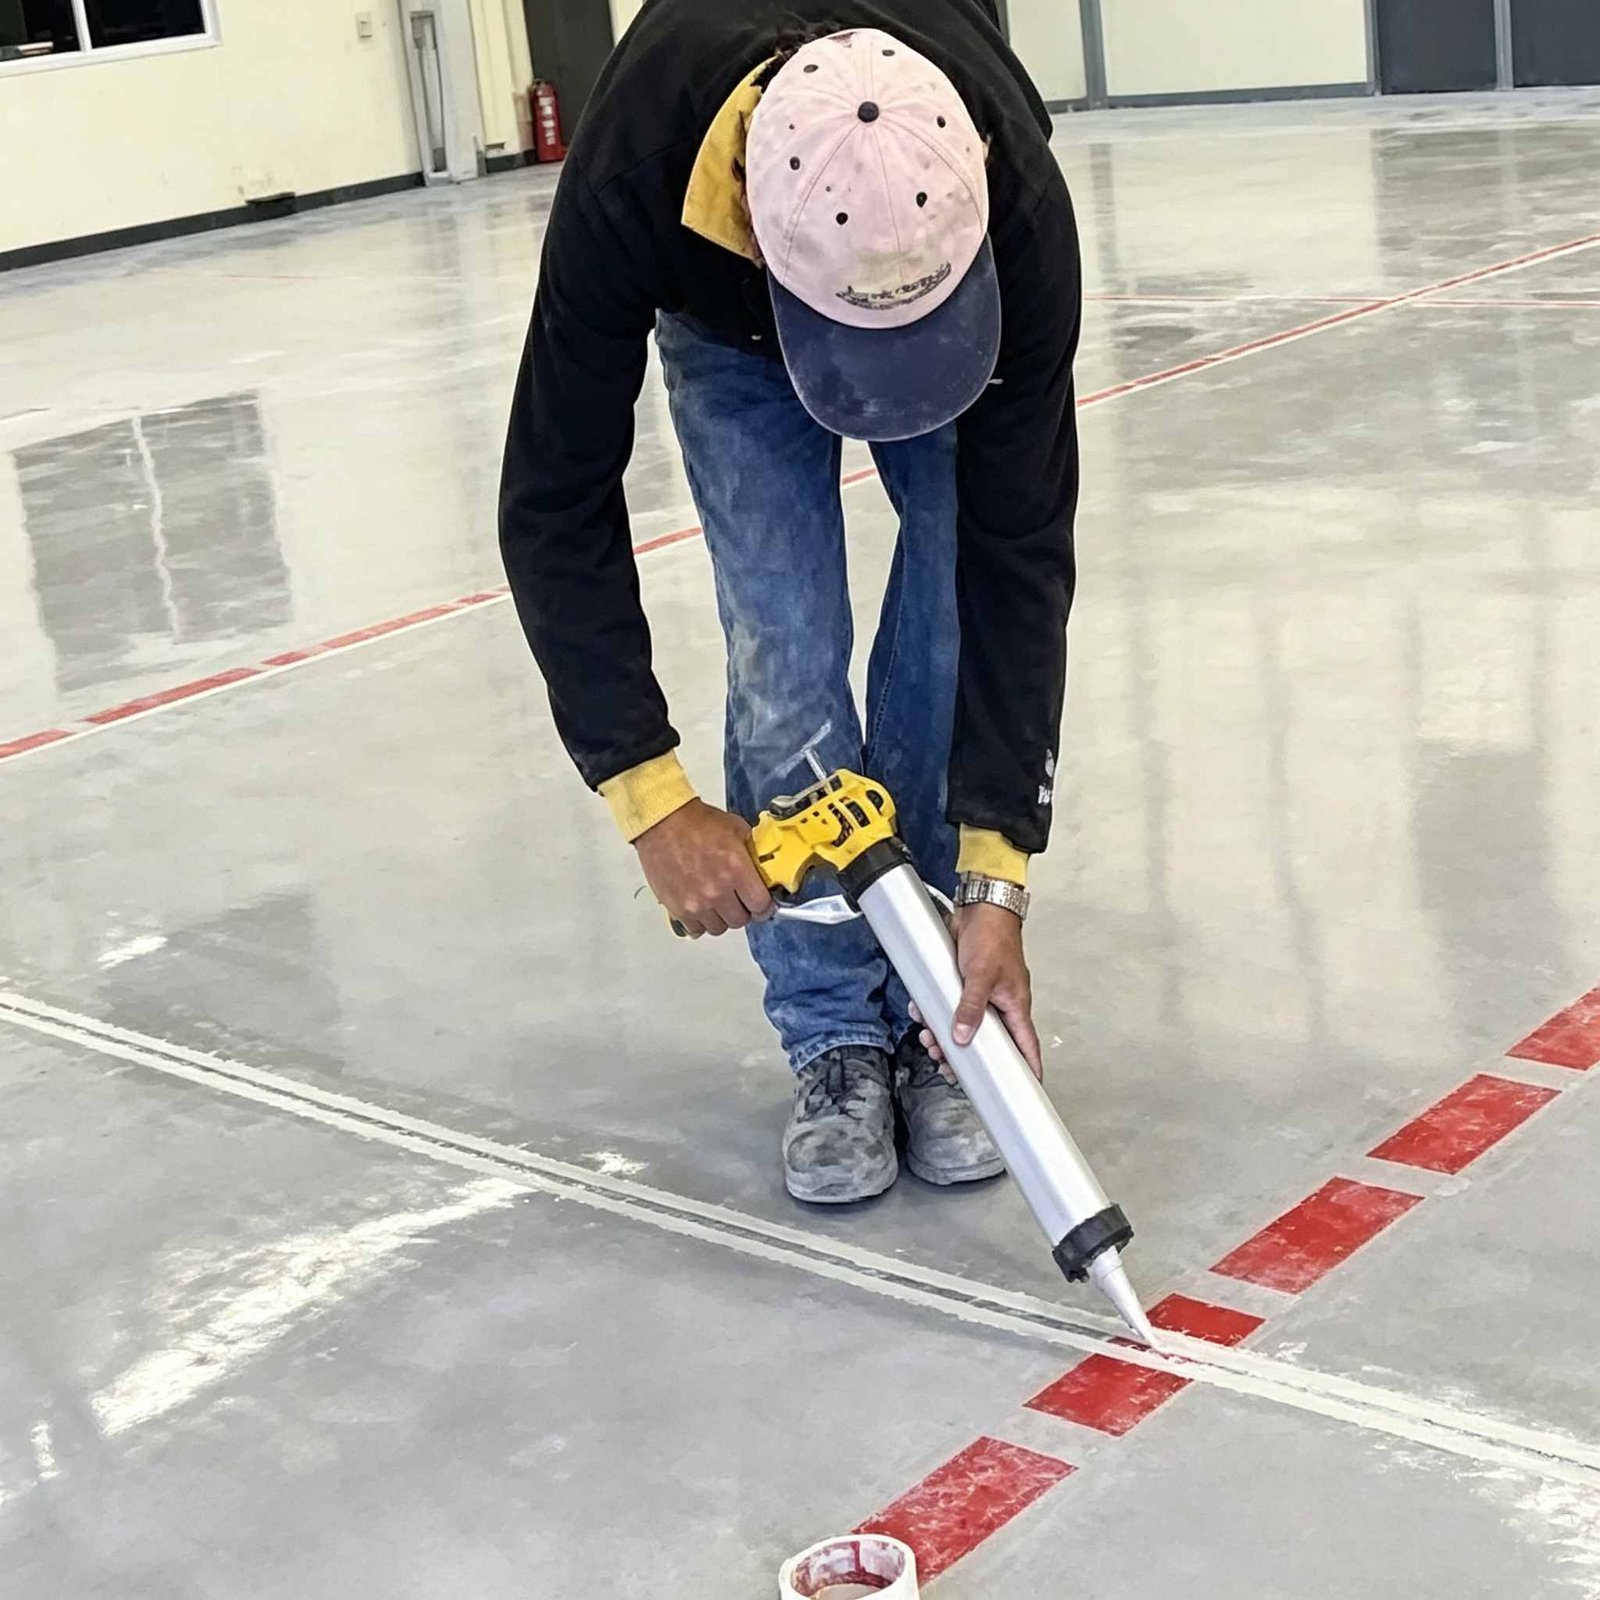
Figure 3: Industrial joint sealing showcasing fluid self-leveling polymer penetrating deep into narrow seam gaps without bridging.
Defect Troubleshooting: Eliminating Bubbles and Sink Marks
Surface defects in self-leveling sealants stem from dispensing mistakes and atmospheric imbalances. Eliminating air entrapment during initial cartridge purging prevents cosmetic rework.
Pumping the dispenser trigger erratically introduces air bubbles into the nozzle. Technicians must maintain constant gun speed and consistent nozzle angle, keeping the nozzle tip submerged inside the advancing fluid puddle.
Thermal Bake Solvent Popping Prevention
Solvent pop occurs when unevaporated prepolymer solvents or moisture reaction gases bubble through topcoats in 80°C paint bake ovens. Applying self leveling seam sealer formulated with zero volatile solvents eliminates this risk.
Allowing 30 minutes of room-temperature resting before oven entry guarantees complete surface stabilization, producing mirror-smooth paint finishes along factory roof lines.
Typical Application Scenario: EV Panoramic Roof Assembly
OEM Production Line Roof Ditch Finishing Overhaul
Plant Profile: An electric vehicle manufacturing plant producing 2,500 luxury crossover sedans monthly, featuring panoramic glass roofs with recessed aluminum water drainage ditches.
Manufacturing Bottleneck: Assembly workers used standard non-sag polyurethanes, requiring two operators per vehicle to scrape, profile, and wipe down roof ditches with solvents. Inspection logs showed a 14% defect rate for visible tool marks and uneven clearcoat gloss.
Engineering Transition: The plant converted to ChemPU two-component MS polymer self-leveling seam sealer delivered via automated pneumatic extruders. Calibrated round tips dispensed 12 mm wide ribbons directly into primed roof channels without manual touch-up.
Productivity Gains: Manual tooling labor was eliminated completely, reallocating four workers per shift. Automated camera inspections confirmed a 99.8% first-pass cosmetic acceptance rate across high-gloss clearcoat finish inspections.
Frequently Asked Questions: Self-Leveling Seam Sealers
Can self-leveling seam sealer be applied to vertical body joints?
No. Self-leveling formulations possess low yield stress designed specifically to flow under gravity. Applying them to vertical seams causes rapid downward dripping and material loss. Vertical joints require thixotropic non-sag sealers.
How soon can you paint over self-leveling seam sealer?
Most two-component or modified polymer self-leveling sealers accept waterborne and solventborne basecoats after 30 minutes of skin formation at 20°C. Always confirm the surface has formed a stable non-tacky skin before applying basecoat spray.
What causes small pinholes on cured self-leveling joint surfaces?
Pinholes typically result from incomplete cartridge purging before tip attachment, shaking cartridges before use, or dispensing onto moist primers. Trapped air bubbles rise slowly to the surface and burst just as skin formation begins, leaving microscopic surface indentations.
Technical Review by ChemPU Body Shop Applications Engineering Team
Authored by Senior Application Specialists with 14+ years of experience in automotive joint rheology, self-leveling polymer synthesis, and OEM roof ditch sealing systems. Certified under ISO 9001 and IATF 16949 standards.
Source High-Flow OEM Self-Leveling Seam Sealers
Partner with ChemPU, an ISO 9001 and IATF 16949 certified Chinese manufacturer. We formulate high-performance self-leveling seam sealers engineered to eliminate manual tooling, accelerate cycle times, and deliver glass-smooth finishes across roof ditches and trunk floors.
Direct WhatsApp Technical Inquiry: +86 15216655520

