
Automotive glass replacement has evolved from a mechanical trade into a critical optical sensor integration process. Modern vehicles rely on Advanced Driver Assistance Systems (ADAS) for Forward Collision Warning, Lane Keep Assist, and Automatic Emergency Braking. These life-critical safety systems depend on forward-facing cameras mounted flush against the upper ceramic frit of the windshield.
Collision repair facilities and glass technicians frequently encounter unexpected sensor calibration errors following glass installation. Technicians often blame camera software or optical glass defects. In reality, the root cause frequently lies in improper adhesive bead geometry, bead slump, or uneven glass deck depth.
Executing a flawless adas windshield calibration requires strict control over polyurethane bead height, nozzle cutting profiles, and adhesive green strength. This technical engineering guide breaks down the geometric tolerances governing ADAS optical alignment, adhesive rheology requirements, and professional dispensing protocols.
Key Takeaways: Adhesive Dynamics in ADAS Calibration
- Optical Amplification Effect: A mere 1.0 millimeter deviation in adhesive bead thickness at the roofline alters the forward camera pitch angle by up to 0.6 degrees, shifting optical target projection by 15 meters down the road.
- Triangular Bead Geometry: Applying a standardized triangular V-notch bead profile ensures controlled compression without lateral squeeze-out or air pocket voids across sensor viewing brackets.
- Green Strength Mandate: Polyurethanes with high initial green strength prevent heavy windshields from slumping downward during initial tack-free skinning, preserving factory glass standoff heights.
- High Modulus Vibration Damping: High modulus (HM) direct glazing adhesives suppress road-induced chassis micro-vibrations that cause camera jitter and dynamic calibration dropouts.
The Geometry of Optical Angles: Pitch, Yaw, and Roll Errors
Forward-facing ADAS cameras operate within strict trigonometric coordinate axes. Any physical displacement of the glass substrate directly translates into rotational camera angle misalignment.
Technicians performing an adas windshield calibration must understand how physical bead compression directly alters camera sightlines. When a replacement windshield rests on an uneven polyurethane bead, the camera experiences three spatial angular deviations:
1. Pitch Angle (Vertical Tilt)
Pitch represents vertical up-and-down camera tilt. If a technician applies excessive adhesive along the cowl while under-applying along the roof pinchweld, the glass tilts rearward. A pitch deviation of just 0.5 degrees causes the camera to misjudge vehicle distance, leading to phantom braking or delayed pedestrian collision warnings.
2. Yaw Angle (Horizontal Rotation)
Yaw represents horizontal left-to-right rotation. If the left A-pillar bead compresses more than the right A-pillar bead, the windshield twists clockwise or counter-clockwise. This error causes Lane Keep Assist systems to track off-center, nudging vehicles into adjacent traffic lanes.
3. Roll Angle (Axial Twist)
Roll represents angular twist across the horizontal horizon. Unequal corner bead heights distort the camera’s horizon line detection, causing driver assistance software to reject static target calibration boards.
Triangular Bead Geometry: V-Notch Profiles and Deck Height Control
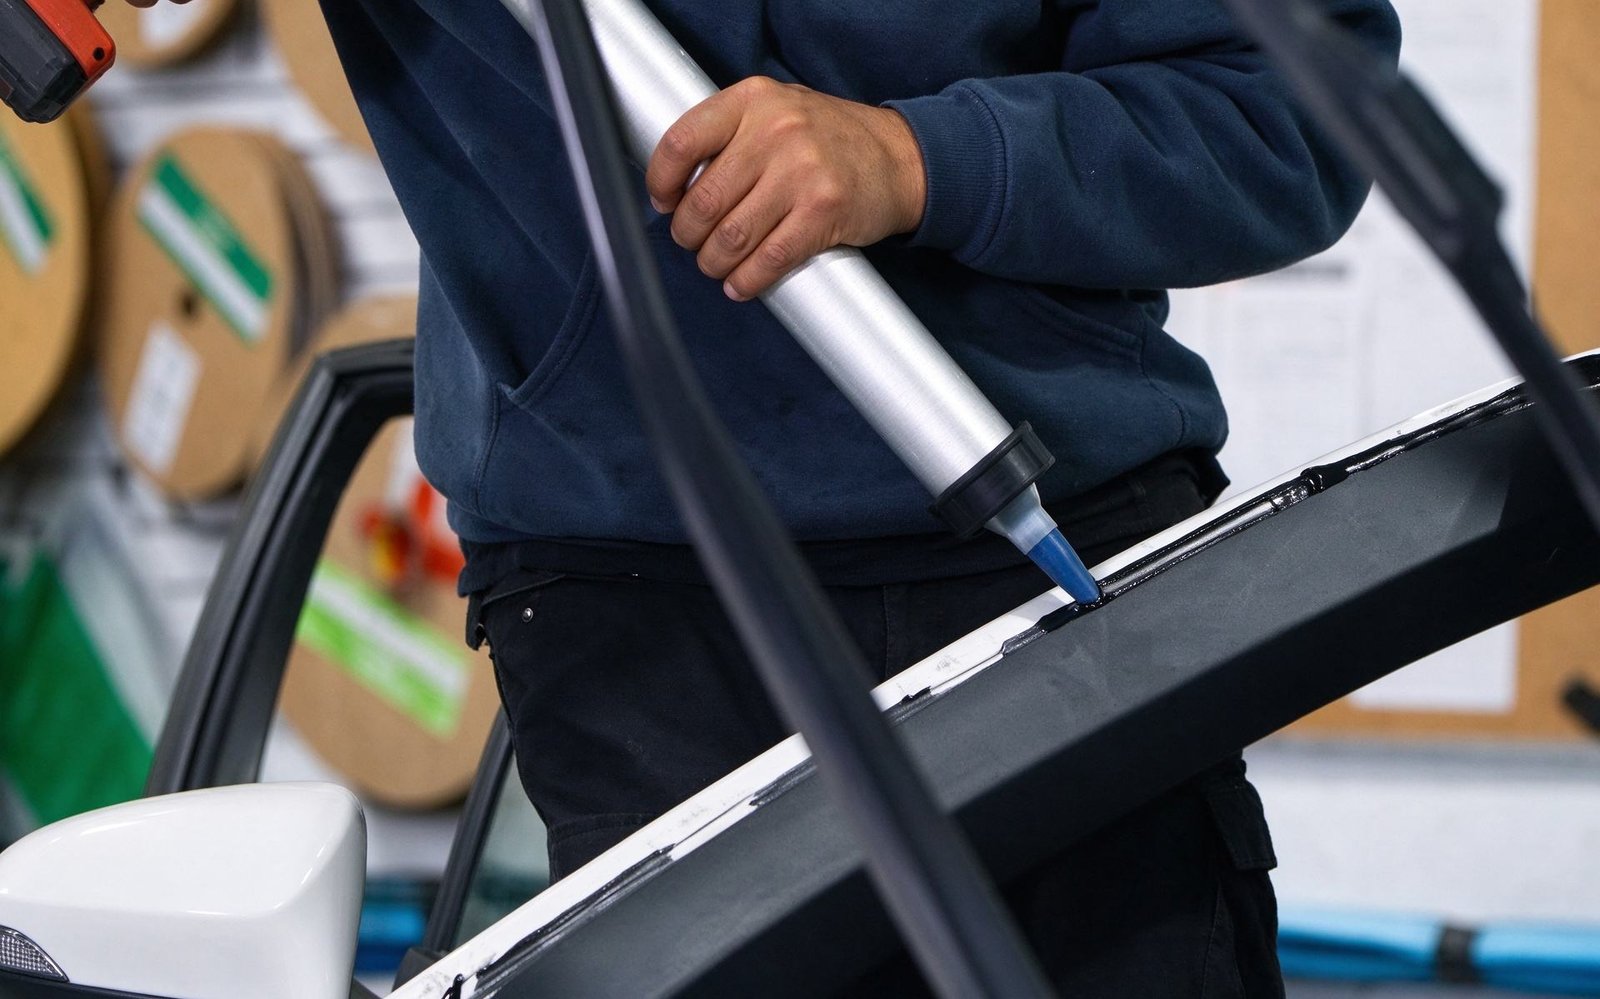
Eliminating optical misalignment begins with proper dispensing tooling. The traditional round extrusion bead is entirely obsolete in modern collision repair. Applying round beads requires excessive downward compression force, trapping air bubbles and producing unpredictable lateral squeeze-out.
Professional technicians utilize pre-cut triangular V-notch nozzles. A triangular bead stands taller than wide, typically measuring 8 to 11 millimeters in base width and 12 to 15 millimeters in peak height. Check our comprehensive professional caulking gun selection guide for proper mechanical ratio requirements.
Controlled Progressive Compression
When technicians deck the glass, the narrow apex of the triangular bead makes initial contact first. As the glass presses downward, air vents freely to both sides.
The adhesive collapses into a rectangular structural bondline of uniform 4.0 to 5.0 millimeter thickness. This progressive compression guarantees consistent glass-to-body standoff height matching OEM factory assembly lines.
Technical Shootout: Low-Thixotropy vs. High Green Strength Polyurethane
Adhesive rheology directly dictates optical sensor stability during static and dynamic adas windshield calibration procedures. Review the performance comparison between low-grade aftermarket sealants and OEM high-thixotropy urethanes:
| Performance Parameter | Low-Grade Aftermarket Urethane | ChemPU OEM High-Modulus Grade | ADAS Optical Calibration Impact |
|---|---|---|---|
| Initial Bead Slump Resistance | Poor (Slumps 2.0 – 3.5 mm) | Zero Slump (Crisp V-Apex) | Maintains exact sensor deck elevation |
| Green Strength at 10 Minutes | < 0.15 MPa (Low Hold) | ≥ 0.50 MPa (High Hold) | Prevents glass slippage under deadweight |
| Camera Pitch Deviation Risk | High (> 0.75° Variation) | Negligible (< 0.15° Variation) | Eliminates optical target pitch errors |
| Static Target Calibration Pass Rate | 65% – 75% First Attempt | > 98% First Attempt | Eliminates repeat calibration labor costs |
| Shear Modulus ($G$) | 0.8 – 1.2 MPa | 2.2 – 2.8 MPa (High Modulus) | Suppresses dynamic sensor road jitter |
| Dielectric Resistivity | Standard (Conductive Risk) | ≥ 10^10 Ω·cm (Non-Conductive) | Zero electromagnetic camera interference |
Using certified OEM adhesives ensures immediate first-pass calibration. Compare chemical formulations in our Sikaflex, 3M, and Betaseal benchmark guide to select verified OEM-grade polyurethanes.
Standard Operating Procedure: ADAS-Compliant Direct Glazing
Automotive glass replacement specialists must implement strict physical measurement protocols during every ADAS-equipped windshield installation:
Four-Step ADAS Glazing Installation Protocol
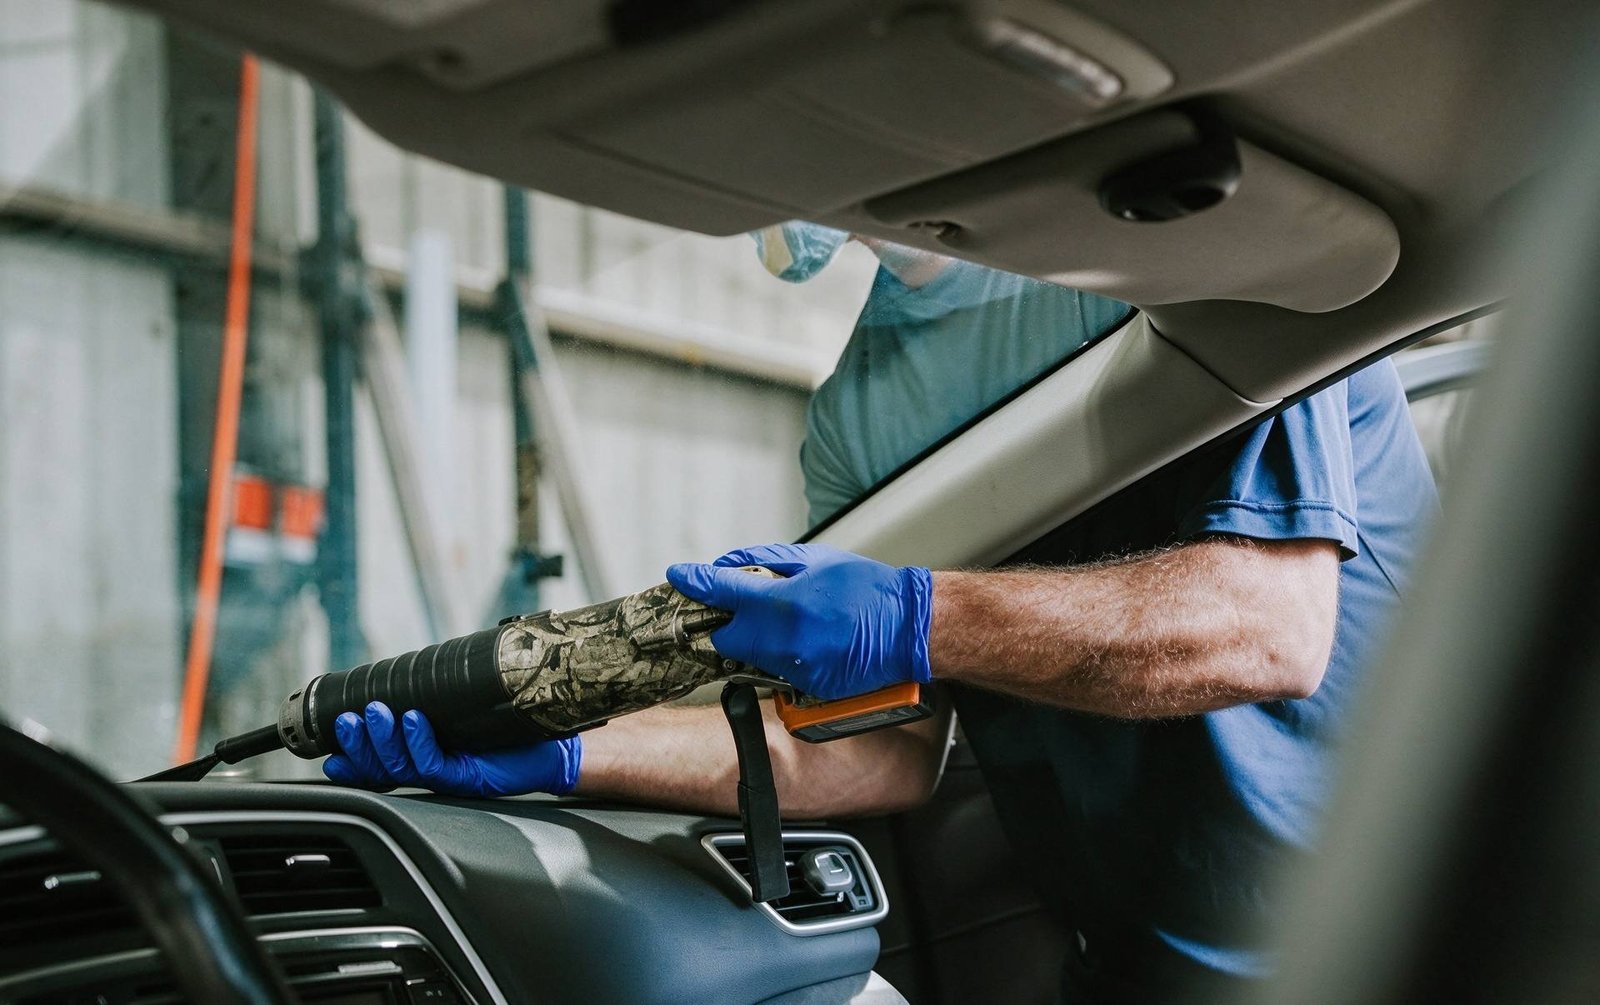
- Old Urethane Base Trimming: Trim original pinchweld urethane down to a flat, uniform 1.0 to 2.0 millimeter thickness. Never leave gouges or uneven humps along the A-pillars.
- Precision V-Notch Nozzle Cutting: Cut the triangular nozzle opening to match vehicle pinchweld depth plus 3.0 millimeters of compression allowance, maintaining a consistent 90-degree gunning angle.
- OEM Setting Block Utilization: Verify that factory lower cowl setting blocks remain in place. Setting blocks support glass deadweight, preventing downward bead creep during curing.
- Digital Depth Gauge Verification: Before the adhesive skins, measure glass-to-body flushness across four perimeter corners using a digital depth micrometer. Standoff variance must not exceed 1.0 millimeter.
Static Targets vs. Dynamic Driving Calibration Requirements
Modern collision shops rely on precise urethane extrusion to prevent costly adas windshield calibration failures across both static and dynamic procedures. Static calibration requires placing high-contrast optical target boards at exact distances and heights in front of the vehicle bay.
Dynamic calibration requires driving the vehicle along clearly marked roads while diagnostic scan tools monitor lane lines. If uneven adhesive beads induce optical distortion, dynamic calibration drive-cycles can take hours or fail completely, locking the vehicle safety computer into fault mode.
Typical Application Scenario: Luxury SUV Dynamic Calibration Failure
Technical Failure Audit: Camera Target Alignment Dropout
Operating Problem: A collision repair shop replaced the acoustic windshield on a late-model luxury SUV. During post-installation static calibration, the diagnostic scan tool repeatedly failed to lock onto the optical target board, reporting camera pitch out-of-tolerance (+0.85 degrees).
Root Cause Investigation: The technician applied an unheated, low-thixotropy aftermarket polyurethane using a standard round bead nozzle. Lacking bottom setting blocks, the heavy panoramic windshield slumped 2.5 millimeters downward along the cowl. The top of the glass pulled inward, tilting the ADAS camera upward.
Resolution & Outcome: Technicians removed the windshield, installed new OEM setting blocks, and reapplied ChemPU high-modulus polyurethane using a standardized triangular V-nozzle. Glass standoff height measured within 0.3 millimeters across all corners. The static optical target calibration passed within four minutes on the initial scan.
Frequently Asked Questions: ADAS Windshield Calibration & Adhesives
How long after windshield replacement can ADAS calibration be performed?
Static calibration on target boards can begin once the adhesive achieves initial handling strength. For dynamic road calibrations, vehicles must wait for full certified Safe Drive-Away Time (SDAT) to prevent chassis twisting forces from shifting the uncured glass.
Can aftermarket replacement glass thickness variations affect calibration?
Yes. Inexpensive aftermarket glass frequently exhibits optical distortion and thickness variations up to 0.8 millimeters. Pairing sub-standard glass with uneven adhesive beads multiplies optical refraction errors, often rendering cameras uncalibratable.
Why must ADAS-equipped vehicles use non-conductive polyurethane?
High-tech windshields feature rain sensors, condensation heating grids, and camera defoggers mounted within millimeters of the adhesive bead. Non-conductive urethanes ($> 10^{10}\ \Omega\cdot\text{cm}$) prevent short circuits, capacitive leakage, and electrical ground interference.
Engineering Conclusion: Precision Chemical Dispensing for Modern ADAS
Automotive safety no longer permits casual dispensing practices. Executing an accurate adas windshield calibration requires combining high-modulus polyurethane chemistry, uniform triangular bead geometry, and verified standoff depth control. By implementing disciplined installation protocols and stocking certified OEM direct glazing adhesives, professional auto glass repair networks guarantee first-pass calibration success and flawless driver assistance safety.
Authored by ChemPU Automotive Application Engineering Team
Specializing in OEM direct-glazing polyurethane formulation, crash-retention validation per FMVSS 212 standards, and high-performance structural elastomeric bonding solutions for global automotive manufacturers.
Quality Certification: ISO 9001 / IATF 16949 Certified Adhesive Manufacturing
Source Certified OEM Direct Glazing Polyurethane Adhesives
Partner with ChemPU, an ISO 9001 and IATF 16949 certified Chinese manufacturer. We provide high-modulus polyurethane direct glazing adhesives, black glass primers, and private label cartridges for international distributors and fleet repair networks.
Direct WhatsApp Technical Inquiry: +86 15216655520

