
Water intrusion represents the single greatest threat to recreational vehicles, motorhomes, and overland campers. Unlike static residential roofs, an RV functions as a mobile building subjected to continuous mechanical stress. Every highway mile introduces torsional twisting, chassis vibrations, and rapid thermal shocks. Over time, factory caulking seams degrade, hairline gaps open, and moisture penetrates hidden wall cavities long before damp spots appear inside.
Once moisture enters the roof decking, rotted plywood, ruined ceiling panels, and structural degradation follow. Specifying a professional-grade RV roof sealant provides an impenetrable, elastic moisture barrier. Because these specialized polymers flex with structural movement, they endure harsh highway conditions without cracking or losing adhesion.
Achieving permanent leak prevention requires matching polymer chemistry to your specific roof substrate. For instance, applying improper household silicone to rubber membranes causes swelling, adhesion failure, and costly damage. To eliminate guesswork, SHCHEMPU presents this engineering guide for fleet operators and camper manufacturers. Specifically, this guide examines membrane identification, self-leveling versus non-sag lap sealants, OEM production standards, and fail-safe resealing protocols.
Executive Summary: Key Takeaways for RV Fleet Operators & Manufacturers
- Chemical Compatibility Determines Waterproof Integrity: EPDM rubber membranes demand specialized MS polymers or advanced polyurethanes. Conversely, traditional acetoxy silicone releases acetic acid, which swells rubber membranes and causes rapid delamination.
- Geometry Dictates Viscosity Selection: Horizontal roof vents, skylights, and screw heads require a self-leveling RV lap sealant. In contrast, vertical sidewall seams, windows, and corner moldings demand non-sag thixotropic formulations.
- Mechanical Movement Demands High Elastic Recovery: Constant highway vibration creates continuous shear and tensile strain across panel laps. Therefore, RV exterior sealants must provide at least ±25% to ±50% joint movement capability under ASTM C920 standards.
- Systematic Maintenance Eliminates Structural Damage: Conducting bi-annual roof inspections and resealing with residue-free prep solvents prevents sub-plywood deterioration. Pairing roof sealants with professional caulking gun tools ensures uniform bead thickness and factory-grade aesthetics.
Why RVs Are Prone to Severe Water Leaks: Anatomy of Mechanical Vulnerability
Unlike brick-and-mortar buildings, a motorhome endures continuous dynamic vibration during travel. An effective camper roof sealant must function simultaneously as a high-strength structural adhesive and an elastomeric weatherproofing membrane.
Highway Torsion, Dynamic Vibration, and Extreme Thermal Shock
Evaluating joint failure begins with real road dynamics. When an RV navigates uneven highways, speed bumps, or off-road gravel tracks, its chassis twists continuously. Because the aluminum or timber sub-frame flexes while the roof membrane expands, massive shear loads concentrate at fastening seams.
Meanwhile, camper roofs endure intense thermal cycling throughout the year. In summer, direct sunlight drives dark roof surface temperatures above 75°C (167°F), causing rapid thermal expansion. Conversely, winter temperatures plunge below -30°C (-22°F), shrinking substrates rapidly. If the sealant lacks high elastic recovery, this cycling tears the bead away from joint shoulders.
Roof Penetrations: Vents, Solar Brackets, Skylights, and Fasteners
Modern recreational vehicles carry numerous factory penetrations across the roof deck. For example, a typical 30-foot fifth wheel features air conditioning units, plumbing vents, exhaust fans, TV antennas, and solar panel mounting brackets.
Every single mounting bracket introduces dozens of screw penetrations into the plywood substrate. During highway travel, wind uplift forces buffet air conditioner cowlings and vent covers constantly. If screw heads remain unsealed or protected by brittle caulk, capillary action draws pooled rainwater directly into the ceiling core.
Identifying Your RV Roof Membrane & Matching Polymer Chemistries
Before opening a sealant cartridge, maintenance professionals must accurately identify the RV roof substrate. Chemical formulations interact differently with various polymers, meaning an incompatible adhesive causes irreversible membrane degradation.
Roof Membrane Substrates: EPDM, TPO, Fiberglass, and Aluminum
Commercial RV construction typically relies on four primary roof materials. Ethylene Propylene Diene Monomer (EPDM) is a synthetic rubber membrane known for its smooth texture and chalky oxidation over time. Thermoplastic Polyolefin (TPO) features a textured surface, often with an underlying reinforcing fabric scrim.
Molded fiberglass provides a rigid, high-gloss gelcoat surface common on luxury motorhomes. In addition, painted aluminum roofs appear on vintage trailers and commercial cargo conversions. Each material exhibits distinct thermal expansion rates and surface energy levels.
Why Household Silicone Must Never Be Used on RV Rubber Roofs
DIY owners frequently make the mistake of applying hardware-store silicone caulk to RV rubber roofs. Standard acetoxy silicone releases acetic acid during curing, which chemically attacks and puckers EPDM rubber sheets. For in-depth chemical mechanics on curing systems, review our neutral cure vs acetoxy silicone guide.
Silicone caulk also leaves an oily microscopic film across the membrane. Once standard silicone loses bond under highway vibration, no other adhesive or fresh sealant will ever adhere to that contaminated surface. As a result, technicians must laboriously scrape down to bare substrate, risking membrane tears.
| Performance Parameter | MS Polymer (SMP) | Polyurethane (PU) | Butyl Rubber Caulk | Standard Silicone |
|---|---|---|---|---|
| Substrate Versatility | Universal (EPDM, TPO, Alum) | High (Fiberglass, Metal, TPO) | High (Concealed flange seams) | Poor on EPDM / Rubber |
| UV Resistance & Yellowing | Outstanding (Zero yellowing) | Moderate (Needs UV stabilizer) | Poor (Hardens under direct sun) | Excellent UV stability |
| Joint Movement (ASTM C920) | ±25% to ±50% Class | ±25% Class | ±7.5% (Plastic flow) | ±25% Class |
| Paintability Window | Immediate (Wet-on-wet) | Post-cure paintable | Poor / Bleeds oils | Completely Unpaintable |
| Isocyanate & Solvent Content | 100% Solids, Zero Isocyanate | Contains trace isocyanates | Solvent-based evaporation | Acetic / Oxime by-products |
Self-Leveling vs. Non-Sag Lap Sealant: Where Exactly Each Formula Belongs
Professional RV coachbuilders never rely on a single sealant formulation for the entire rig. Instead, they strategically deploy two complementary rheological grades: self-leveling lap sealant and non-sag exterior sealant.
Horizontal Roof Seams and Fasteners: Self-Leveling Lap Sealant
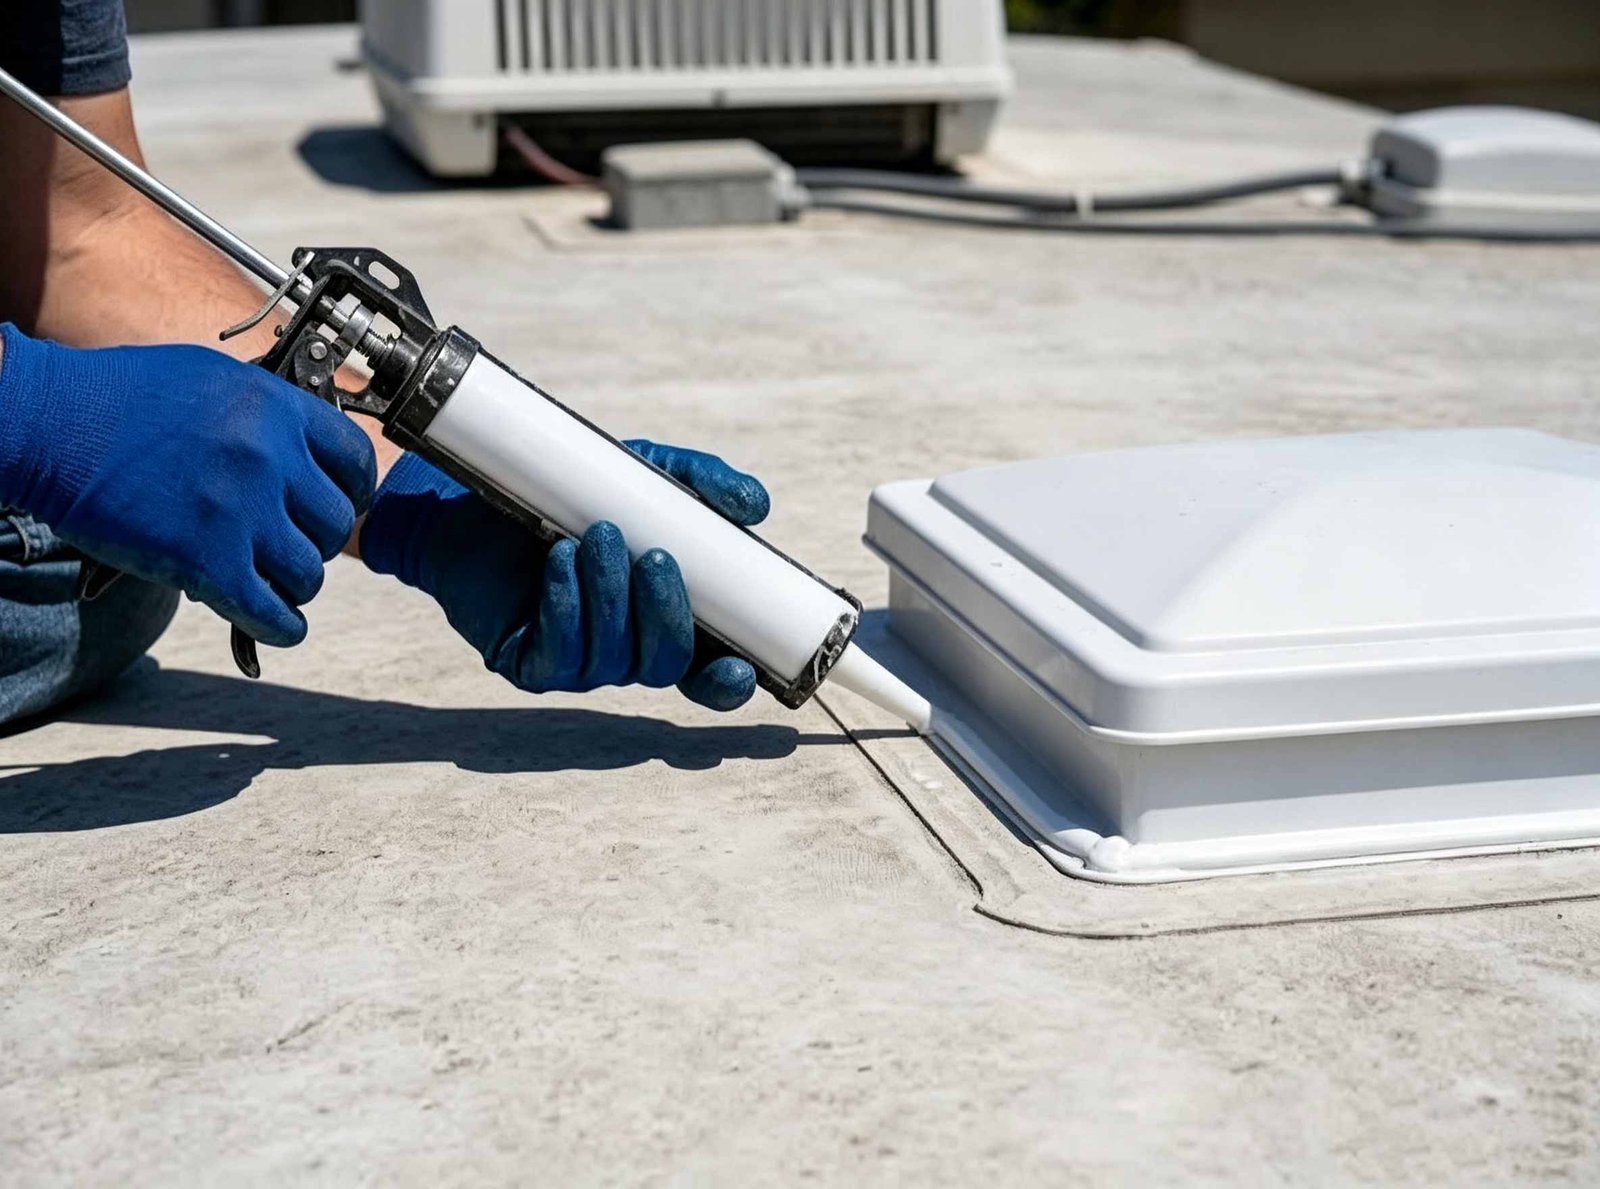
Self-leveling lap sealant features low viscosity. When extruded along horizontal roof joints, the polymer flows outward naturally over five to ten minutes under gravity. In similar horizontal building slab projects, contractors rely on specialized self-leveling joint sealants to eliminate labor-intensive manual tooling.
This fluid action forms a smooth, rounded dome over screw heads, bracket flanges, and front cap transitions. Because it fills minor depressions and bridges seams without hand tooling, it produces a continuous, watertight seal.
Vertical Sidewalls, Windows, and Corner Moldings: Non-Sag Sealant
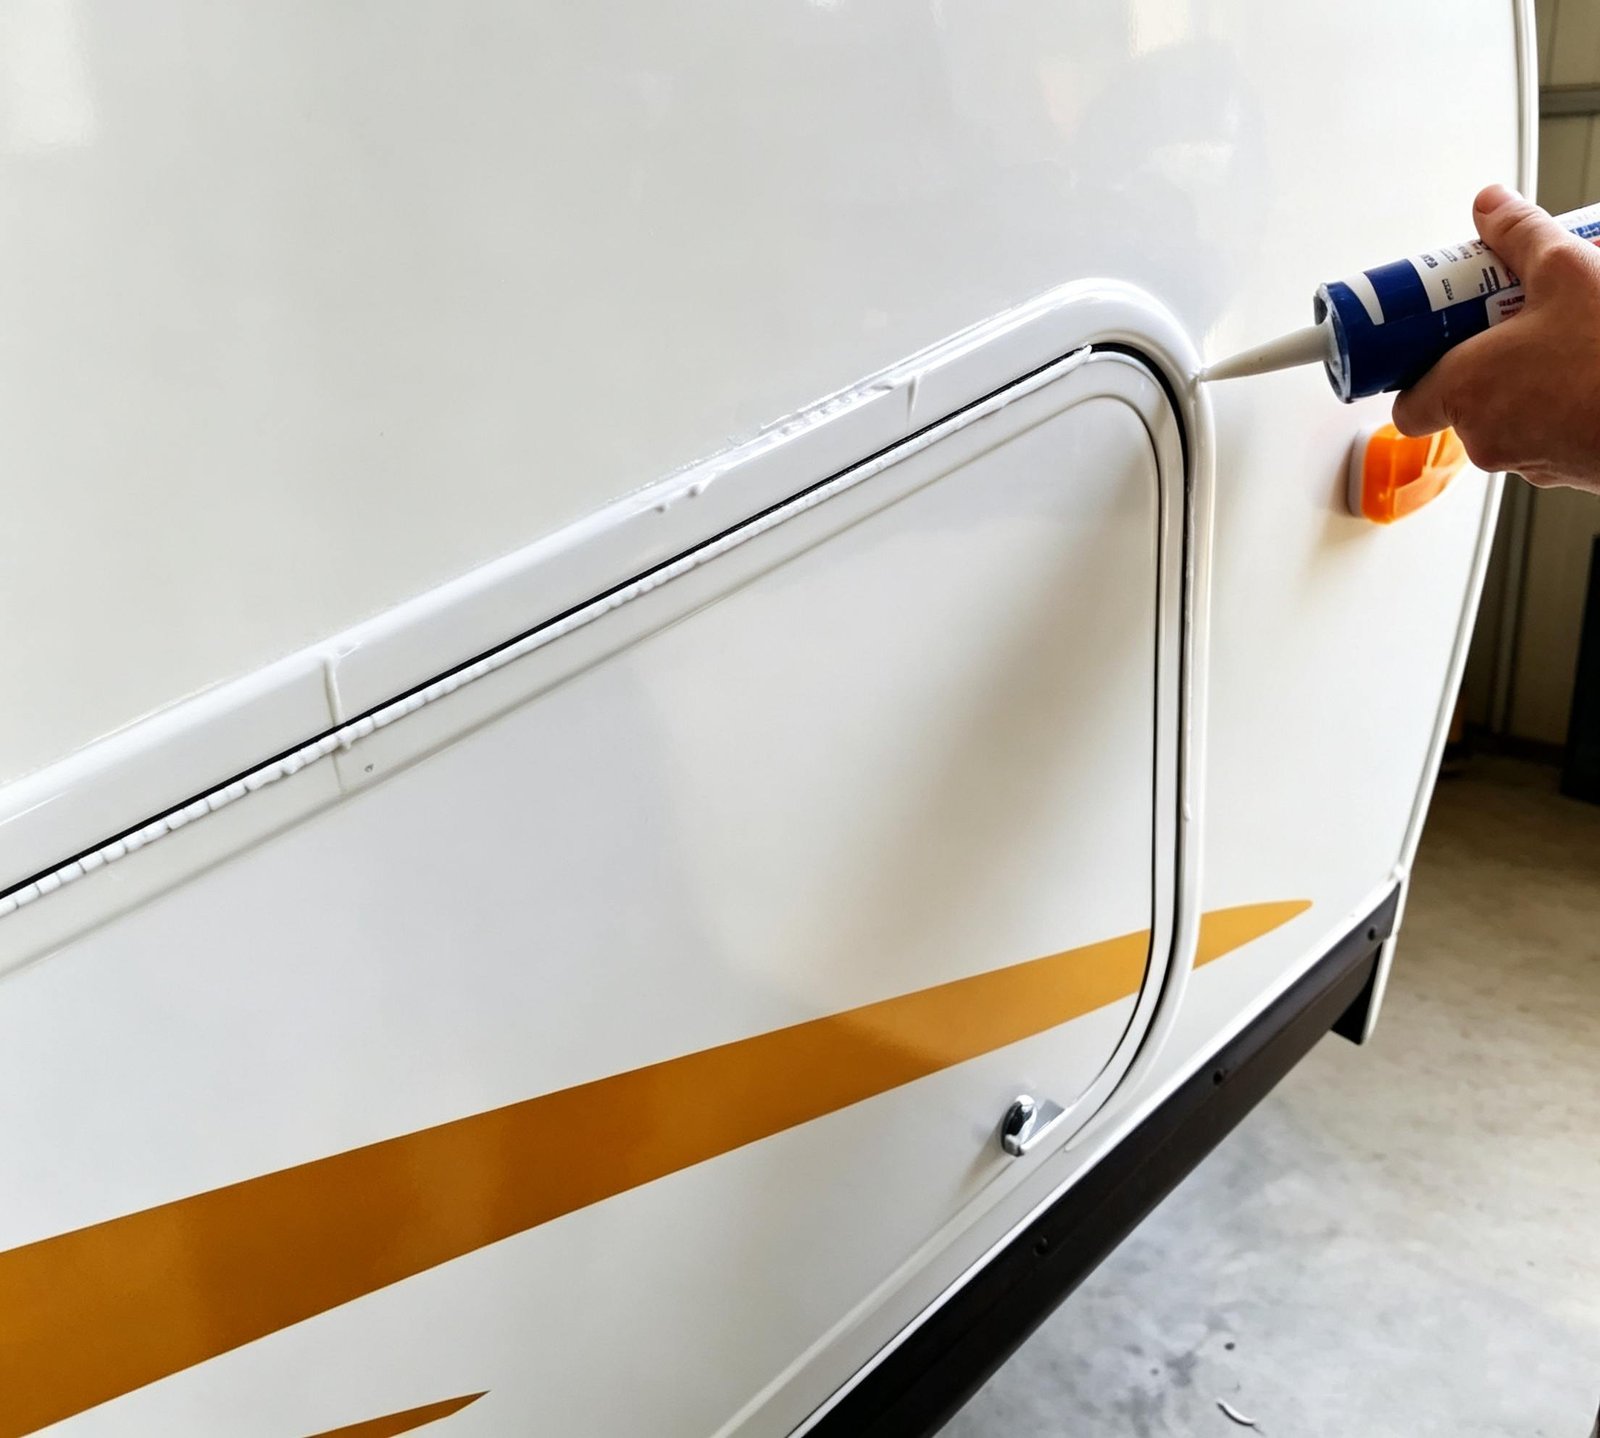
Applicators must never apply self-leveling lap sealant to vertical walls or sloped front caps. If used vertically, the low-viscosity polymer slumps downward, creating unsightly runs and starving the joint cavity of necessary sealant volume.
Instead, vertical sidewall seams, baggage doors, slide-out trim flanges, and window frames demand thixotropic non-sag formulations. For heavy commercial vehicle bodies, body shops routinely specify specialized automotive seam sealers to withstand severe highway shear. These paste-like sealants stay precisely where placed, allowing clean tooling with smooth chamfered edges.
Step-by-Step RV Roof Resealing Protocol: Contractor Best Practices
Inadequate substrate preparation causes over 80% of premature joint failures rather than adhesive defects. In order to achieve a factory-grade seal that endures years of heavy touring, follow this systematic installation protocol.
Step 1: Thorough Inspection and Old Sealant Removal
Inspect every existing caulk line under bright lighting. Specifically, look for micro-cracks, chalking, and separation along joint edges. While sound factory sealant can occasionally be overlaid, loose, cracked, or moldy caulk must be completely removed.
Technicians must therefore use heavy-duty plastic or nylon scraper blades. Never use sharp metal putty knives or screwdrivers on rubber roofs, as a single slip will puncture delicate EPDM or TPO membranes. Warming hardened sealant gently with an electric heat gun softens the polymer for rapid peeling.
Step 2: Solvent Degreasing and Surface Chemical Cleaning
Once mechanical scraping is finished, residual oil, road grime, and tree sap must be removed as well. Clean the joint area using lint-free microfiber rags saturated with 99% isopropyl alcohol (IPA) or denatured alcohol.
Above all, never clean rubber roofs with petroleum distillates, acetone, kerosene, or citrus-based cleaners. Because petroleum solvents swell and permanently dissolve rubber polymers, they destroy membrane structural integrity. After solvent wiping, allow the surface to flash off completely for 15 minutes until bone dry.
Step 3: Flange Bedding with Butyl Tape and Screw Fastening
When installing replacement roof vents, skylights, or luggage racks, dual-barrier sealing is essential. First, apply a continuous ribbon of solid butyl sealing tape along the underside of the component flange.
Next, press the flange firmly against the roof deck and consequently torque down stainless steel mounting screws evenly. As screws tighten, butyl tape squeezes out around the flange perimeter. Carefully trim the excess squeeze-out with a plastic spatula to leave a clean perimeter joint afterward.
Step 4: Precision Bead Extrusion and Complete Overlap Capping
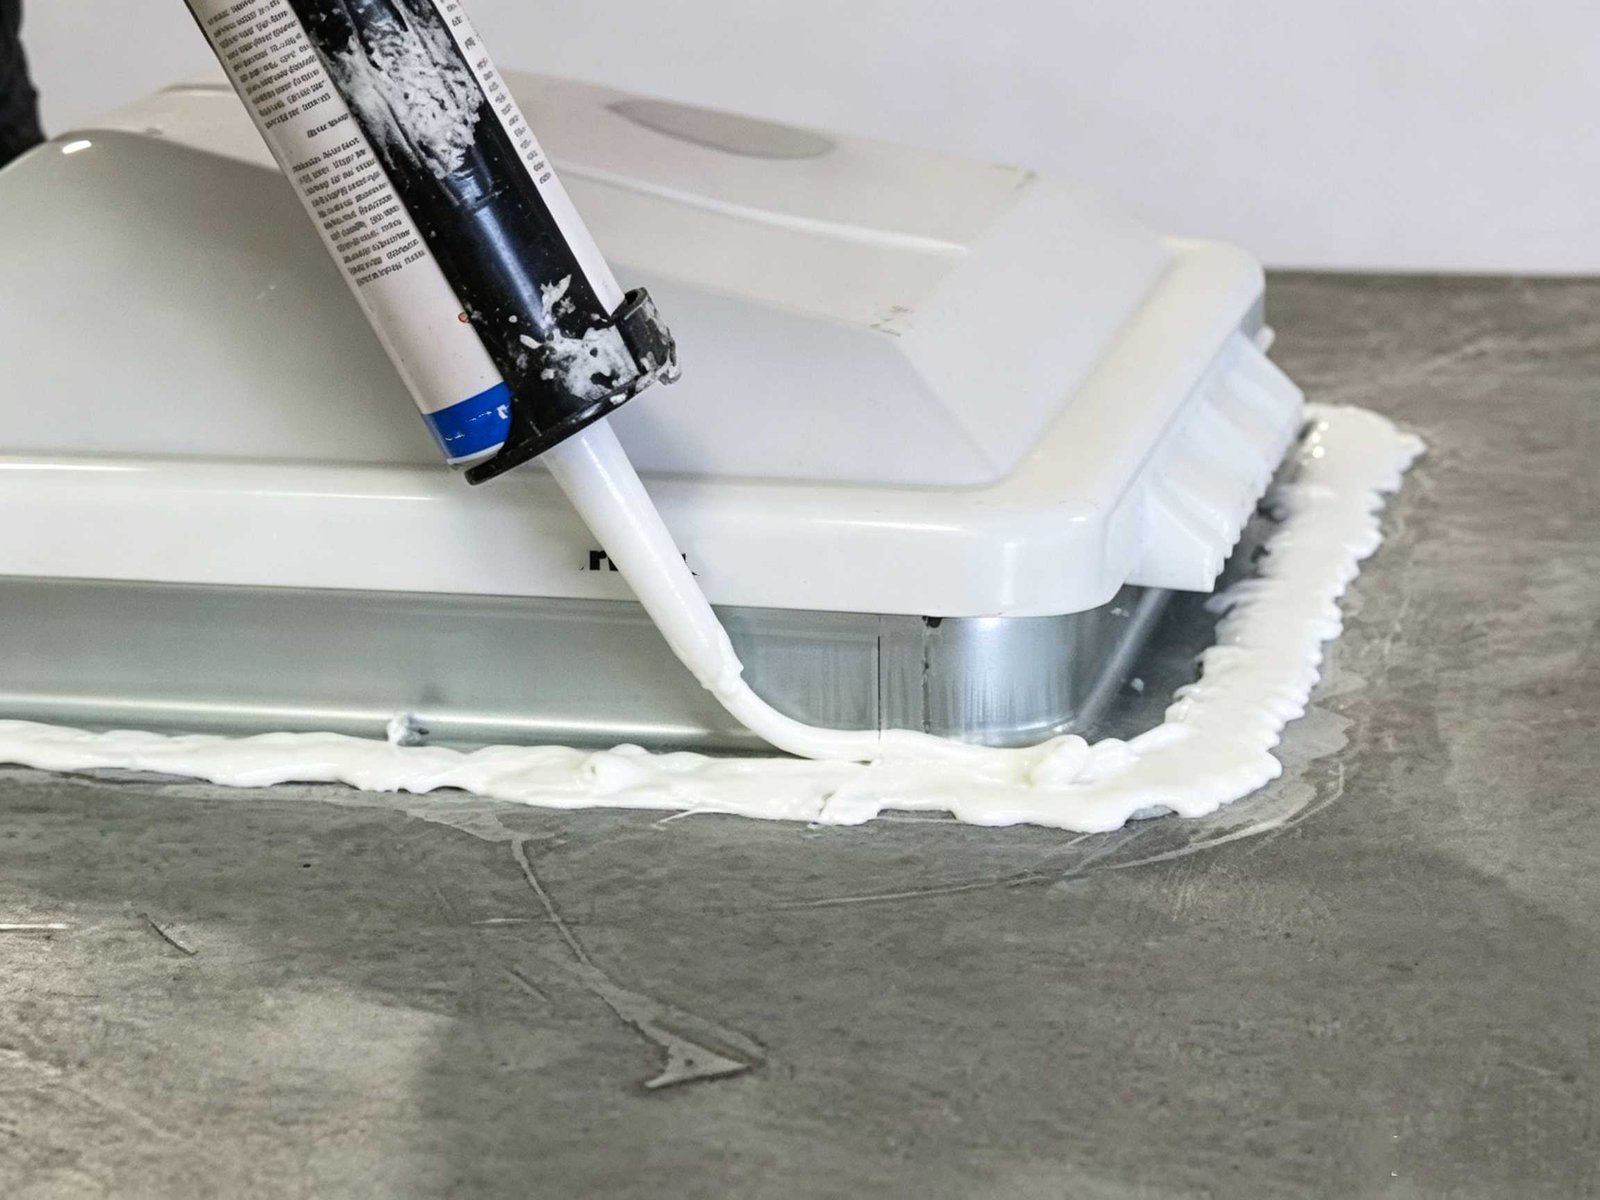
Load a cartridge of premium RV lap sealant into a high-thrust applicator gun. For smooth dispensing of thick moisture-curing polymers, contractors rely on ergonomic pneumatic caulking guns and manual tools to prevent hand fatigue.
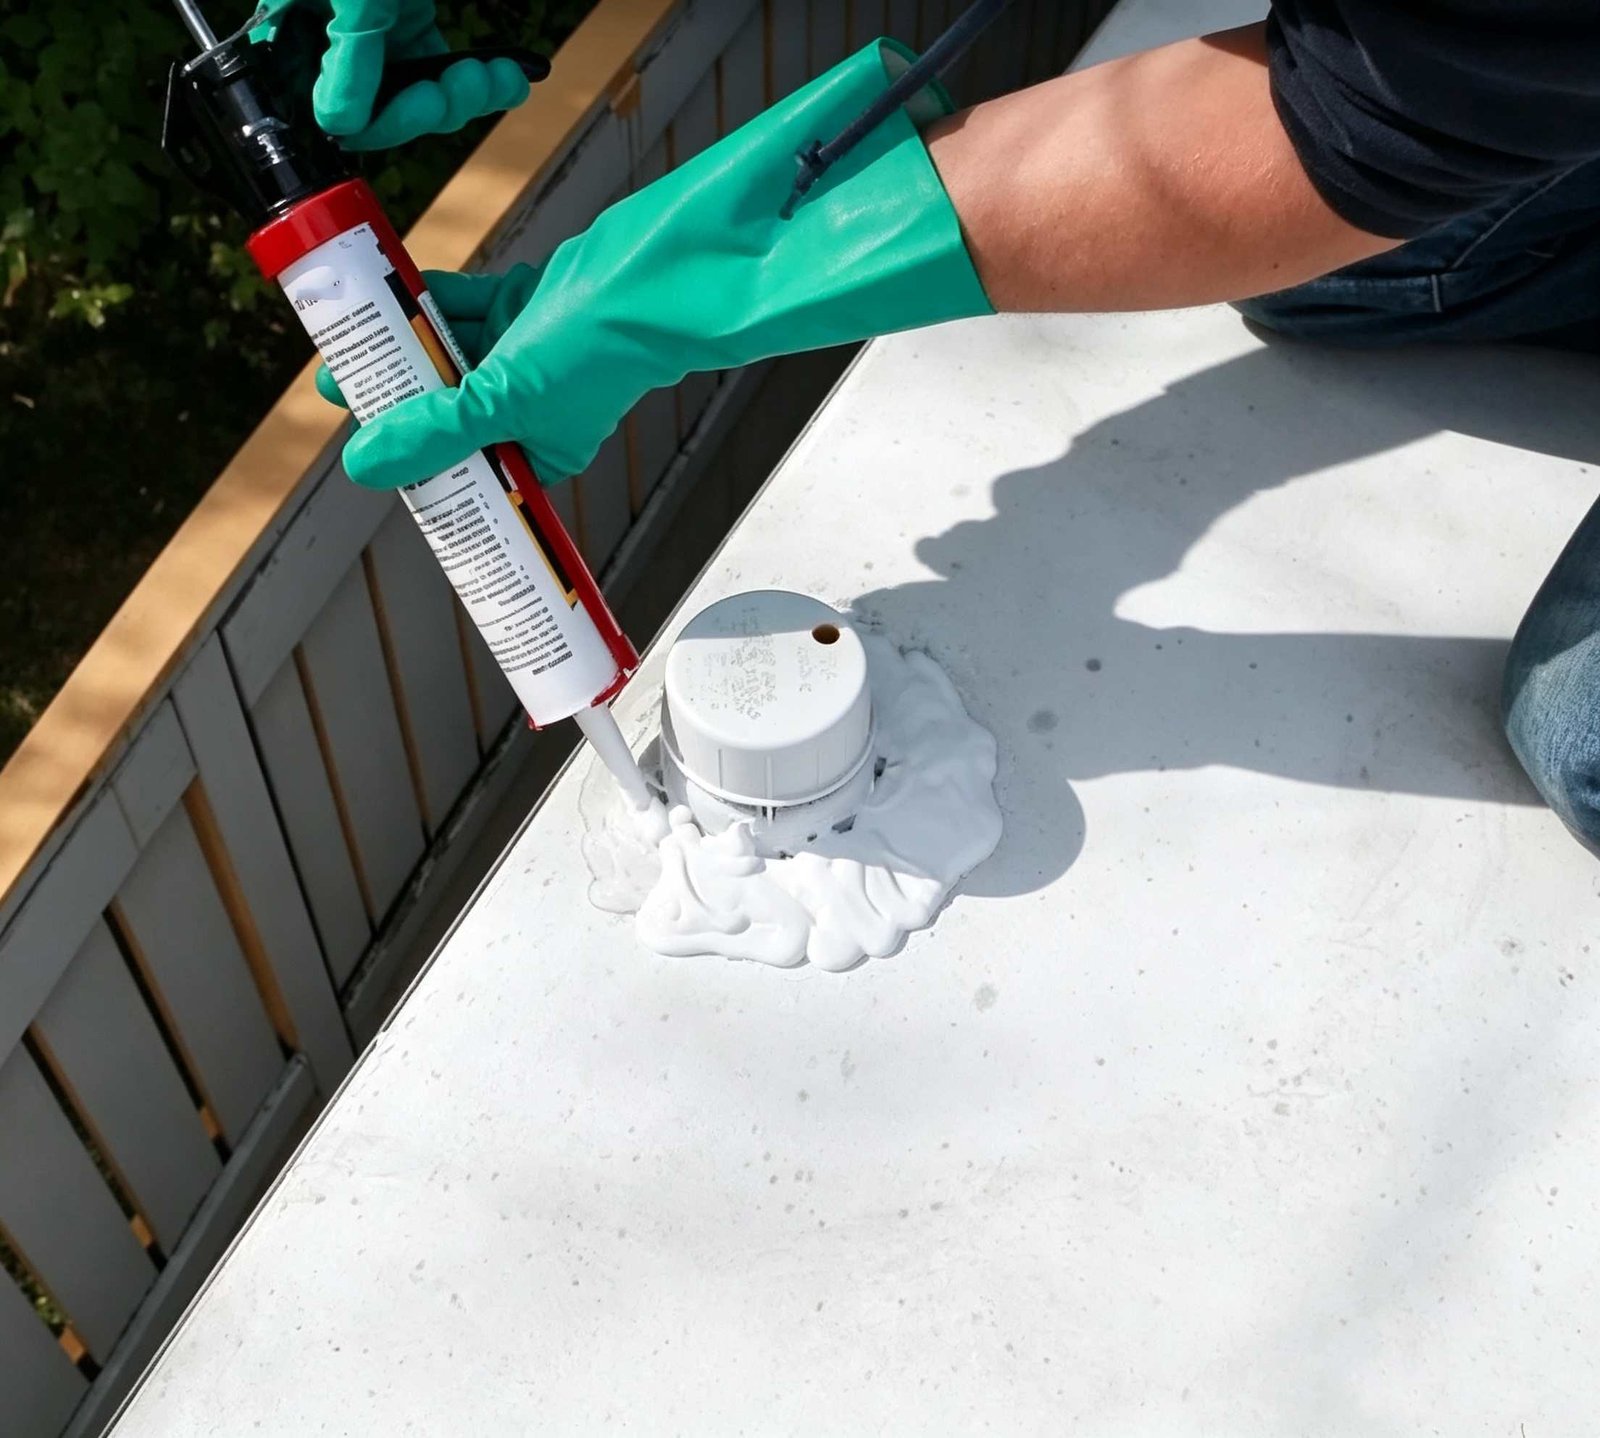
Apply a generous bead completely encasing the perimeter edge of the vent flange. Ensure the bead bridges onto the roof membrane by at least 10 to 15 mm. Finally, apply a substantial dollop of sealant over every individual screw head, thereby fully encapsulating fastener thread entry points.
Common RV Sealing Mistakes and Troubleshooting Field Failures
Even premium polymers fail if technicians violate fundamental application rules. Below, our technical services group highlights frequent field errors encountered during factory warranty audits.
Trapped Substrate Moisture and Severe Sealant Blistering
Contractors occasionally observe bubbles erupting within freshly applied polyurethane lap sealant instead. This phenomenon mirrors problems seen in building envelope work. As detailed in our liquid waterproofing membrane contractor guide, moisture trapped inside concrete or wooden roof decks causes severe outgassing.
When moisture-cure polyurethanes react with wet plywood under midday sun, carbon dioxide gas becomes trapped within the curing skin as a result. To prevent blistering, always ensure roof substrates are dry, or specify moisture-tolerant MS polymer chemistries that cure without releasing carbon dioxide.
Over-Thinning Beads and Insufficient Movement Depth
Another common mistake involves feathering the sealant into a paper-thin film. While thin caulk edges appear cosmetically neat, thin polymer skins lack tensile strength. When highway vibration flexes the joint, thin edges tear quickly.
Always maintain a minimum sealant thickness of 3 to 4 mm over screw heads and component edges. In broader structural joints, applicators should insert closed-cell backer rods to maintain an ideal 2:1 width-to-depth ratio, exactly as prescribed in general polyurethane construction sealants specifications.
B2B OEM Specifications: Formulating Resilient Adhesives for RV Manufacturers
For commercial RV builders and fleet overhaul facilities, chemical consistency, curing speed, and international compliance represent critical manufacturing priorities.
Custom Rheology, High-Speed Packaging, and Color Matching
SHCHEMPU works directly with overland camper manufacturers to engineer custom formulation packages. Specifically, we adjust flow rheology to match automated robotic dispensing systems or high-speed manual assembly lines.
Our manufacturing plant also delivers packaging options tailored to production scale. Options range from standard 310ml aluminum cartridges to cost-effective 600ml foil sausage packs and 200L industrial steel dispensing drums. Custom color matching in Arctic White, Grey, Black, and Almond ensures seamless aesthetic integration with OEM gelcoats.
International Quality Testing: ASTM C920, REACH, and VOC Regulations
Global RV distribution naturally demands compliance with international environmental standards. All SHCHEMPU RV sealants undergo batch testing for tensile elongation, peel adhesion, and accelerated UV weathering under ASTM C920 standards.
Our MS polymer lines are 100% solvent-free and isocyanate-free. They fully comply with strict European REACH and low-VOC mandates, guaranteeing safe assembly-line handling for shop technicians.
Engineering Application Scenario: Eliminating Roof Seam Failures in Overland Expeditions
Operating Conditions: Severe torsional frame twisting, continuous gravel washboard corrugations, and high UV desert exposure common in heavy-duty overland touring.
Engineering Challenge: Rigid caulks and lower-grade polyurethanes frequently experience adhesive peel along fiberglass-to-rubber roof seams when chassis flex occurs during off-road travel.
SHCHEMPU Technical Solution: Deploying high-elongation modified silane (MS Polymer) self-leveling lap sealant for horizontal vents, along with non-sag MS adhesive for perimeter corner rails. The hybrid system delivers primerless adhesion to both fiberglass and TPO membranes while providing permanent elasticity as well.
Observed Performance: The elastomeric joint accommodates ongoing dynamic chassis torsion without adhesive separation or tearing, eliminating recurring seam water intrusion across multi-season field use.
Frequently Asked Questions: RV Roof & Exterior Sealing
Maintenance Schedules & Chemistry Selection
How often should an RV roof be inspected and resealed?
Technicians recommend inspecting RV roof seams at least twice every year, ideally before spring and after autumn. While high-performance MS polymer lap sealants can last 5 to 10 years, harsh UV exposure and continuous highway vibration may require localized touch-ups sooner.
Can you apply new RV lap sealant directly over existing old sealant?
Yes, provided the original sealant remains well-adhered and intact. You must thoroughly scrub the existing caulk with detergent, rinse, and degrease with isopropyl alcohol. If the old caulk is cracking, peeling, or consists of incompatible silicone, complete removal down to bare substrate is mandatory.
What is the true difference between self-leveling and non-sag RV sealant?
Self-leveling sealant has lower viscosity and flows under gravity to create a smooth, watertight seal across flat roof vents, skylights, and horizontal seams without tooling. Non-sag sealant is thick and thixotropic, engineered specifically to stay in place on vertical sidewalls, windows, and corner trims without running.
Why is standard household silicone bad for EPDM rubber camper roofs?
Standard acetoxy silicone emits acetic acid during cure, which swells, weakens, and causes irreversible buckling in EPDM rubber membranes. Silicone also leaves an unpaintable residue that prevents future sealants from adhering properly once it inevitably detaches under vibration.
Curing Times, Painting, and OEM Manufacturing
How long does RV lap sealant take to cure before rain exposure?
Most MS polymer and polyurethane lap sealants develop an initial tack-free skin within 30 to 60 minutes. They can withstand light rain after 4 to 6 hours. Full chemical cure requires 24 to 48 hours depending on ambient temperature and relative humidity.
What surface cleaner is safest for preparing RV rubber membranes?
In particular, use 99% isopropyl alcohol (IPA) or denatured alcohol on lint-free rags. Never use mineral spirits, acetone, gasoline, or petroleum-based degreasers on rubber roofs, as petroleum distillates swell and permanently dissolve EPDM and TPO membranes.
Can RV exterior sealants be painted over with body paint?
MS polymer sealants can be painted wet-on-wet or after cure with most automotive paints without cracking. Polyurethanes can be painted after full cure. In contrast, standard silicone caulk can never be painted because paint beads up and peels off immediately.
Does SHCHEMPU provide private label OEM manufacturing for RV brands?
Yes, SHCHEMPU provides full OEM and ODM services for global RV manufacturers and distributors. We offer customized viscosity formulations, color matching, private-label cartridge and sausage printing, and bulk drum shipping with complete ASTM C920 certification.
Direct Factory Supply & Custom Formulation
Source Factory-Direct RV Roof Sealants & Custom OEM Adhesive Solutions
Partner directly with SHCHEMPU for high-performance RV roof sealants, lap sealants, and exterior adhesives. We offer customized viscosity, private labeling, competitive bulk wholesale pricing, and worldwide logistics support for camper manufacturers and distributor brands.

