
Automotive pinchweld corrosion represents one of the most hazardous hidden defects in collision repair and glass replacement. The windshield aperture flange forms a critical structural link between the laminated safety glass, A-pillars, and roof header. When corrosion attacks this steel boundary, the vehicle loses its structural survival cell.
During glass extraction, aggressive cold knives and oscillating cut-out blades frequently scratch through the factory electrocoat down to bare metal. If technicians dispense polyurethane adhesive over untreated scratches, atmospheric moisture and winter road salts trigger rapid galvanic crevice corrosion.
Executing a certified pinchweld rust treatment is mandatory before any replacement glass is installed. This comprehensive engineering guide establishes a standard operating procedure for pinchweld corrosion assessment, mechanical surface preparation, two-component epoxy priming, and direct glazing bonding.
Key Takeaways: Pinchweld Corrosion & Repair Protocols
- Structural Risk: Polyurethane adhesive cannot bond structurally to iron oxide. Windshields installed over corroded pinchwelds detach completely during FMVSS 212 barrier crashes.
- Corrosion Severity Thresholds: Surface oxidation requires mechanical stripping and 2K epoxy primer. Perforated pinchwelds with through-holes require structural metal replacement, not cosmetic filler.
- 2K Epoxy Primer Superiority: Two-component epoxy primers provide an impermeable chemical barrier surviving 1,000+ hours of ASTM B117 salt fog exposure with lap shear strength exceeding 12 MPa.
- Acid Etch Prohibition: Never apply one-component acid-etch primers beneath direct glazing urethanes. Residual phosphoric acid terminates isocyanate polymerization, producing uncured, gummy adhesive bonds.
The Mechanism of Pinchweld Corrosion and Rollover Safety
The windshield provides up to 30 percent of cabin structural integrity during frontal impacts and 45 percent of roof crush resistance during vehicle rollover accidents.
When moisture wicks into bare-metal blade gouges, steel oxidizes into ferric oxide ($Fe_2O_3$). Rust occupies approximately 2.5 times the physical volume of original unoxidized steel.
Interfacial Adhesive Failure Mechanism
This volume expansion creates tremendous mechanical pressure beneath the cured adhesive. Over several months, expanding rust pushes the urethane bead away from the aperture frame.
Vehicle owners initially report subtle whistling wind noise and water dripping onto the dashboard. Under high-speed frontal crash deceleration, passenger airbag deployment exerts severe upward hydraulic pressure. The windshield ejects instantly, robbing passengers of frontal collision protection.
Four-Tier Corrosion Classification: Assessment and Decision Matrix
Selecting the proper pinchweld rust treatment method depends on classifying aperture corrosion into four distinct engineering stages:
- Stage 1 (Minor Blade Scratches): Scratches penetrating e-coat with bare metal area under 25 millimeters wide. No visible oxidation. Action: Degrease and apply certified all-in-one black glass/metal primer.
- Stage 2 (Surface Oxidation): Light reddish surface rust without measurable steel pitting. Action: Mechanically abrade to bare steel (ISO 8501-1 St 3), degrease, and apply 2K epoxy primer.
- Stage 3 (Deep Pitting Corrosion): Rough, pitted steel with metal thickness loss up to 25 percent. Action: Abrasive wire-wheel grinding, chemical rust passivation, and high-solids 2K epoxy coating.
- Stage 4 (Perforation & Through-Holes): Rust holes penetrate through pinchweld sheet metal. Action: STOP WORK. Refuse glass installation until a certified body shop welds in fresh steel replacement sections.
Why 2K Epoxy Primer is Mandatory for Severe Pinchweld Repair
Technicians often question why standard 1K spray cans or black glass primers cannot fix pitted rust. Black glass primer is an adhesion promoter, not a heavy anti-corrosion barrier. Applying black primer over active rust traps oxidation beneath the film, allowing corrosion to spread unchecked.
A professional pinchweld rust treatment requires a two-component (2K) polyamide-cured epoxy primer. Learn fundamental primer formulations in our automotive primer classification guide.
Dense Cross-Linking and Salt Spray Resistance
When epoxy resin mixes with polyamide hardener, exothermic cross-linking creates an impenetrable, cross-linked barrier network. This high-density barrier blocks oxygen, water molecules, and electrolyte salts from reaching the underlying steel.
Certified 2K epoxy coatings withstand over 1,000 hours of continuous ASTM B117 salt fog exposure without blistering. Their exceptional tensile strength ensures structural direct-glazing bonds that exceed FMVSS 212 barrier crash standards.
Technical Shootout: Pinchweld Anti-Corrosion Primer Systems
Compare the chemical performance, salt spray resistance, and structural bonding capabilities across pinchweld restoration systems:
| Performance Parameter | 1K Aerosol Rust Primer | 1K Self-Etch Primer | 2K Epoxy Pinchweld Primer |
|---|---|---|---|
| Resin Chemistry | Modified Alkyd / Acrylic | PVB + Phosphoric Acid | Bisphenol-A Epoxy / Polyamide |
| Salt Spray Rating (ASTM B117) | < 150 Hours (Blisters) | 250 – 400 Hours | > 1,000 Hours (Zero Creep) |
| Direct Urethane Bonding | FORBIDDEN (Weak Shear) | PROHIBITED (Acid Poisoning) | APPROVED (Full Cure Required) |
| Dry Film Thickness (DFT) | 15 – 25 μm (Porous) | 10 – 15 μm (Acidic) | 35 – 50 μm (Dense Shield) |
| Curing Window Before Glazing | Solvent Release (Unreliable) | Incompatible with Isocyanates | 4 – 8 Hours (Bake 30 Min) |
Selecting certified chemical primers ensures lasting crash retention. For sealant performance benchmarks, review our polyurethane vs silicone vs butyl adhesive guide.
Standard Operating Procedure: Six-Step Pinchweld Rust Remediation
Executing a durable pinchweld rust treatment requires auto glass specialists to follow this standardized restoration sequence on corroded pinchweld flanges:
Professional Pinchweld Restoration SOP
- Old Urethane Close Cut: Trim existing polyurethane bed down to 1.0 to 2.0 millimeters using sharp pinchweld scrapers. Avoid cutting fresh gouges into sound factory e-coat.
- Mechanical Corrosion Stripping: Grind oxidized areas using an 80-grit ceramic disc or wire wheel until clean white bare metal is reached (ISO 8501-1 St 3 standard).
- Solvent Degreasing: Clean the bare steel with residue-free solvent cleaners. Wipe with clean lint-free cloths until no black oxidation residue remains.
- 2K Epoxy Primer Application: Mix 2K epoxy primer per manufacturer ratios. Apply a smooth, uniform coat across all bare steel surfaces, targeting 40 microns dry film thickness.
- Full Curing Verification: Allow epoxy coating to cure completely. Accelerate curing with short-wave infrared heat lamps (30 minutes at 60 degrees Celsius) or allow 4 to 8 hours ambient cure.
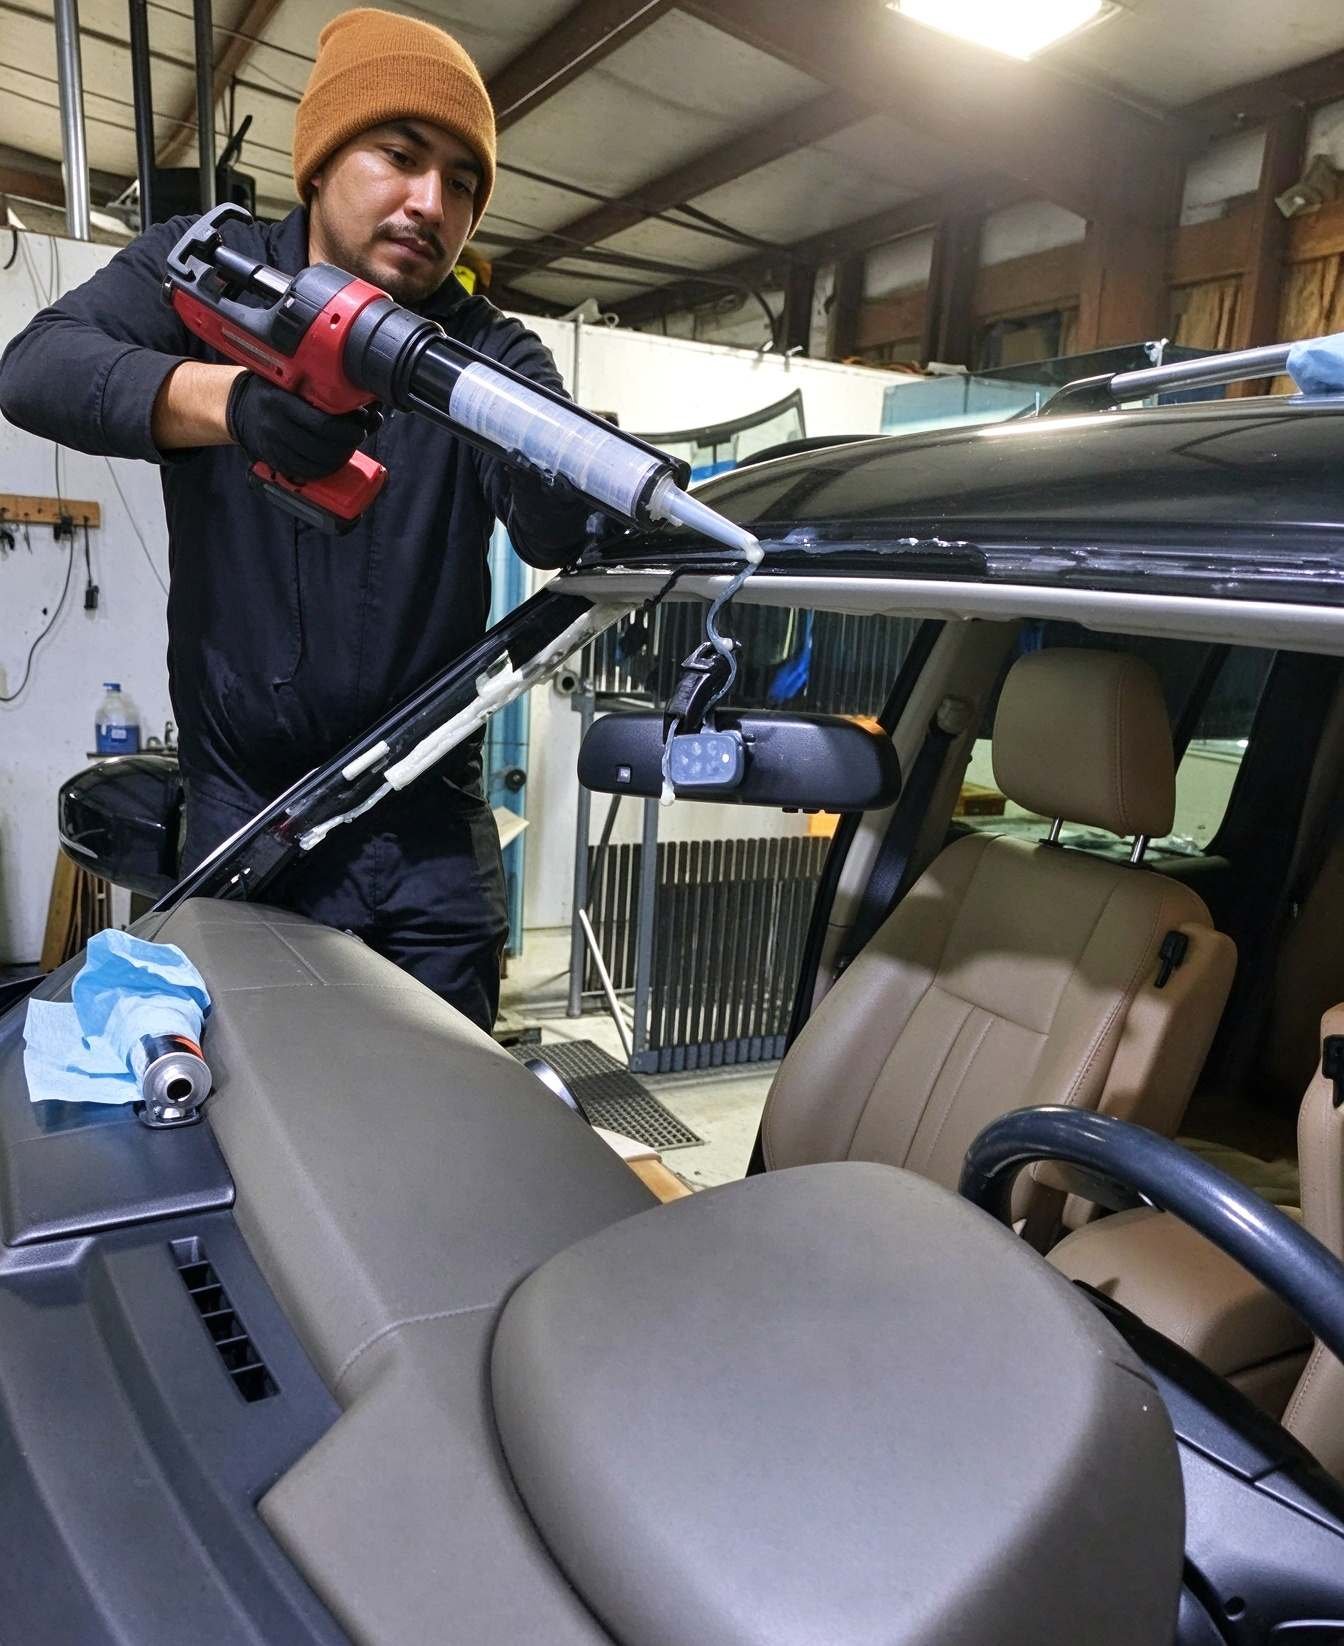
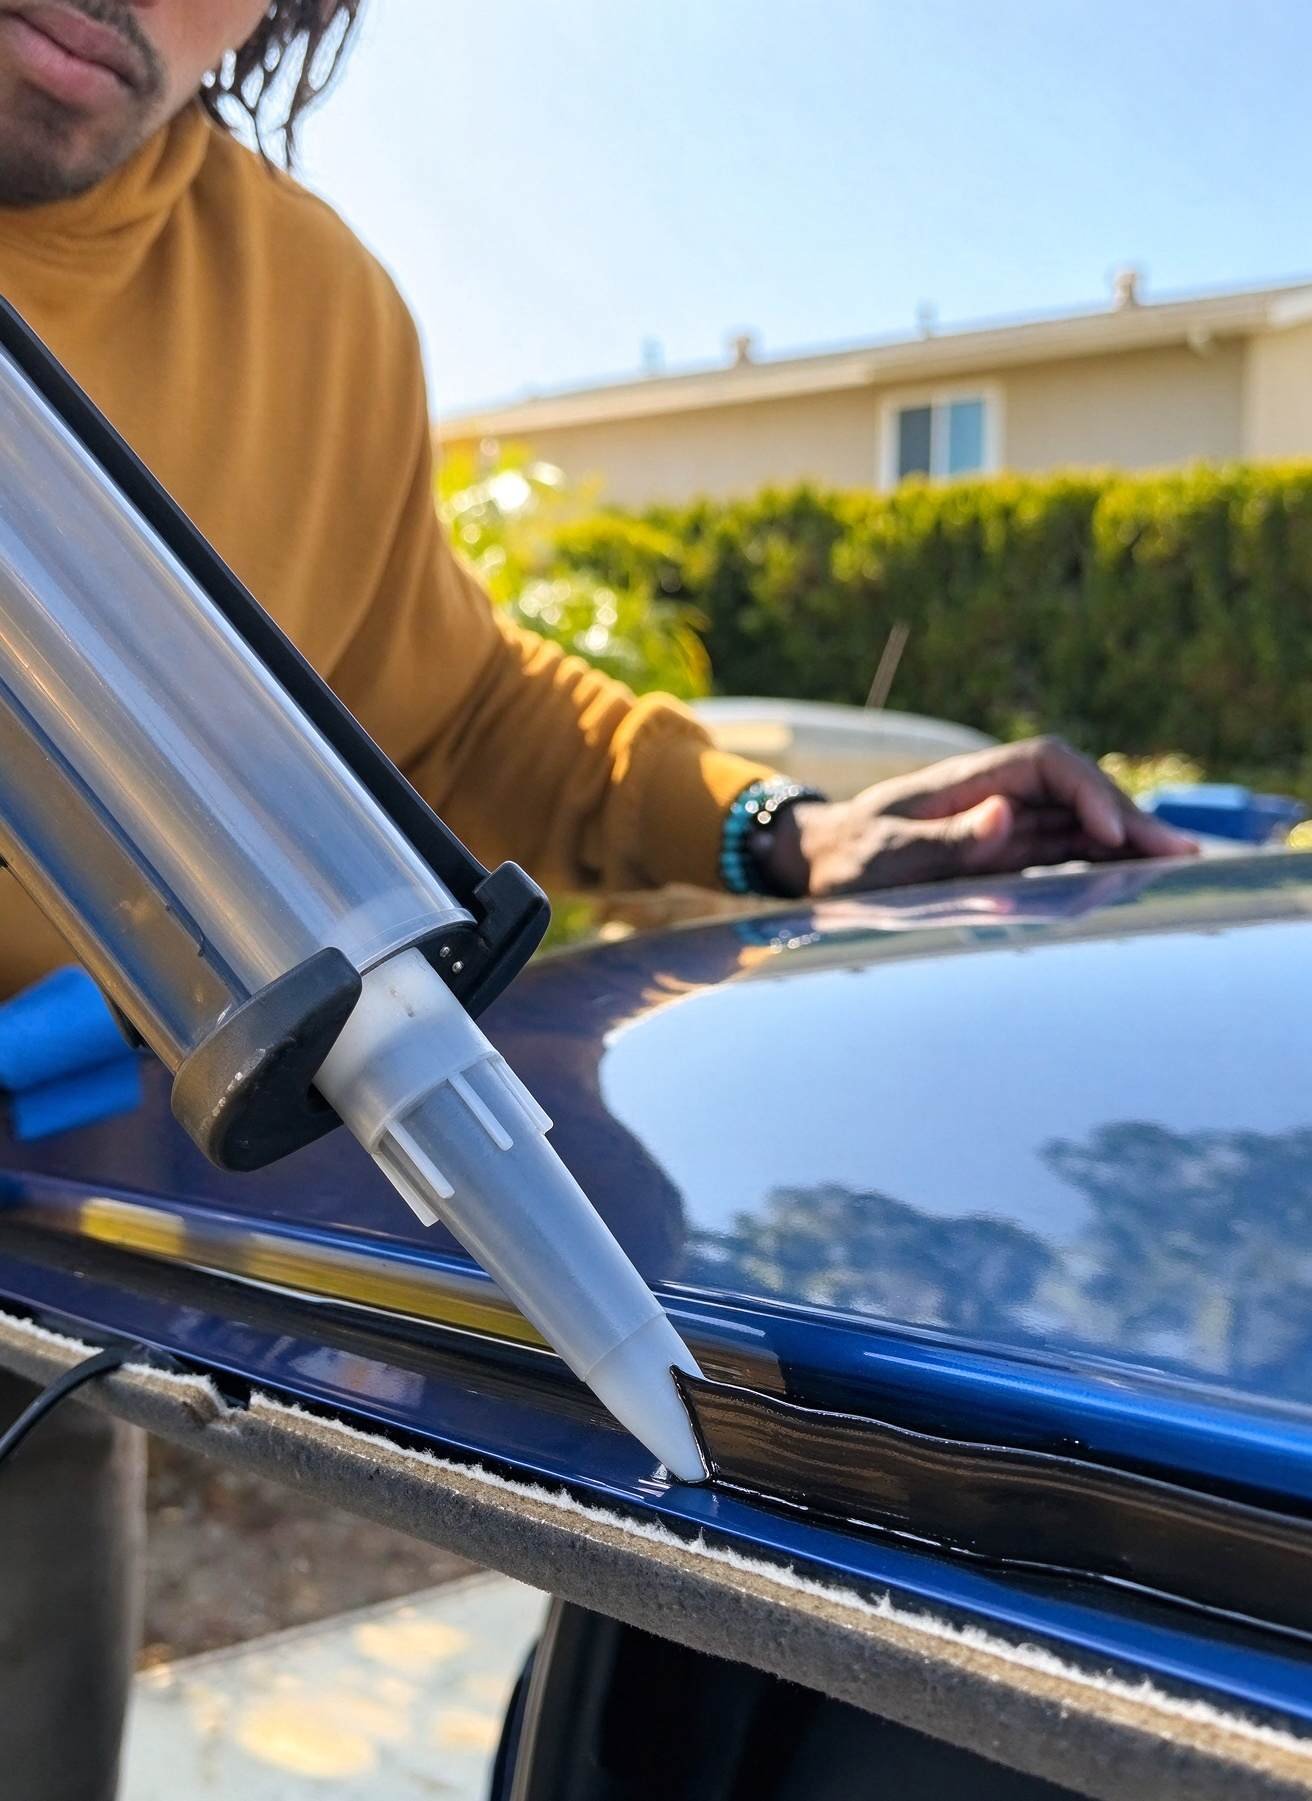
- Direct Glazing Dispensing: Apply polyurethane direct glazing adhesive along the pinchweld flange using a triangular V-notch nozzle, and bed the replacement glass immediately.
Typical Application Scenario: Commercial Van Roof Pinchweld Failure
Field Engineering Audit: Recurring Water Ingress on Delivery Van Fleet
Operating Problem: A parcel delivery company reported chronic windshield leaks and dashboard electrical shorts across twelve fleet vans. Previous mobile glass installers had resealed the windshields three times, but water continued leaking during heavy rain.
Root Cause Investigation: When technicians cut out the windshield, they found massive flaking rust along the entire upper roof header flange. Previous installers had pumped fresh urethane directly over loose rust scale without removing oxidation. Expanding rust had broken the bondline completely.
Resolution & Outcome: Technicians wire-wheeled the roof flange down to clean bare metal, degreased the aperture, and applied two coats of 2K polyamide epoxy primer. After infrared heat curing, they installed OEM windshields using ChemPU high-modulus polyurethane. In 18-month follow-up inspections, all twelve vans showed zero water leaks and zero rust creep.
Frequently Asked Questions: Pinchweld Rust Treatment & Adhesives
Can I apply windshield urethane directly over phosphoric acid rust converter?
No. Chemical rust converters leave an unreacted acid residue and a brittle iron phosphate surface layer. Polyurethane cannot form structural cross-links with this layer. Rust converters must be rinsed, dried, and coated with 2K epoxy primer before adhesive application.
Can body filler (Bondo) be used to fill rust pits on a windshield pinchweld?
Never use polyester body filler on pinchweld bonding flanges. Body fillers lack the cohesive tensile strength required to withstand FMVSS 212 barrier crash forces. Deep pits must be filled with weld metal or certified high-solids structural epoxy.
How long must 2K epoxy primer dry before applying polyurethane windshield adhesive?
Epoxy primers must achieve thorough chemical cure, requiring 4 to 8 hours at ambient shop temperatures (20 degrees Celsius). Baking with short-wave infrared lamps reduces cure time to 30 minutes, allowing same-day glass installation.
Engineering Conclusion: Restoring Structural Pinchweld Integrity
Never compromise on aperture safety. A disciplined pinchweld rust treatment protocol restores corrosion protection and guarantees structural glass retention. By combining mechanical abrasive stripping, certified 2K epoxy priming, and OEM direct-glazing polyurethane, auto glass professionals safeguard passenger lives and protect fleet investments.
Authored by ChemPU Automotive Application Engineering Team
Specializing in OEM direct-glazing polyurethane formulation, crash-retention validation per FMVSS 212 standards, and high-performance structural elastomeric bonding solutions for global automotive manufacturers.
Quality Certification: ISO 9001 / IATF 16949 Certified Adhesive Manufacturing
Source Certified OEM Direct Glazing Polyurethane Adhesives
Partner with ChemPU, an ISO 9001 and IATF 16949 certified Chinese manufacturer. We provide high-modulus polyurethane direct glazing adhesives, black glass primers, and private label cartridges for international distributors and fleet repair networks.
Direct WhatsApp Technical Inquiry: +86 15216655520

