
Windshield water leaks and aerodynamic wind noise are among the most persistent customer complaints following automotive glass replacement. A vehicle owner noticing damp front carpets or hearing a high-pitched whistling sound at highway speeds often faces expensive diagnostic time.
These failures originate from microscopic voids in the polyurethane adhesive bead. Dispensing errors, irregular gunning speeds, contaminated glass frits, or inadequate bead compression leave open air channels across the pinchweld aperture.
Resolving these defects requires systematic leak pinpointing and careful sealant selection. In non-structural cosmetic trim gaps, applying a high-grade flowable silicone windshield sealant provides an efficient secondary seal. This technical guide outlines diagnostic testing methods, chemical sealant boundaries, and professional secondary sealing procedures.
Key Takeaways: Leak Diagnostics & Secondary Sealing
- Structural vs. Cosmetic Boundaries: Flowable silicone seals minor exterior trim gaps and pinholes. If the structural polyurethane bondline has detached or tunneled, the windshield must be removed and re-bedded per FMVSS 212.
- Capillary Action Wicking: Flowable silicone features ultra-low viscosity. It flows automatically into hairline crevices under gravity, curing into a flexible silicone rubber matrix without disassembling moldings.
- Positive Pressure Bubble Testing: Running vehicle HVAC on high fresh air while spraying soapy water around the glass perimeter provides fast visual confirmation of aerodynamic wind channels.
- Silicone Contamination Warning: Never apply silicone over areas requiring future polyurethane bonding. Silicone oils permanently contaminate surfaces, preventing isocyanate adhesive adhesion.
The Physics of Windshield Air Channelling and Water Leaks
A void as narrow as 0.5 millimeters in the urethane bondline produces intrusive aerodynamic whistling and allows water to enter cabin electronics under highway air pressure.
Direct-glazing polyurethane requires an unbroken, solid bead around the entire perimeter. When technicians pause dispensing or overlap bead ends improperly, air pockets form.
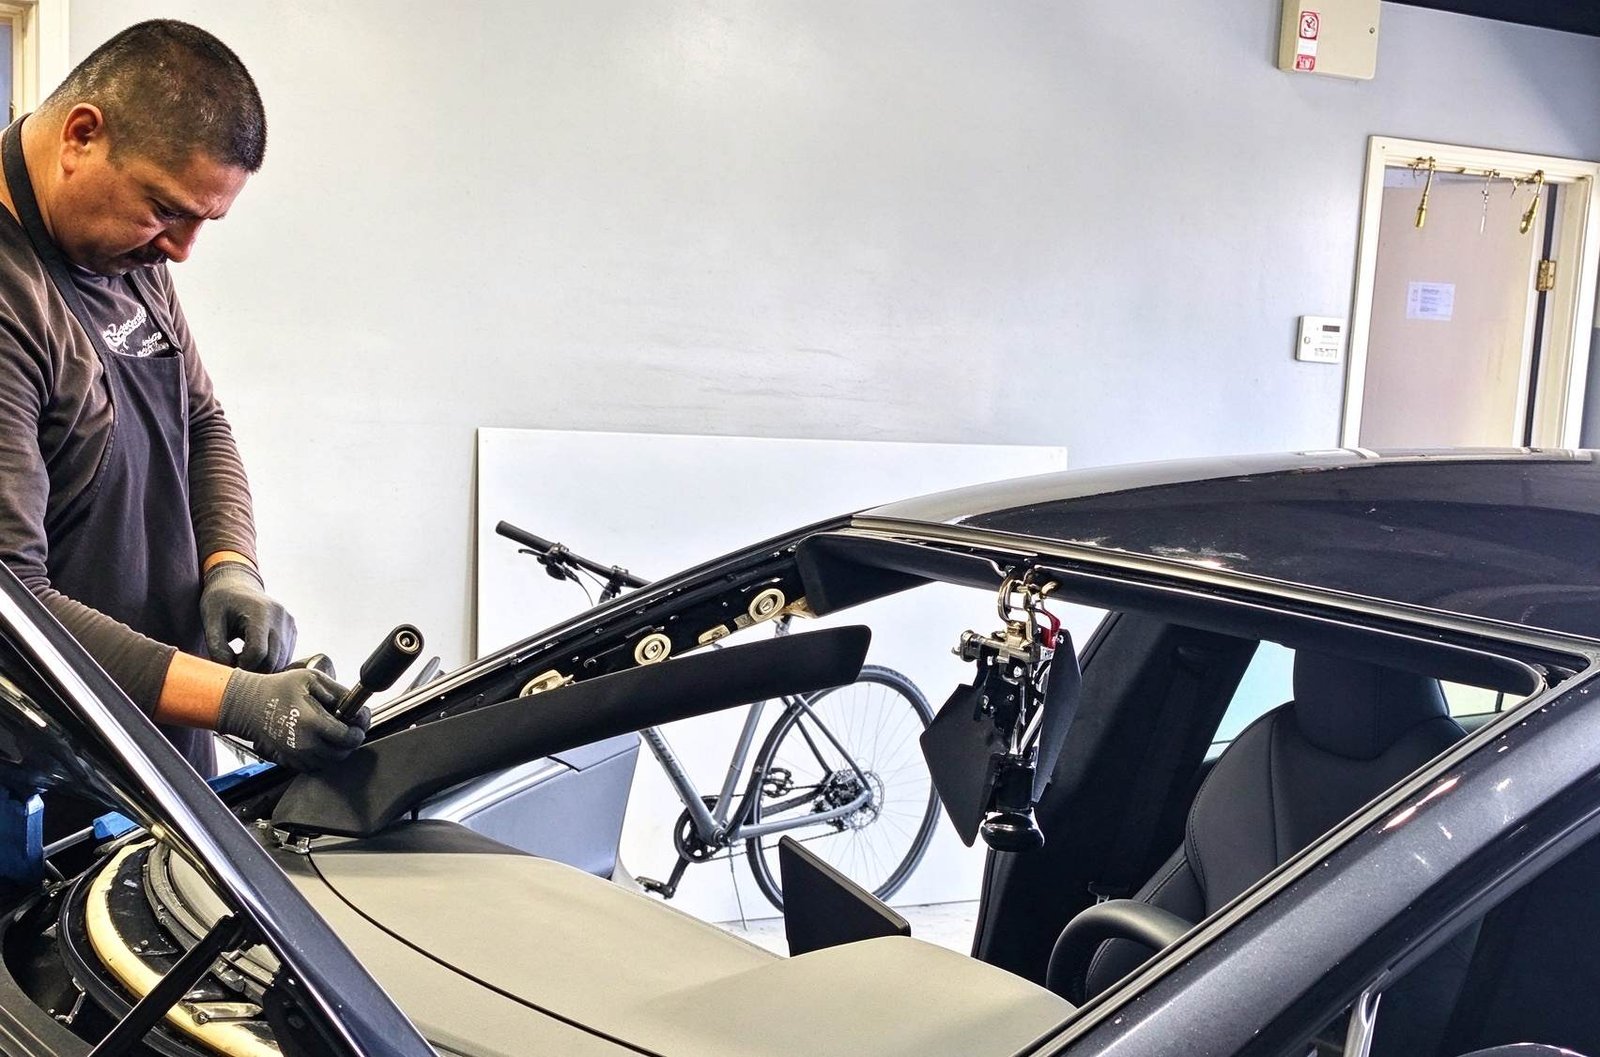
Aerodynamic Pressure Differentials
At speeds above 80 km/h, air moving across the vehicle cowl and A-pillars creates localized high-pressure zones. This pressure forces ambient air through microscopic tunnels in the sealant.
During rainstorms, surface water wicks along these air channels by capillary pressure. Water drips behind the dashboard, corroding wiring harnesses and causing body computer module failures.
Four Professional Methods for Leak and Noise Pinpointing
Technicians must avoid high-pressure pressure washers, which can force water past sound rubber moldings. Professional shops utilize four non-destructive diagnostic techniques:
- 1. Low-Pressure Water Stand Test: Direct a low-pressure open garden hose along the glass perimeter, starting from the lower cowl and moving upward. Work slowly to identify the exact water entry elevation.
- 2. Positive Pressure Bubble Test: Close all vehicle windows and set the HVAC blower to maximum speed on fresh air mode. Spray soapy water across the exterior glass molding. Air escaping through leak tunnels forms visible soap bubbles.
- 3. Ultrasonic Sound Detection: Place an ultrasonic sound transmitter inside the closed cabin. Scan the exterior windshield frame using an ultrasonic receiver wand. The detector registers high-frequency sound escaping through hairline voids.
- 4. Non-Toxic Smoke Machine: Inject lightweight theatrical smoke into the vehicle cabin under slight positive pressure. Escaping smoke plumes identify the exact exit point of wind noise channels.
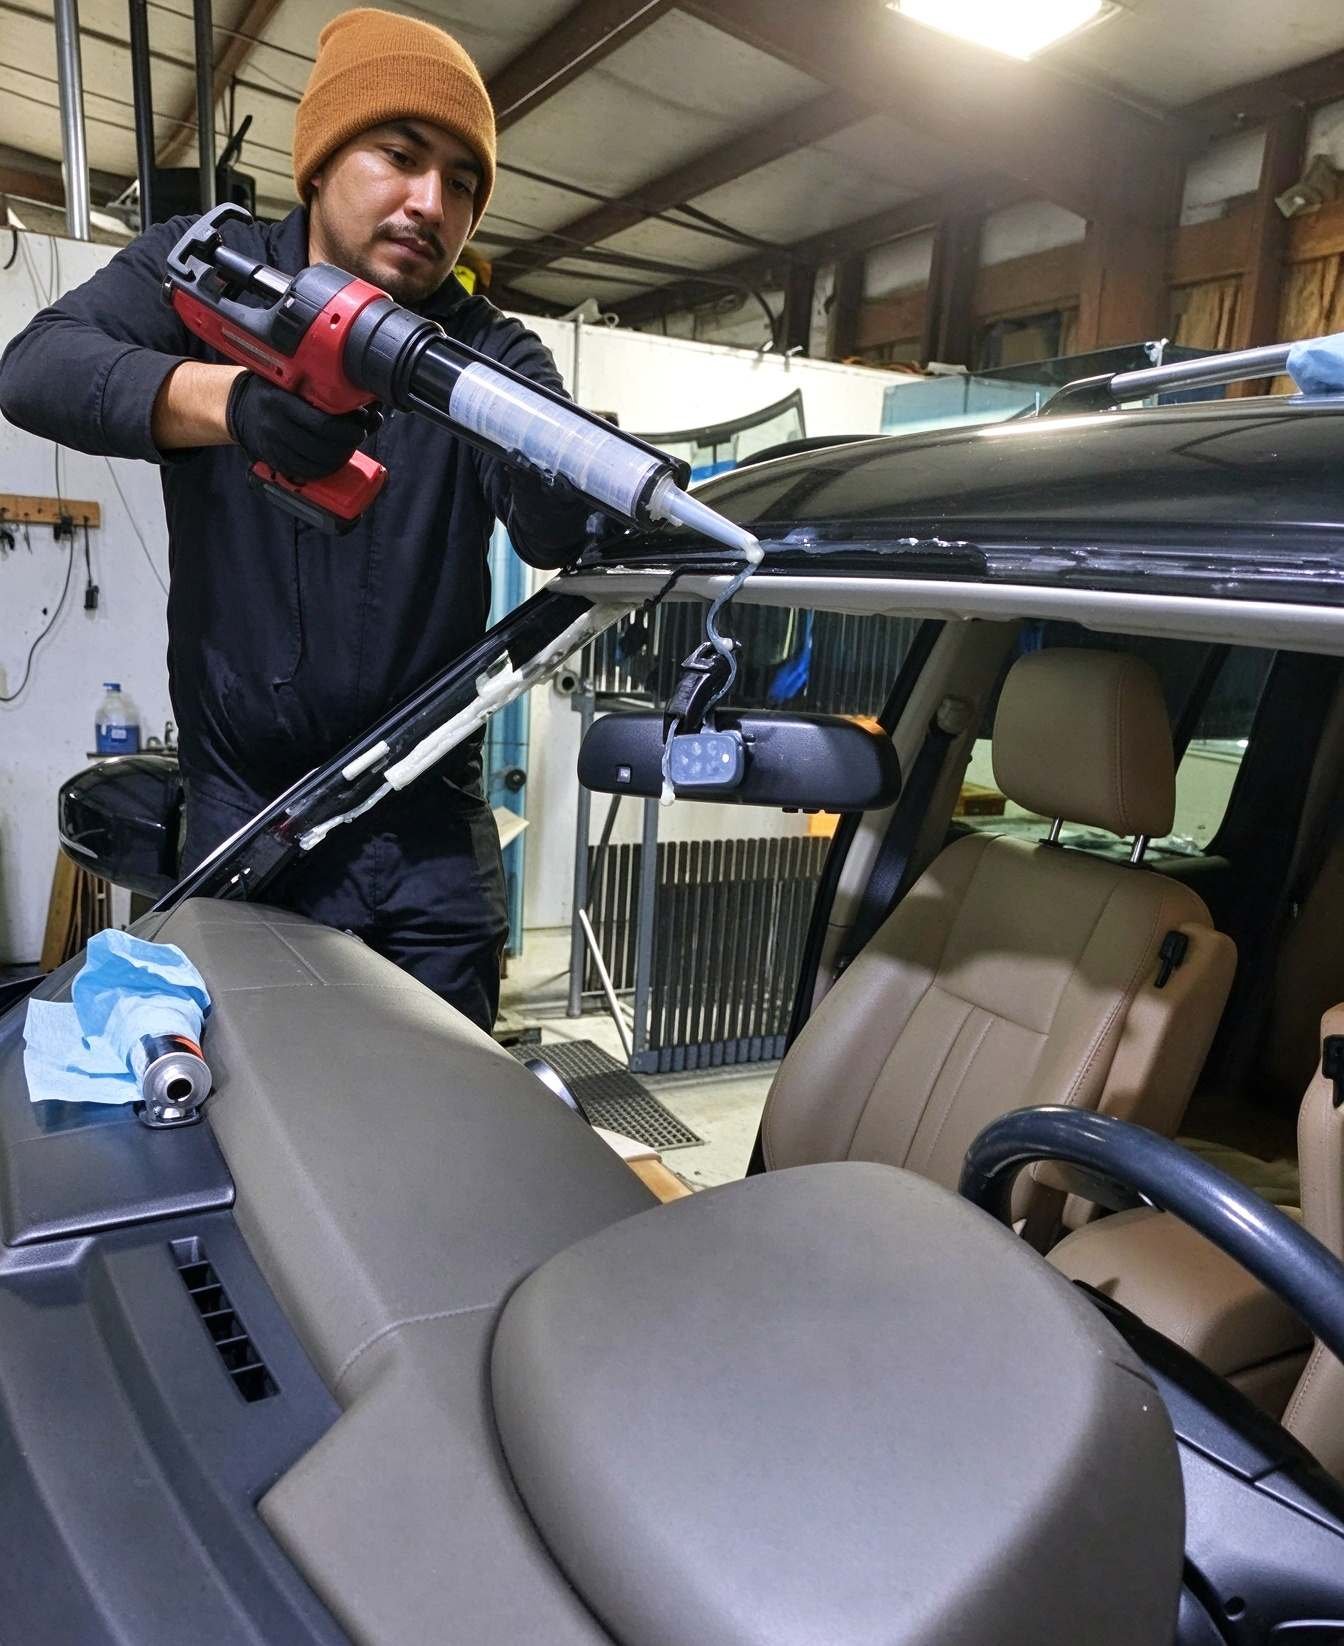
Sealant Selection: Flowable Silicone vs. Polyurethane vs. Butyl
Selecting the proper repair sealant depends strictly on whether the issue is cosmetic or structural:
A certified flowable silicone windshield sealant utilizes a neutral-cure, moisture-vulcanizing silicone formulation with water-like viscosity. When injected along the edge of glass encapsulation moldings, it flows effortlessly into crevices, sealing pinholes without requiring glass removal.
Capillary Action and Surface Tension Dynamics
Standard auto sealants have thick paste consistency with viscosities exceeding 500,000 centipoise. In contrast, flowable silicones exhibit dynamic viscosities below 50,000 centipoise.
This low fluid resistance enables capillary drawing. When placed near narrow cracks, surface tension pulls the liquid silicone inward against gravity. The fluid fills microscopic voids up to 25 millimeters deep before atmospheric moisture triggers room-temperature vulcanization.
When Full Glass Re-Set is Mandatory
If water enters because the polyurethane bead detached from corroded steel, silicone cannot fix the issue. The glass has lost its structural retention capability.
Technicians must cut out the windshield, remediate pinchweld rust with 2K epoxy primer, and install the glass using high-modulus polyurethane. Review pinchweld protocols in our pinchweld rust treatment guide.
Technical Shootout: Automotive Resealing Chemistry Comparison
Review the viscosity, bonding mechanics, and application boundaries across primary automotive repair sealants:
| Performance Parameter | Flowable Silicone Windshield Sealant | 1K Polyurethane Direct Glazing | Butyl Mastic Ribbon |
|---|---|---|---|
| Fluid Viscosity | Ultra-Low (Capillary Flow) | Thixotropic Paste (Zero Slump) | Semi-Solid Plastic Tape |
| Capillary Penetration | Excellent (Seeks Micro-Gaps) | None (Requires Joint Tooling) | None (Compression Only) |
| Tensile Shear Strength | 1.5 – 2.5 MPa | > 6.0 MPa (High Modulus) | < 0.3 MPa (Non-Structural) |
| FMVSS 212 Crash Approval | Secondary Weatherstrip Only | MANDATORY OEM CRASH RATED | PROHIBITED FOR CRASH SAFETY |
| Paintability | Unpaintable (Silicone Fisheyes) | Paintable with primers | Unpaintable (Bleeds Oils) |
For deeper chemistry distinctions, check our polyurethane vs silicone vs butyl comparison.
Standard Operating Procedure: Five-Step Secondary Leak Repair
When diagnostic testing confirms a minor exterior trim void, technicians should apply a flowable silicone windshield sealant following this exact sequence:
Secondary Sealing Protocol
- Joint Decontamination: Blow out road dust and trapped water using dry compressed air. Clean the glass and rubber molding with isopropyl alcohol. The joint must be 100 percent dry.
- Molding Edge Retraction: Gently lift the rubber molding lip using non-marring plastic pry tools to expose the underlying glass edge.
- Precision Sealant Dispensing: Snip the fine applicator tip. Dispense flowable silicone sealant directly along the seam. Allow gravity and capillary action to draw the fluid into the void.
- Surface Tooling: Wipe away excess silicone from external glass surfaces immediately using an alcohol-dampened cloth before skin formation.
- Cure Verification: Allow the silicone to vulcanize for at least 1 hour before vehicle operation. Conduct a final low-pressure water test after 24 hours of full cure.
Typical Application Scenario: Luxury Sedan A-Pillar Whistle
Field Engineering Audit: High-Speed Wind Noise Resolution
Operating Problem: A luxury sedan exhibited a loud whistling noise originating from the upper driver-side A-pillar when driven above 100 km/h. No water leaks were observed inside the cabin.
Root Cause Investigation: Positive pressure bubble testing revealed soap bubbles escaping from beneath the encapsulated molding at the roof corner. An ultrasonic receiver confirmed a pinhole void between the exterior glass frit and the acoustic seal. The main polyurethane structural bond remained intact.
Resolution & Outcome: Technicians cleaned the corner with alcohol and injected 2 milliliters of flowable silicone sealant into the channel. The low-viscosity liquid wicked into the pinhole, sealing the air passage. Subsequent highway road testing at 120 km/h confirmed zero wind noise.
Frequently Asked Questions: Windshield Resealing & Sealants
Can flowable silicone be applied while the windshield frame is still wet?
No. Moisture inside the crevice prevents the silicone from wetting the glass and rubber substrate, causing adhesion failure. Joints must be thoroughly dried using compressed air and heat guns before applying sealant.
Why is household silicone bathroom caulk forbidden on auto glass?
Household caulks use acetoxy-cure systems that release corrosive acetic acid during vulcanization. Acetic acid corrodes steel pinchwelds and damages laminated glass polyvinyl butyral (PVB) interlayers. Automotive sealants must use neutral-cure chemistry.
Can a windshield that leaks water be repaired without removing the glass?
Only if the leak is confined to exterior trim channels or isolated pinholes while the primary polyurethane bondline remains structurally sound. If the urethane bead has separated from the pinchweld, full glass replacement is legally mandatory.
Engineering Conclusion: Precision Diagnostics Prevent Warranty Comebacks
Automotive glass leak repair requires strict diagnostic discipline. Technicians who pinpoint leak origins, distinguish structural bond failures from cosmetic pinholes, and apply specialized flowable silicone windshield sealant ensure leak-free, whisper-quiet vehicle cabins.
Authored by ChemPU Automotive Application Engineering Team
Specializing in OEM direct-glazing polyurethane formulation, crash-retention validation per FMVSS 212 standards, and high-performance structural elastomeric bonding solutions for global automotive manufacturers.
Quality Certification: ISO 9001 / IATF 16949 Certified Adhesive Manufacturing
Source Certified OEM Direct Glazing Polyurethane Adhesives
Partner with ChemPU, an ISO 9001 and IATF 16949 certified Chinese manufacturer. We provide high-modulus polyurethane direct glazing adhesives, black glass primers, and private label cartridges for international distributors and fleet repair networks.
Direct WhatsApp Technical Inquiry: +86 15216655520

