
Collision repair facilities frequently encounter panel fluttering, hem flange corrosion, or ghost lines along exterior body joints. These structural defects typically stem from improper application of car body panel adhesive during door skin or quarter panel replacements.
Automotive OEMs specify two-component toughened epoxies to bond outer steel and aluminum closure panels. Unlike traditional welding, structural adhesive bonding distributes dynamic road stress evenly. This process eliminates heat warpage and establishes a 100% moisture-proof corrosion barrier.
However, incorrect clamping pressure or premature handling before full cure causes bondline starvation and catastrophic joint separation. This standard operating procedure outlines surface profiling, roll-crimping hem flanges, and heat-assisted curing cycles according to OEM collision repair standards.
Key Takeaways: Panel Adhesive Replacement Rules
- Structural Strength: Two-component epoxy adhesives deliver over 20 MPa lap shear strength, exceeding factory spot-weld durability.
- Bondline Preservation: Calibrated 10 mil (0.25 mm) glass spacer beads inside the adhesive prevent squeeze-out during hem crimping.
- Heat Warpage Elimination: Cold bonding door skins prevents thermal distortion, preserving factory paint transitions and panel gaps.
- Corrosion Protection: Continuous adhesive squeeze-out completely seals the inner hem flange fold against moisture wicking.
- Cure Management: Maintain clamp pressure for 4 hours at 20°C, or accelerate to 45 minutes using 60°C infrared heat curing.
Bondline Physics: Mechanical Interlocking & Corrosion Sealing
Modern closure panels utilize thin-gauge galvanized steel (0.65 mm to 0.8 mm) or high-strength aluminum alloys. Conventional plug welding burns away protective zinc coatings. This leaves the interior fold vulnerable to crevice rust.
Applying certified car body panel adhesive eliminates this thermal damage entirely. The epoxy resin wets micro-abraded metal asperities. This creates microscopic mechanical anchors that resist cyclic peel and shear forces during door slamming.
Toughened Polymer Networks
High-performance panel adhesives contain core-shell rubber nanoparticles dispersed within the epoxy matrix. Under sudden collision impact, these microscopic rubber domains arrest crack propagation, dissipating kinetic energy safely across the entire flange.
This toughened chemistry allows vehicles to meet FMVSS 214 side-impact crash requirements without requiring continuous spot welding along outer perimeter flanges.
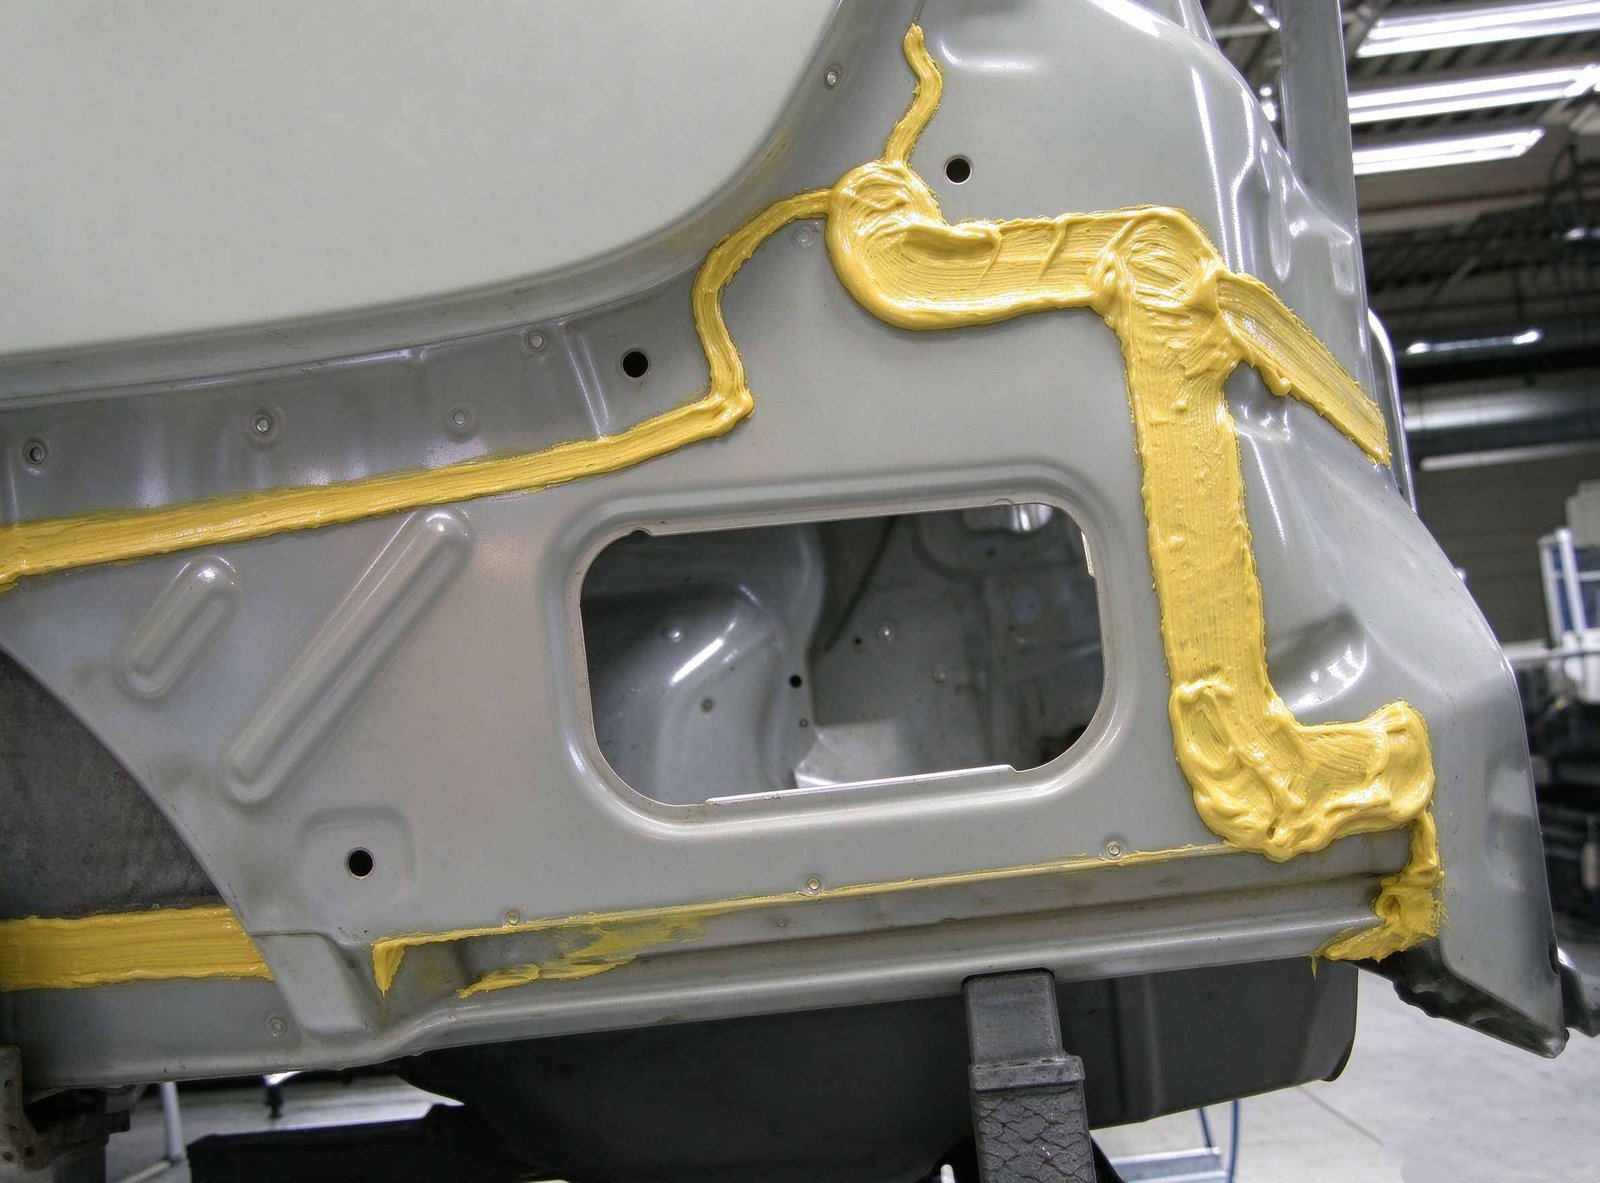
Figure 1: Manual brush application of protective seam sealer over structural overlap joints on vehicle chassis.
Joining Method Performance Benchmark: Adhesive vs Welding
Comparing panel replacement methods clarifies why vehicle manufacturers mandate structural adhesives on outer closures. The table below compares lap shear strength, corrosion resistance, and thermal distortion risks under ASTM testing.
| Joining Technology | Lap Shear Strength | Corrosion Resistance | Thermal Distortion |
|---|---|---|---|
| 2K Toughened Epoxy Adhesive | 22 – 26 MPa | > 1,000 hrs (ASTM B117) | Zero (Cold process) |
| MIG / MAG Plug Welding | 18 – 22 MPa (Point loads) | < 350 hrs (Zinc burn-off) | High (Requires metal finishing) |
| Resistance Spot Welding (STRSW) | 20 – 24 MPa | 500 – 700 hrs | Low to Moderate |
| Weld-Bonding (Adhesive + STRSW) | > 28 MPa | > 1,500 hrs (OEM Grade) | Minimal |
Glass Spacer Beads Prevent Clamp Squeeze-Out
Structural panel bonding formulations incorporate microscopic glass beads measuring exactly 0.25 mm (10 mils) in diameter. When technicians crimp the door hem flange using pneumatic tools, excess adhesive displaces smoothly.
The solid glass beads prevent metal-to-metal contact under heavy clamping forces. Maintaining this uniform 10 mil bondline guarantees maximum joint shear capacity and avoids brittle failure modes under dynamic road vibrations.
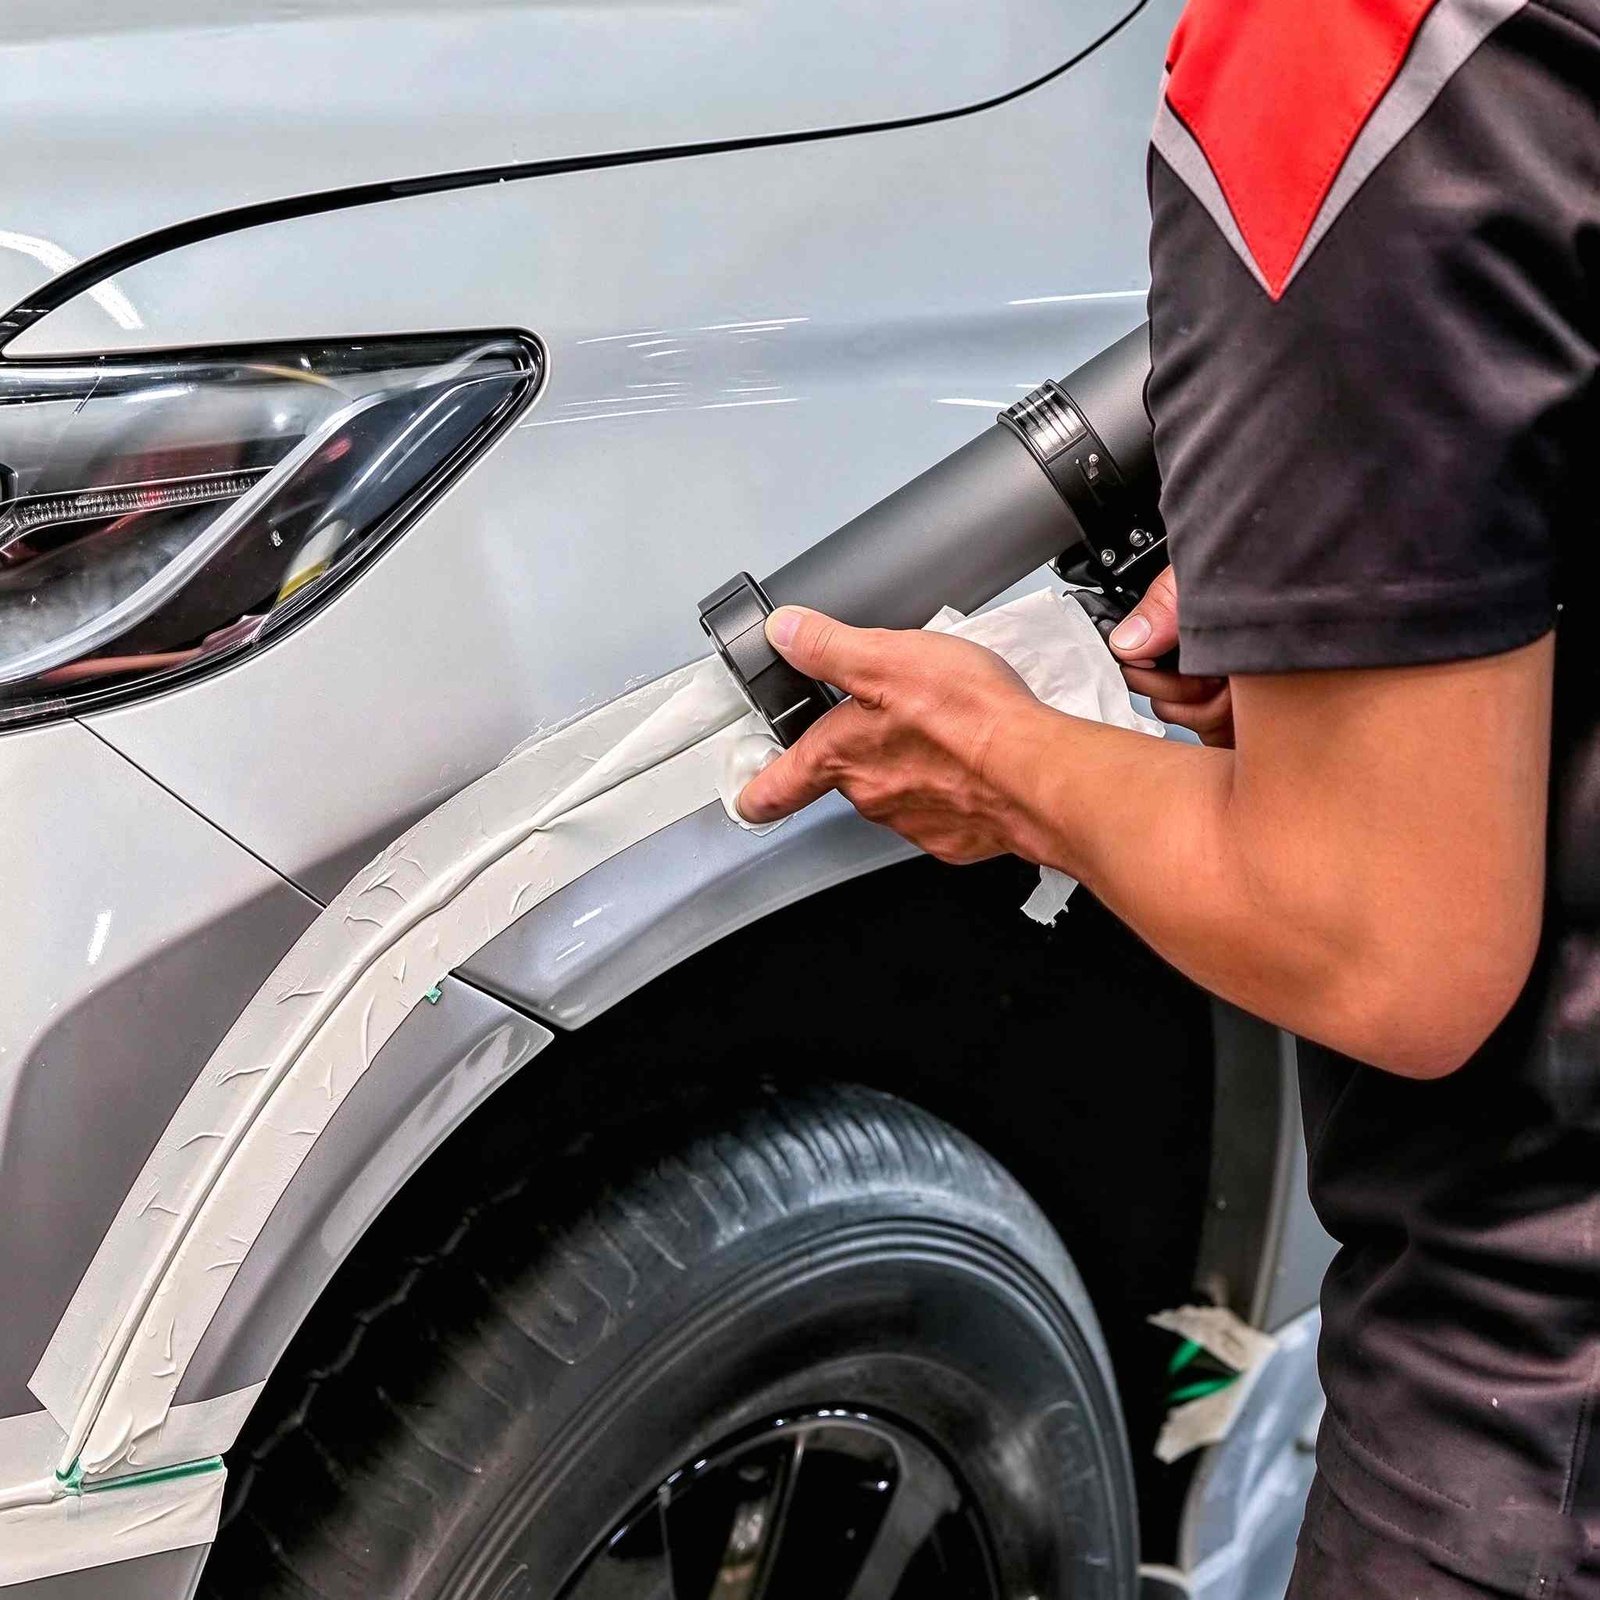
Figure 2: Precision application of protective seam sealer along automotive wheel arch and quarter panel overlap seams.
Standard Operating Procedure: Door Skin & Quarter Panel Replacement
Executing OEM-certified panel replacement requires disciplined adherence to this step-by-step structural bonding workflow.
Five-Stage Panel Replacement Protocol
- Flange Preparation: Grind mating flanges to bare metal using P80 abrasive discs. Remove all factory e-coat and oxidation, then degrease thoroughly using solvent surface cleaner.
- Adhesive Dispensing & Buttering: Purge and balance the 2K cartridge. Dispense a continuous 8 mm bead of structural adhesive along the inner frame flange. Butter the bare metal with an applicator spatula to eliminate air entrapment.
- Panel Alignment & Hem Crimping: Position the replacement skin within the 45-minute working time. Use a pneumatic hem flange tool or hammer and dolly to roll-crimp the edge gradually in three progressive passes (30°, 60°, and 90°).
- Clamping & Squeeze-Out Verification: Apply locking grip clamps every 150 mm along straight runs. Confirm continuous adhesive squeeze-out along the entire crimped hem to ensure complete moisture encapsulation.
- Curing & Seam Sealing: Allow 4 hours ambient cure at 20°C, or heat-cure for 45 minutes at 60°C. Scuff exterior joints with P220 pads and apply automotive seam sealer along external edges.
Hem Flange Roll-Crimping Best Practices
Never crimp a hem flange in a single aggressive pass. Attempting full closure immediately bends outer sheet metal excessively. This cracks galvanized zinc coatings and fractures the liquid adhesive film.
Progressive multi-stage folding distributes bending strain uniformly. Continuous adhesive squeeze-out forms an impenetrable barrier that prevents capillary salt water penetration into the folded joint.
OEM Guidelines & Structural Safety Boundaries
Automobile manufacturers publish specific collision repair position statements outlining where panel adhesives are approved and where welding remains legally mandatory.
Adhesive-only bonding is widely approved for non-structural outer skins, including door skins, roof skins, and bedside panels. However, full quarter panel replacements typically require weld-bonding or sectioning sleeves along structural pillar cut points.
FMVSS Crash Energy Management
Federal crash standards mandate that passenger vehicles absorb side and rear impacts through controlled deformation of internal structural pillars. Bonding outer cosmetic skins with toughened adhesives allows inner high-strength steel reinforcements to manage crash loads without joint separation.
Following structural bonding specifications outlined in our panel bond vs seam sealer technical guide guarantees collision repairs restore vehicles to original factory safety benchmarks.
Typical Application Scenario: Commercial Van Door Skin Replacement
Eliminating Hem Corrosion & Panel Flutter in Municipal Fleets
Fleet Profile: A municipal utility maintenance depot replacing side cargo door skins across 40 service delivery vans.
Field Failure: Previous repair technicians MIG plug-welded replacement door skins every 100 mm along bottom hem flanges. Within 18 months of winter road operation, heat-damaged zinc coatings corroded completely. This produced bubbling paint and rust creep along the bottom hem. The doors also exhibited severe panel flutter at highway speeds.
Corrective SOP: Engineering mandated full adhesive replacement using ChemPU two-component structural car body panel adhesive. Flanges were ground clean to bare steel. Technicians dispensed a calibrated 8 mm adhesive bead, progressive-crimped the hem with pneumatic rollers, and heat-cured the joint under infrared lamps at 60°C for 45 minutes.
Verification Results: Ultrasonic inspection confirmed 100% continuous adhesive bondline with zero air pockets. Torsional rigidity testing showed door skin stiffness increased by 28% over spot-welded assemblies, while three-year follow-up fleet audits revealed zero hem corrosion or edge blistering.
Frequently Asked Questions: Body Panel Adhesives & Installation
Can you replace a door skin using only car body panel adhesive without welding?
Yes. Most major automotive OEMs recommend adhesive-only bonding for door skins along perimeter hem flanges. Structural panel bonding epoxy provides superior corrosion protection and fatigue strength compared to spot welding, while eliminating heat distortion.
How long do you have to leave clamps on panel bonding adhesive?
At standard room temperature (20°C to 25°C), clamps must remain in place for 4 to 6 hours before moving the panel. Technicians can accelerate clamp removal to 45 minutes by applying short-wave infrared heat lamps at 60°C.
What causes ghost lines or read-through over bonded quarter panel joints?
Ghost lines occur when body filler or primer is applied over bonded seams before structural adhesive reaches full chemical cure. Trapped reaction heat or residual volumetric shrinkage pulls paint films inward, creating visible outline shadows along the joint.
Technical Review by ChemPU Body Engineering & Structural Bonding Lab
Authored by Senior Automotive Structural Engineers specializing in closure panel bonding, hem flange crimp mechanics, and ASTM D1002 adhesive lap shear verification. Certified under ISO 9001 and IATF 16949 standards.
Source Certified OEM Car Body Panel Adhesives
Upgrade your collision repair centers and bus manufacturing operations with ChemPU high-strength car body panel adhesive formulations. Eliminate hem flange corrosion, speed up cycle times, and meet OEM structural crash standards.
Direct WhatsApp Technical Inquiry: +86 15216655520

