
Automotive body shops and fleet repair facilities face severe rework costs when replacement roof ditches, trunk gutters, and hem flanges exhibit ragged sealer edges. Freehand finger tooling creates concave joints that trap standing wash water. Rough borders signal low-grade craftsmanship to vehicle owners.
Original equipment manufacturers rely on automated seam sealer extrusion systems. These robots lay crisp, calibrated beads with micron-level edge uniformity. In commercial collision repair, replicating these sharp factory lines demands structured tooling protocols. Technicians use vinyl fine-line tapes and radiused plastic spreaders.
However, pulling masking tape after initial polymer skinning stretches wet paste into torn strings, ruining paint lines. Achieving clean factory bead geometry requires strict discipline over nozzle tip cutting, profiling angles, and tape-pull timing windows. This engineering standard details precise tooling and masking procedures for manual bead application.
Key Takeaways: Extrusion Bead Tooling & Masking Standards
- Precision Masking Selection: Utilize thermal-resistant PVC fine-line masking tape instead of crepe paper to prevent adhesive bleed and fuzzy edges.
- Convex Bead Geometry: Profile beads with a slight convex crown to shed water, avoiding concave depressions that collect corrosive road brine.
- Immediate Tape Extraction: Remove masking tape immediately after profiling while the polymer remains wet to ensure knife-sharp borders.
- Calibrated Spreader Tooling: Use semi-rigid polyethylene contour spatulas matching factory joint radii instead of gloved fingers.
- Substrate Priming Discipline: Apply beads exclusively over scuffed, fully cured 2K epoxy primer to prevent edge lifting under chassis twist.
Joint Profile Geometry: Convex Crown vs Concave Depression
Untrained technicians frequently smooth wet paste using a gloved finger soaked in solvent. This habit forms a concave trough along the seam center.
Concave seams create horizontal water traps inside roof channels and trunk gutters. Standing water dissolves winter deicing salts. This exposure initiates crevice corrosion that undermines automotive primer coats over time.
Hydrodynamic Shedding & Bead Width Ratios
Factory-grade seam sealer extrusion requires convex bead profiles. These crowns shed moisture outward onto painted body surfaces. A gentle 10-degree convex crown ensures complete runoff without pooling.
Maintain bead width at three times the overlap joint depth. This geometric ratio provides adequate polymer mass to absorb body flex without overstressing joint margins.
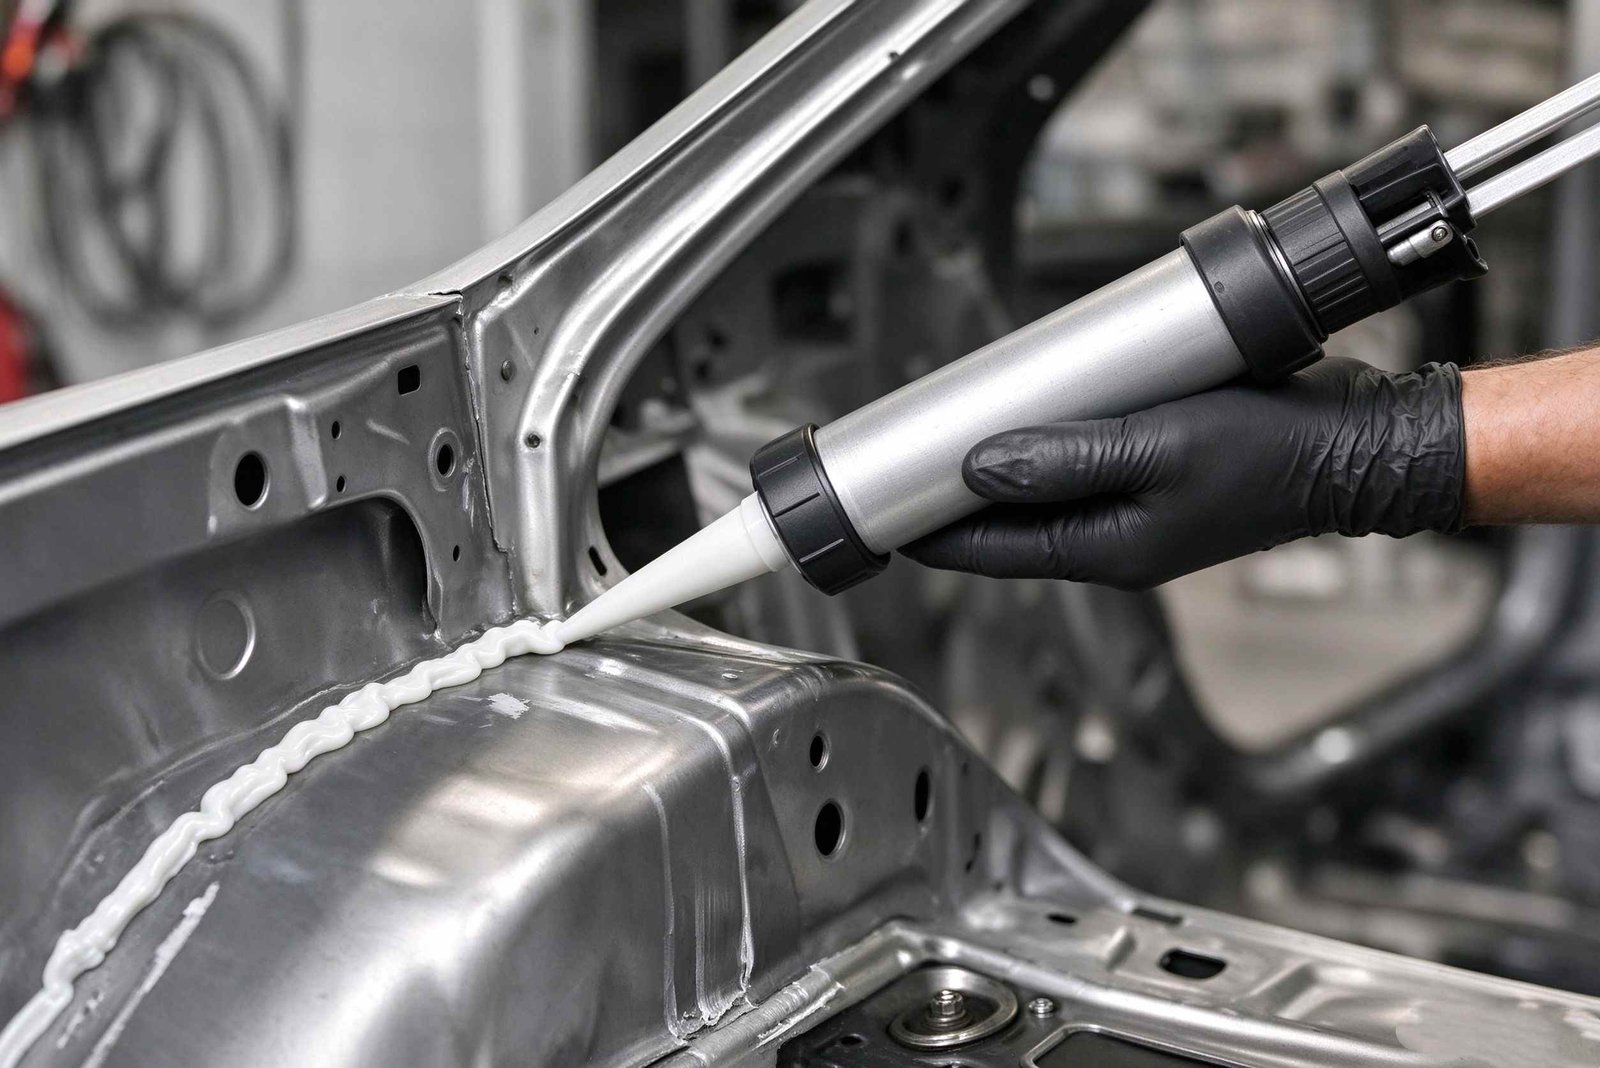
Figure 1: Manual applicator gun extruding white seam sealer bead over automotive joint prior to precision masking and profile tooling.
Tooling Spatula & Masking Selection Benchmark
Selecting proper tooling equipment separates commercial refinish operations from low-end body repair. The table below compares edge sharpness, solvent tolerance, and profile consistency across tooling methods.
| Tooling / Masking System | Edge Definition | Profile Consistency | Primary Application Area |
|---|---|---|---|
| PVC Fine-Line Tape + Polyethylene Spatula | Razor-sharp border (<0.05 mm) | Calibrated uniform crown | Roof ditches, tailgate gutters, door sashes |
| Crepe Paper Masking Tape | Fuzzy / bleeding edges | Moderate (tape edge teared) | Rough floor pan underbody seams |
| Pre-Cut V-Notch Extrusion Nozzle | Clean mechanical bead | High (operator speed dependent) | Door skin hem flanges, quarter panel joints |
| Solvent-Dipped Gloved Finger | Wavy / feathered margins | Concave depression (water trap) | Substandard field repairs (not recommended) |
Solvent Attack from Improper Smoothing Fluids
Wiping freshly extruded polymers with lacquer thinner or brake cleaner degrades surface crosslinking. Solvents leach plasticizers from the curing paste. This chemical damage creates chalky surfaces and micro-cracks under solar exposure.
Professional body technicians tool seams dry using non-stick polyethylene profiles. If lubricating fluid is necessary, use neutral, surfactant-free tooling sprays. These clean fluids evaporate without chemical residue.
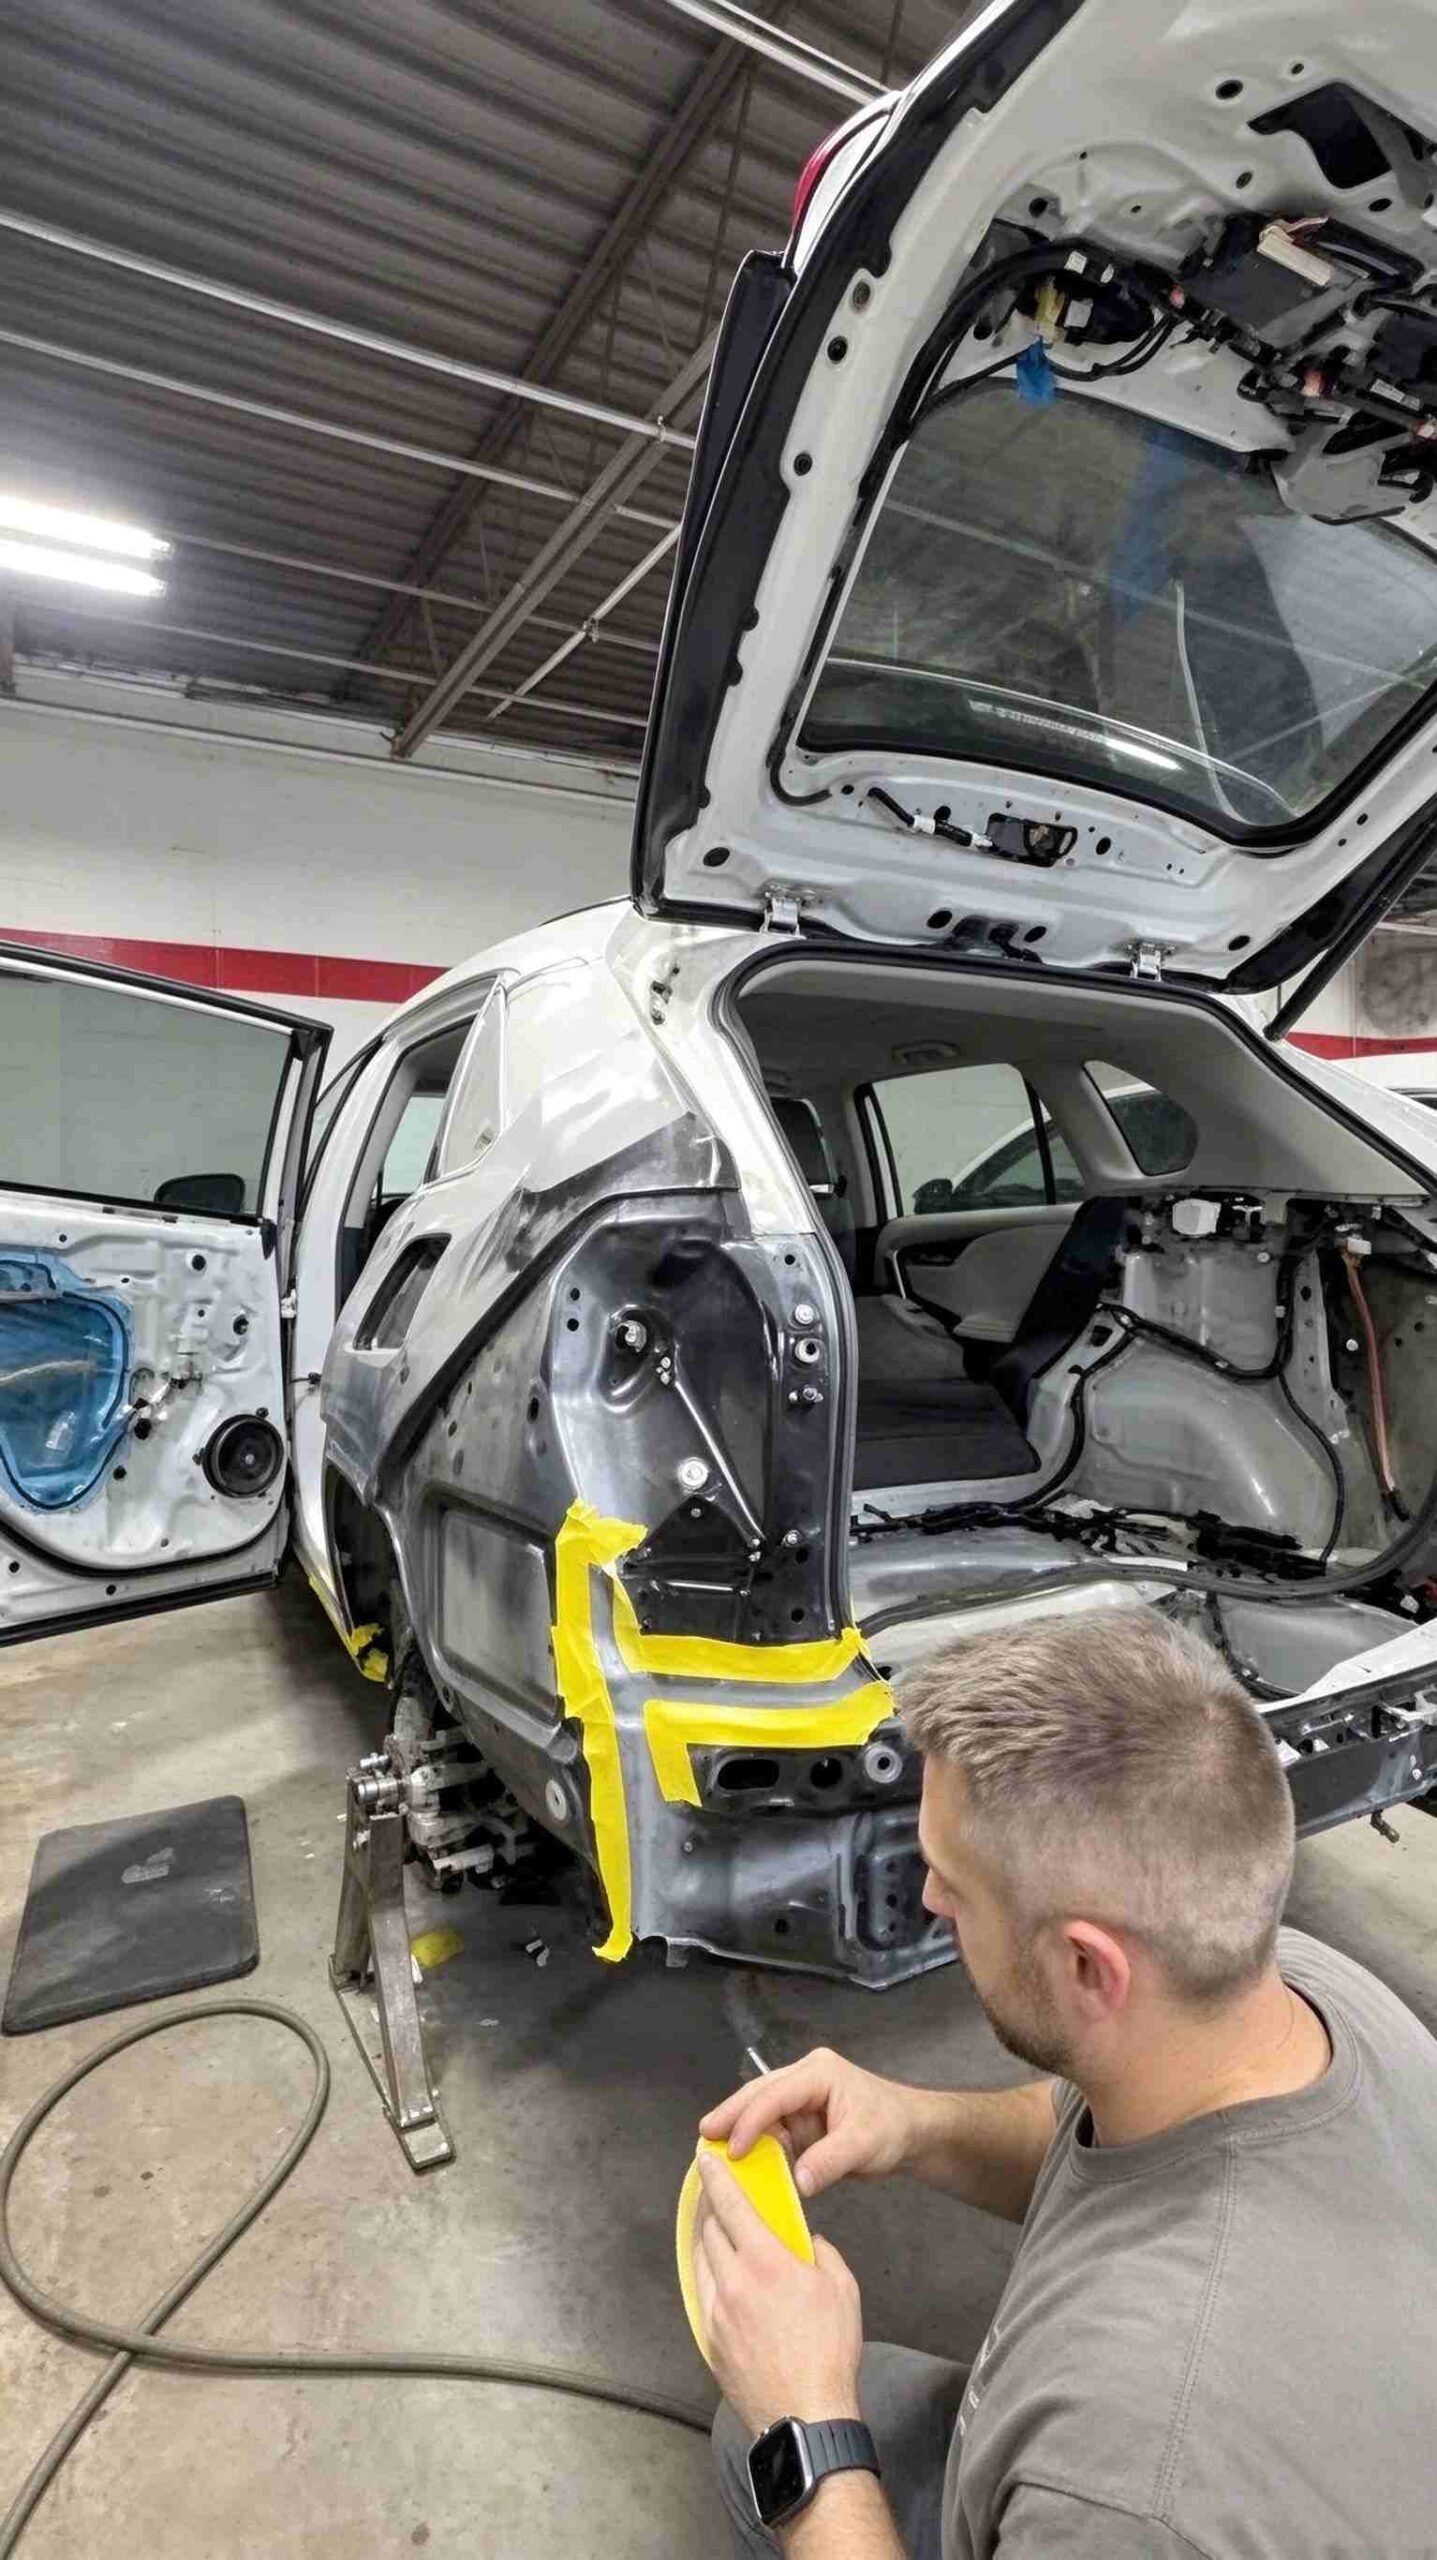
Figure 2: Technician inspecting cured seam sealer bead profiles and straight-line edge definition across vehicle rear chassis joints.
Standard Operating Procedure: Precision Masking & Profile Tooling
Replicating robotic factory bead profiles requires strict execution of this four-stage preparation and tooling sequence.
Four-Phase Bead Masking & Finishing Sequence
- Substrate Scuffing & Degreasing: Ensure welded steel seams receive two coats of 2K epoxy primer. Scuff cured primer with maroon P320 pads and degrease using fast-evaporating solvent cleaner.
- Precision Fine-Line Masking: Apply 6 mm vinyl fine-line masking tape parallel to both sides of the joint, leaving an 8 mm to 12 mm center gap. Press tape edges firmly with a plastic burnishing bone to prevent paste seepage.
- Calibrated Bead Extrusion: Using a pneumatic or manual gun, deposit a continuous, void-free bead of seam sealer extrusion material filling the taped channel completely.
- Profile Tooling & Immediate Tape Pull: Draw a calibrated radiused spatula across the bead at a 45-degree angle in one smooth pass. Pull masking tape backward at a 180-degree angle immediately while the polymer remains wet.
Tape Pull Angle & Skinning Window Control
Pulling masking tape straight upward lifts polymer edges, producing ragged vertical lips. Technicians should peel fine-line tape flat against the panel surface at a sharp 180-degree angle.
Execute tape removal within 5 minutes of extrusion before surface skinning begins. Removing tape after initial skin formation tears cured film. This error leaves jagged borders that fail quality inspection.
Common Tooling Defects & Defect Prevention
Vehicle manufacturers enforce strict appearance standards for roof ditch and liftgate seams. Surface irregularities and ragged tape lines degrade vehicle trade-in valuation during inspection audits.
Using professional application guns and nozzles detailed in our dispensing and sealant application guide ensures stable paste output. Consistent extrusion prevents air pockets and bead defects.
Tape Bleed & Feathered Edge Wrinkling
Tape bleed happens when standard crepe masking tape fails to seal over primer sanding scratches. Heavy polymer paste creeps beneath the tape edge, creating unsightly scallop defects.
Always use flexible PVC fine-line tapes that conform over curved contours without lifting. Burnish tape edges firmly to secure continuous barrier seals against paste intrusion.
Typical Application Scenario: Panoramic Roof Ditch Channel Resealing
Replicating European OEM Panoramic Roof Gutter Lines
Repair Facility: A certified luxury automotive collision center repairing roof side rails and resealing panoramic roof gutter channels on an executive wagon.
Field Failure: The technician applied seam sealer freehand and smoothed the channel with a solvent-soaked finger. The resulting bead was concave and showed jagged edge feathering, which trapped rainwater and failed OEM cosmetic inspection.
Corrective SOP: Technicians stripped the channel, applied 2K epoxy primer, and masked both channel borders using 6 mm blue PVC fine-line tape. ChemPU 1K silane-modified polymer was extruded along the gutter and profiled with an 8 mm radiused polyethylene spatula. Both tape strips were peeled immediately at a 180-degree flat angle.
Audit Results: Optical inspection confirmed a uniform 10 mm wide convex bead with edge straightness variation below 0.1 mm across the 1.6-meter channel. Water drainage testing showed zero pooling, passing all quality requirements.
Frequently Asked Questions: Bead Tooling & Masking Practices
Why should you never tool automotive seam sealer with a solvent-soaked finger?
Fingers create concave depressions that pool corrosive water. Solvents degrade polymer chemistry, leaching plasticizers and inducing surface cracking under ultraviolet sunlight exposure.
What tape provides the cleanest border for seam sealer extrusion lines?
Thermal-resistant PVC fine-line masking tape delivers the sharpest lines. Fine-line tape resists tearing and prevents paste bleeding beneath edges, unlike porous crepe paper tapes.
When is the optimal time to peel masking tape after extrusion tooling?
Peel masking tape immediately within 3 to 5 minutes while the polymer remains fully wet. Waiting until surface skinning begins tears edges into ragged strings.
Technical Review by ChemPU Joint Tooling & Surface Engineering Lab
Authored by Senior Automotive Refinish Specialists focusing on precision bead geometry, polymer rheology, and ASTM D3359 cross-hatch adhesion protocols. Certified under ISO 9001 and IATF 16949 standards.
Source Professional Seam Sealer Extrusion Polymers
Upgrade your collision repair centers and assembly lines with ChemPU high-viscosity seam sealers and tooling systems. Achieve razor-sharp factory bead lines and durable corrosion protection.
Direct WhatsApp Technical Inquiry: +86 15216655520

