
Automotive door and window rubber seals take immense mechanical abuse throughout a vehicle’s life. Repeated door slamming, extreme seasonal temperature swings, and chemical car washes constantly degrade perimeter gaskets. When weatherstripping sags or tears away from door flanges, vehicle cabins suffer from high-speed wind noise, water leaks, and dust infiltration.
Executing a permanent repair demands a certified automotive weatherstrip adhesive rather than household contact cement. Modern synthetic EPDM rubber and automotive clearcoats possess divergent surface energies, requiring purpose-formulated elastomeric adhesives to prevent premature peeling.
This standard engineering guide delivers professional bonding protocols for automotive weatherstripping. We compare polychloroprene contact adhesives, fast-acting cyanoacrylates, and flexible MS polymers. Auto glass installers, collision repairers, and fleet maintenance technicians will master surface degreasing, open tack times, and mechanical clamping techniques.
Executive Summary: Weatherstrip Adhesive Selection & Bonding Rules
- The Dual-Coat Contact Rule: Polychloroprene black weatherstrip adhesive requires application to both rubber and metal surfaces, allowing solvent flash-off until tacky before mating.
- Substrate Surface Energy Contrast: Dense EPDM rubber resists adhesion; technicians must abrade the rubber bonding groove lightly with 320-grit abrasive cloth to break surface oxidation.
- Adhesive Chemistry Matching: Contact adhesives excel on long perimeter flanges, while toughened cyanoacrylates repair localized 90-degree corner tears in closed-cell sponge rubber.
- Zero-Tension Installation Mandate: Stretching rubber weatherstrips during gluing triggers elastic retraction under summer solar heat, causing corner detachment within months.
Adhesive Chemistry: Formulations for Automotive Rubber Bonding
Selecting the proper auto weatherstrip glue depends on the physical stress profile of the seal. Application engineers categorize weatherstrip bonding agents into three primary chemical families.
Polychloroprene (Neoprene) Contact Adhesives
Polychloroprene contact cement remains the OEM manufacturing benchmark for bonding full-length rubber channels to painted metal door frames. Formulated with synthetic elastomers and tackifying resins, it provides high green strength upon contact.
Once cured, neoprene contact bonds tolerate severe thermal cycles ranging from -40°C to +90°C. The flexible adhesive matrix flexes continuously as door gaskets compress during closing slams.
Rubber-Toughened Cyanoacrylate Formulations
Standard superglues dry brittle, shattering when flexed. Rubber-toughened ethyl cyanoacrylates incorporate elastomeric nanoparticles within the acrylic monomer matrix.
This formulation creates instantaneous high-strength bonds for mending torn rubber corners and spliced gasket joints. It cures within 30 seconds by reacting with surface moisture, ideal for quick spot repairs.
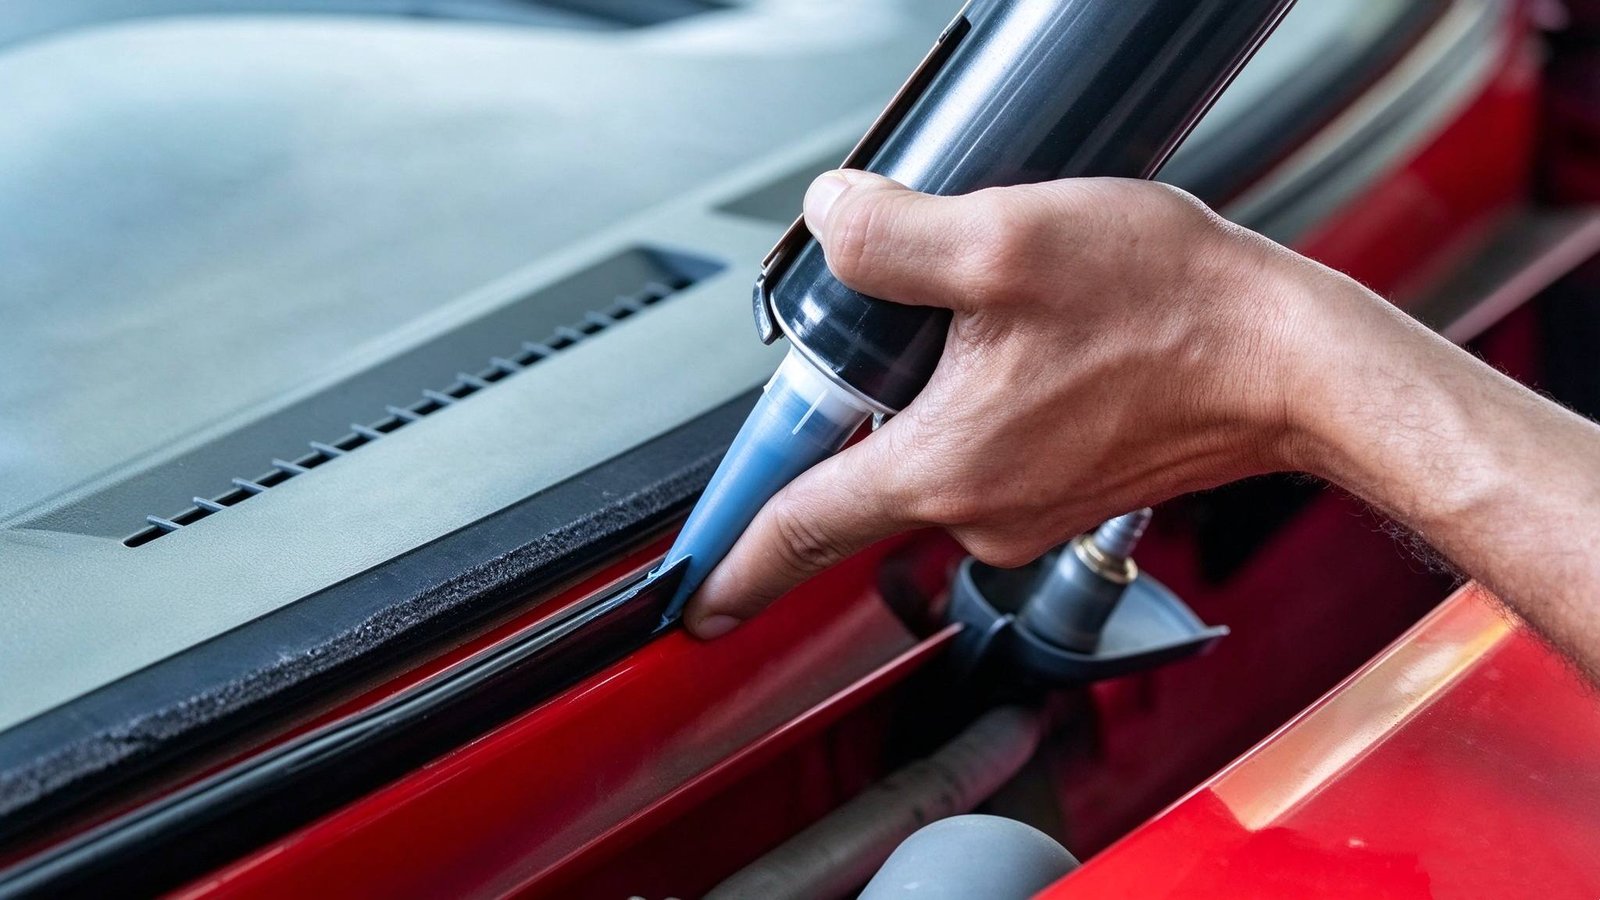
Adhesive Performance Matrix: Comparing Weatherstrip Bonding Systems
The technical matrix below outlines the performance characteristics of primary rubber gasket adhesive automotive formulations.
| Adhesive Family | Open Working Time | Flexibility & Peel Strength | Best Application Scope |
|---|---|---|---|
| Neoprene Contact Adhesive | 5 to 15 min (Flash-off) | High Flexibility / High Peel | Complete perimeter car door & trunk gaskets |
| Toughened Cyanoacrylate | 10 to 30 seconds | Moderate Flex / High Shear | Mending torn corner joints & small tears |
| Moisture-Cure MS Polymer | 20 to 30 minutes | Exceptional Elasticity | Heavy commercial bus & RV window seals |
| Acrylic Pressure Foam Tape | Immediate (Pressure activated) | High Viscoelastic Damping | Channel-mounted factory reveal mouldings |
Typical Application Scenarios: Workshop Realities & Bonding Failures
Examining real-world repair challenges highlights the importance of matching adhesive chemistry to gasket rubber formulations.
Scenario A: Fleet Van Door Weatherstrip Detachment
A delivery fleet van experienced repeated weatherstrip detachment along the upper driver door sill. The previous technician had applied general-purpose silicone glue, which peeled completely within two weeks.
Technicians stripped the silicone, cleaned the painted metal flange with isopropanol, and scuffed the rubber backing with 320-grit abrasive cloth. They applied a thin coat of car door rubber seal glue to both surfaces, waited ten minutes, and compressed the joint. The repair remained solid after 12 months of daily delivery use.
Scenario B: Re-bonding Split Gasket Corners on Luxury Sedan
A luxury passenger car developed an annoying cabin whistle at highway speeds. Close inspection revealed that a passenger had caught their jacket on the B-pillar seal, tearing a 50mm section of sponge rubber.
Rather than charging the customer for an expensive OEM door harness assembly, the shop applied rubber-toughened cyanoacrylate directly into the tear seam. The installer clamped the joint with masking tape for two minutes, creating an invisible, airtight weld that permanently restored acoustic isolation.
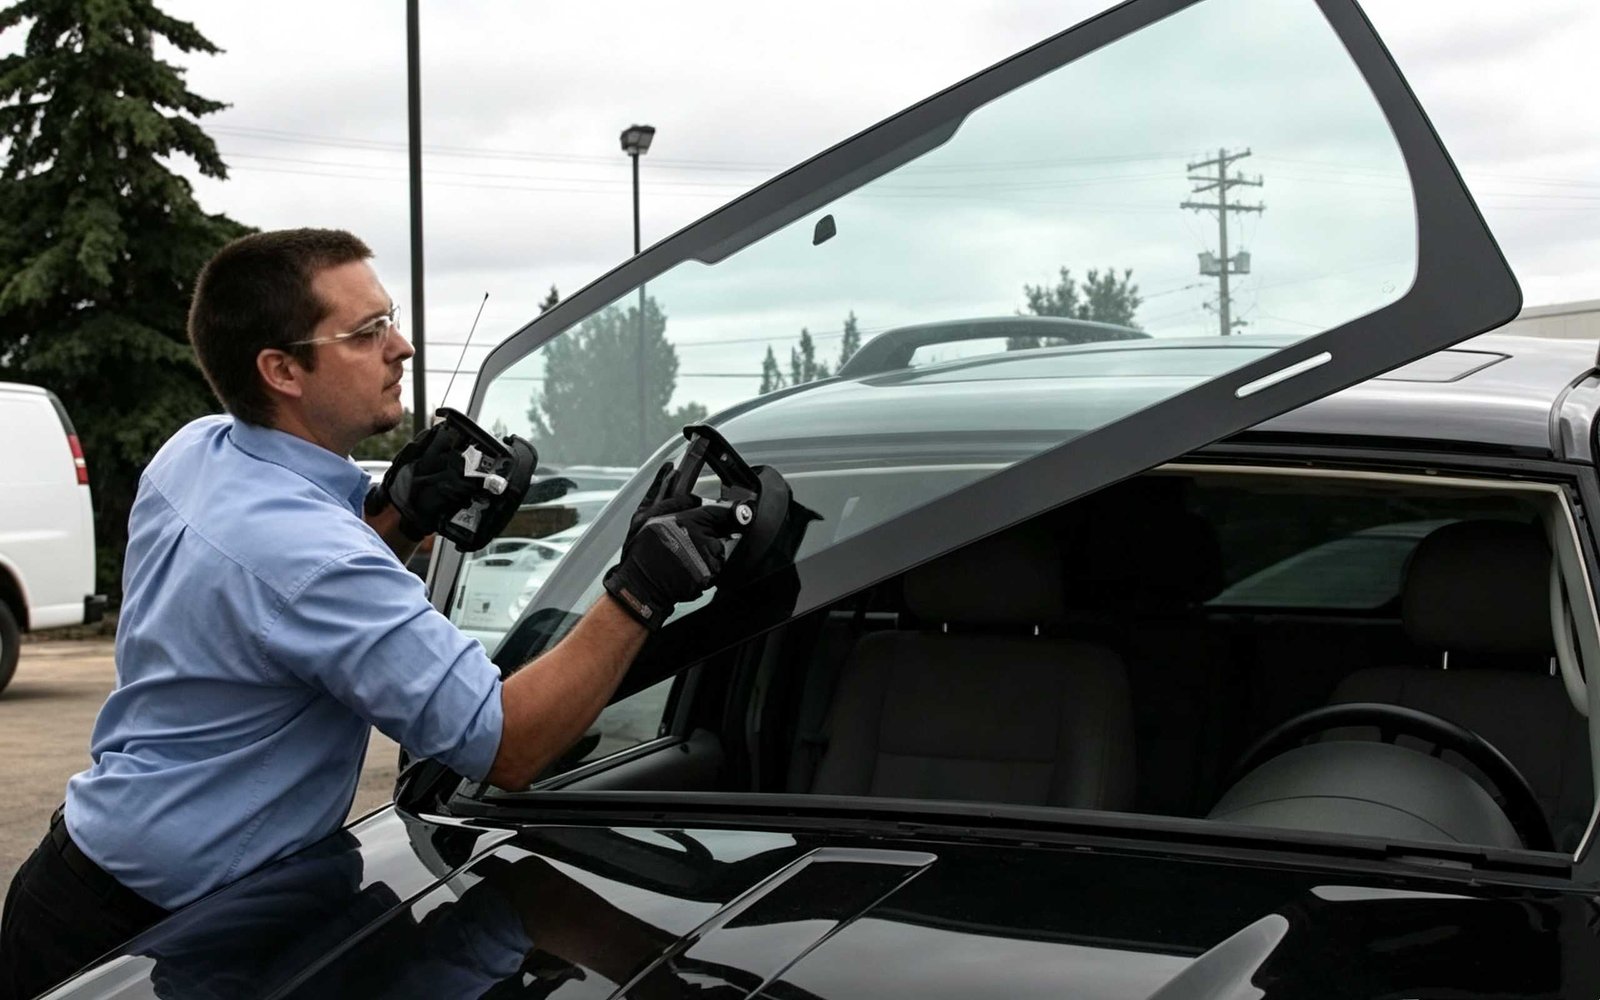
Standard Operating Procedure: Five-Stage Weatherstrip Bonding SOP
Executing this five-stage protocol guarantees maximum peel adhesion and prevents gasket elongation.
Step 1: Chemical and Mechanical Surface Preparation
Clean the metal flange thoroughly with isopropanol to remove all wax, grease, and road salt. Scuff the rubber bonding groove lightly with 320-grit abrasive cloth to eliminate vulcanization bloom and increase microscopic surface area.
Step 2: Dual-Surface Adhesive Coating
Apply a uniform, continuous 1mm film of weatherstrip adhesive onto both the painted metal channel and the rubber gasket. Avoid heavy adhesive puddles, which delay solvent evaporation.
Step 3: Controlled Flash-Off Time
Allow the adhesive solvents to evaporate undisturbed for 5 to 10 minutes at room temperature. Touch the adhesive film lightly with a clean knuckle; it should feel tacky but not transfer wet glue to your skin.
Step 4: Tension-Free Assembly and Compression
Press the rubber gasket firmly into the metal channel, starting from corners and working toward centers. Never pull or stretch the rubber lengthwise. Apply firm hand pressure along the entire bond line.
Step 5: Temporary Clamping and Cure Time
Secure curved corners using automotive blue masking tape. Allow the assembly to cure for at least one hour before closing vehicle doors, achieving full mechanical strength within 24 hours.
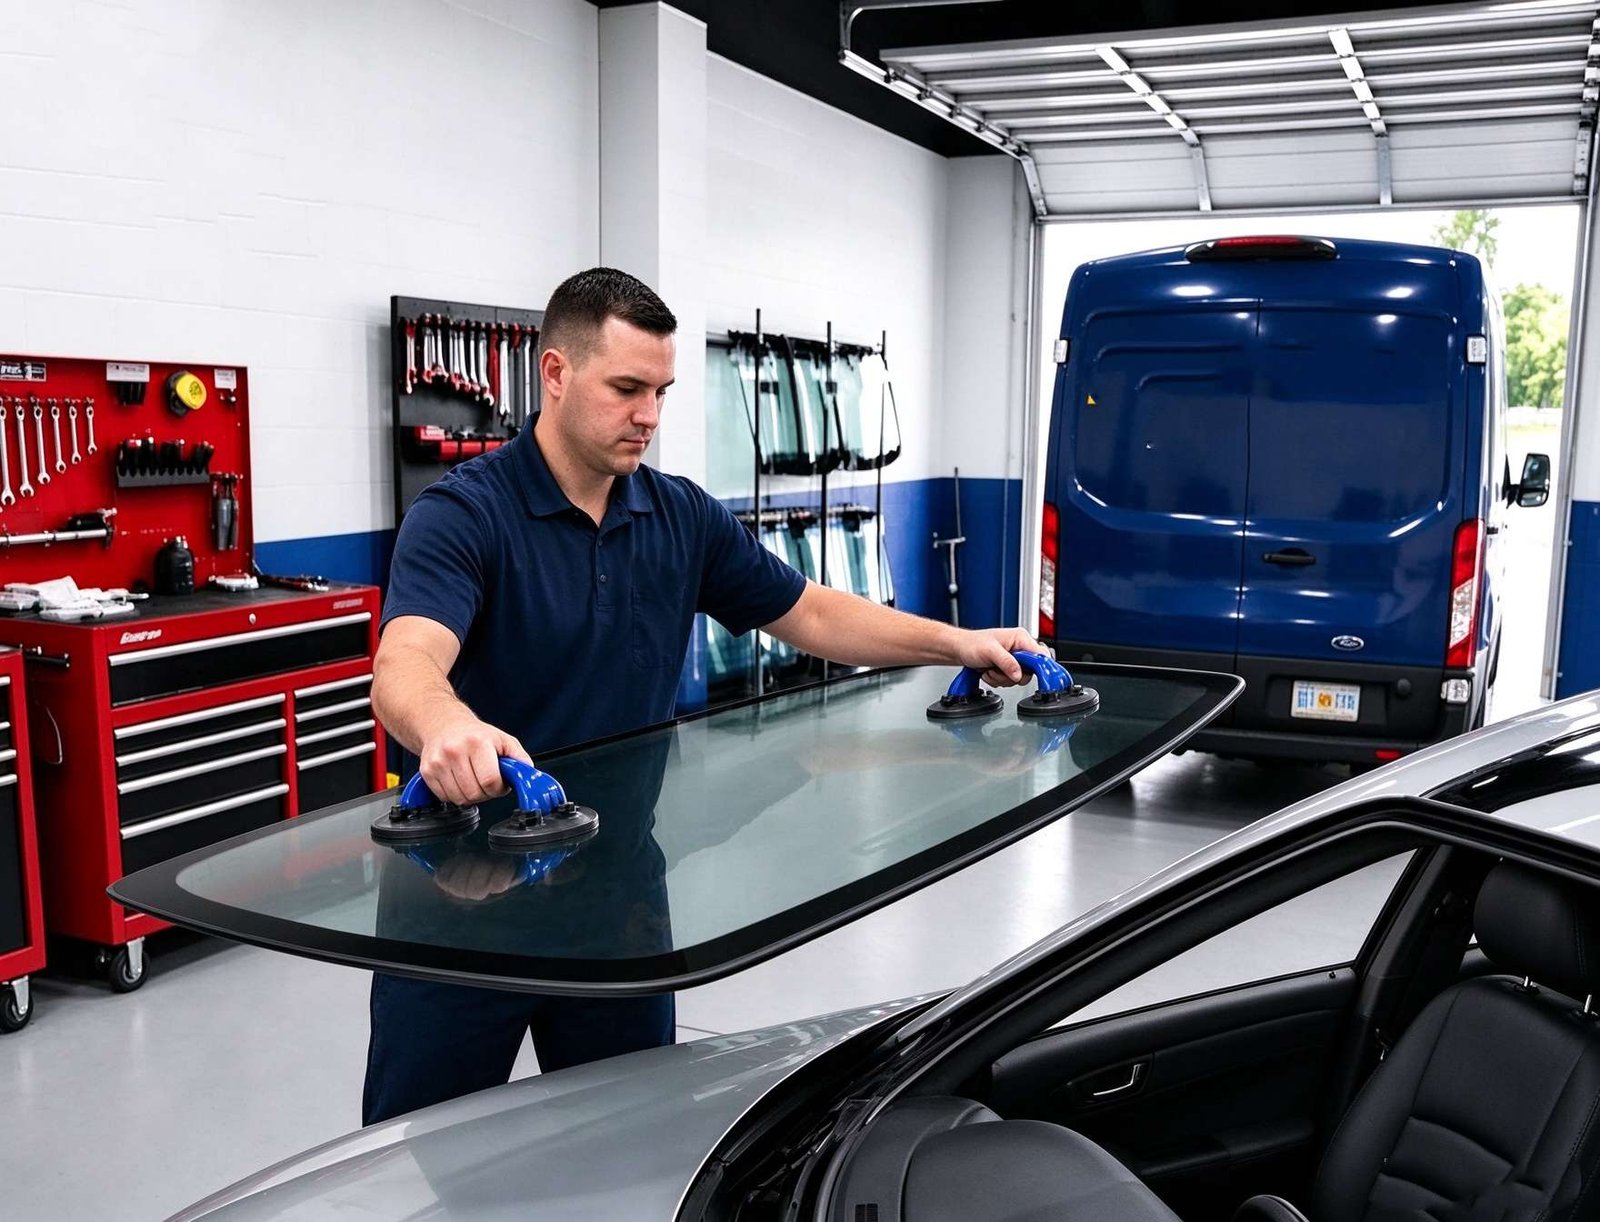
Engineer’s Technical Trade-Offs: Boundaries of Weatherstrip Adhesives
Installers must respect the physical constraints of contact adhesives during vehicle refurbishing.
- Contact Tack Window Sensitivity: Mating rubber too early traps wet solvent, causing blistering. Mating too late after the adhesive dries dead results in immediate joint release.
- Clearcoat Softening Hazard: Aggressive solvent-based adhesives can soften fresh auto body paint; newly painted vehicles require 72 hours of clearcoat bake time before weatherstrip installation.
- Structural Limitations: Weatherstrip adhesives provide peel strength for lightweight rubber; they must never be used for load-bearing glass bonding under FMVSS safety standards.
Frequently Asked Questions: Automotive Weatherstrip Adhesives
What is the best adhesive for gluing car door rubber weatherstripping?
Black polychloroprene contact adhesive (often called black weatherstrip adhesive) is the industry standard. It provides exceptional flexibility, high peel strength, and withstands vibration, door slamming, and severe temperature fluctuations without hardening or cracking.
Why does superglue fail on automotive rubber gaskets?
Standard cyanoacrylate superglue dries into a rigid, brittle crystalline polymer. Automotive weatherstrips flex and compress every time a door closes. Under continuous mechanical flexing and thermal expansion, brittle superglue fractures and releases completely.
How do you remove old weatherstrip glue residue from painted car door frames?
Soften the old adhesive residue using an approved citrus-based adhesive remover or specialized specialty solvent cleaner. Gently scrape the softened residue with a plastic razor blade to avoid scratching the painted metal flange, followed by an isopropanol wipe.
Engineering Summary: Permanent Weather Protection and Acoustic Comfort
Acoustically quiet, waterproof vehicle cabins depend on robust weatherstrip adhesion. By preparing rubber surfaces properly, respecting adhesive open tack windows, and deploying purpose-formulated elastomeric adhesives, automotive professionals eliminate wind whistle callbacks and maintain pristine factory weather-tightness.
Authored by ChemPU Automotive Application Engineering Team
Specializing in OEM direct-glazing polyurethane formulation, crash-retention validation per FMVSS 212 standards, and high-performance structural elastomeric bonding solutions for global automotive manufacturers.
Quality Certification: ISO 9001 / IATF 16949 Certified Adhesive Manufacturing
Source Professional Automotive Weatherstrip & Glass Adhesives
Partner with ChemPU, an ISO 9001 and IATF 16949 certified Chinese manufacturer. We provide high-performance polychloroprene weatherstrip adhesives, direct glazing polyurethanes, and private label cartridges for international distributors and fleet repair networks.
Direct WhatsApp Technical Inquiry: +86 15216655520

