
Automotive vehicle owners and fleet operators frequently debate whether a stone chip requires complete glass replacement or can be salvaged with resin. Selecting the best windshield repair kit restores optical transparency and stops radial crack progression without removing the factory windshield seal.
However, chemical resin injection has strict physical boundaries. Injecting resin into deep structural fractures or edge cracks compromises vehicle roof crush resistance. Technicians must understand optical refraction, vacuum cycling mechanics, and mandatory glass replacement criteria.
Key Takeaways: Glass Repair Limits vs. Mandatory Replacement
- Refractive Index Matching: Optical UV methacrylate resins match automotive float glass (index 1.51 to 1.53), eliminating light refraction across bullseye fissures.
- Vacuum-Pressure Injection: Professional bridge injectors extract trapped air before driving low-viscosity resin into microscopic star crack tips.
- Safety Replacement Red Lines: Cracks exceeding 30 cm, damage penetrating the PVB interlayer, or chips within the driver viewing area mandate full windshield replacement.
- Edge Proximity Risk: Fractures reaching within 5 cm of the perimeter pinchweld weaken structural adhesion, requiring replacement with polyurethane adhesives.
Optics and Chemistry: How UV-Curable Resins Match Glass Index (1.52)
A stone chip looks dark and reflective because fractured glass separates, trapping air between broken internal surfaces. Air has an optical refractive index of 1.00, whereas automotive laminated float glass has a refractive index of approximately 1.52.
This sharp refractive mismatch causes internal light reflection, producing visible black halos in bullseye cracks and star fractures. Deploying the best windshield repair kit displaces trapped air with liquid optical methacrylate resin formulated to an exact refractive index of 1.51 to 1.53.
Resin Viscosity and Surface Tension
Professional repair resins utilize ultra-low viscosities between 15 cps and 25 cps. This water-thin liquid easily flows through microscopic fissures under capillary action.
Once infused, targeted ultraviolet light at 365 nm wavelength triggers free-radical polymerization. The liquid methacrylate solidifies into a crystal-clear, durable polymer that bonds fractured silica layers back together.
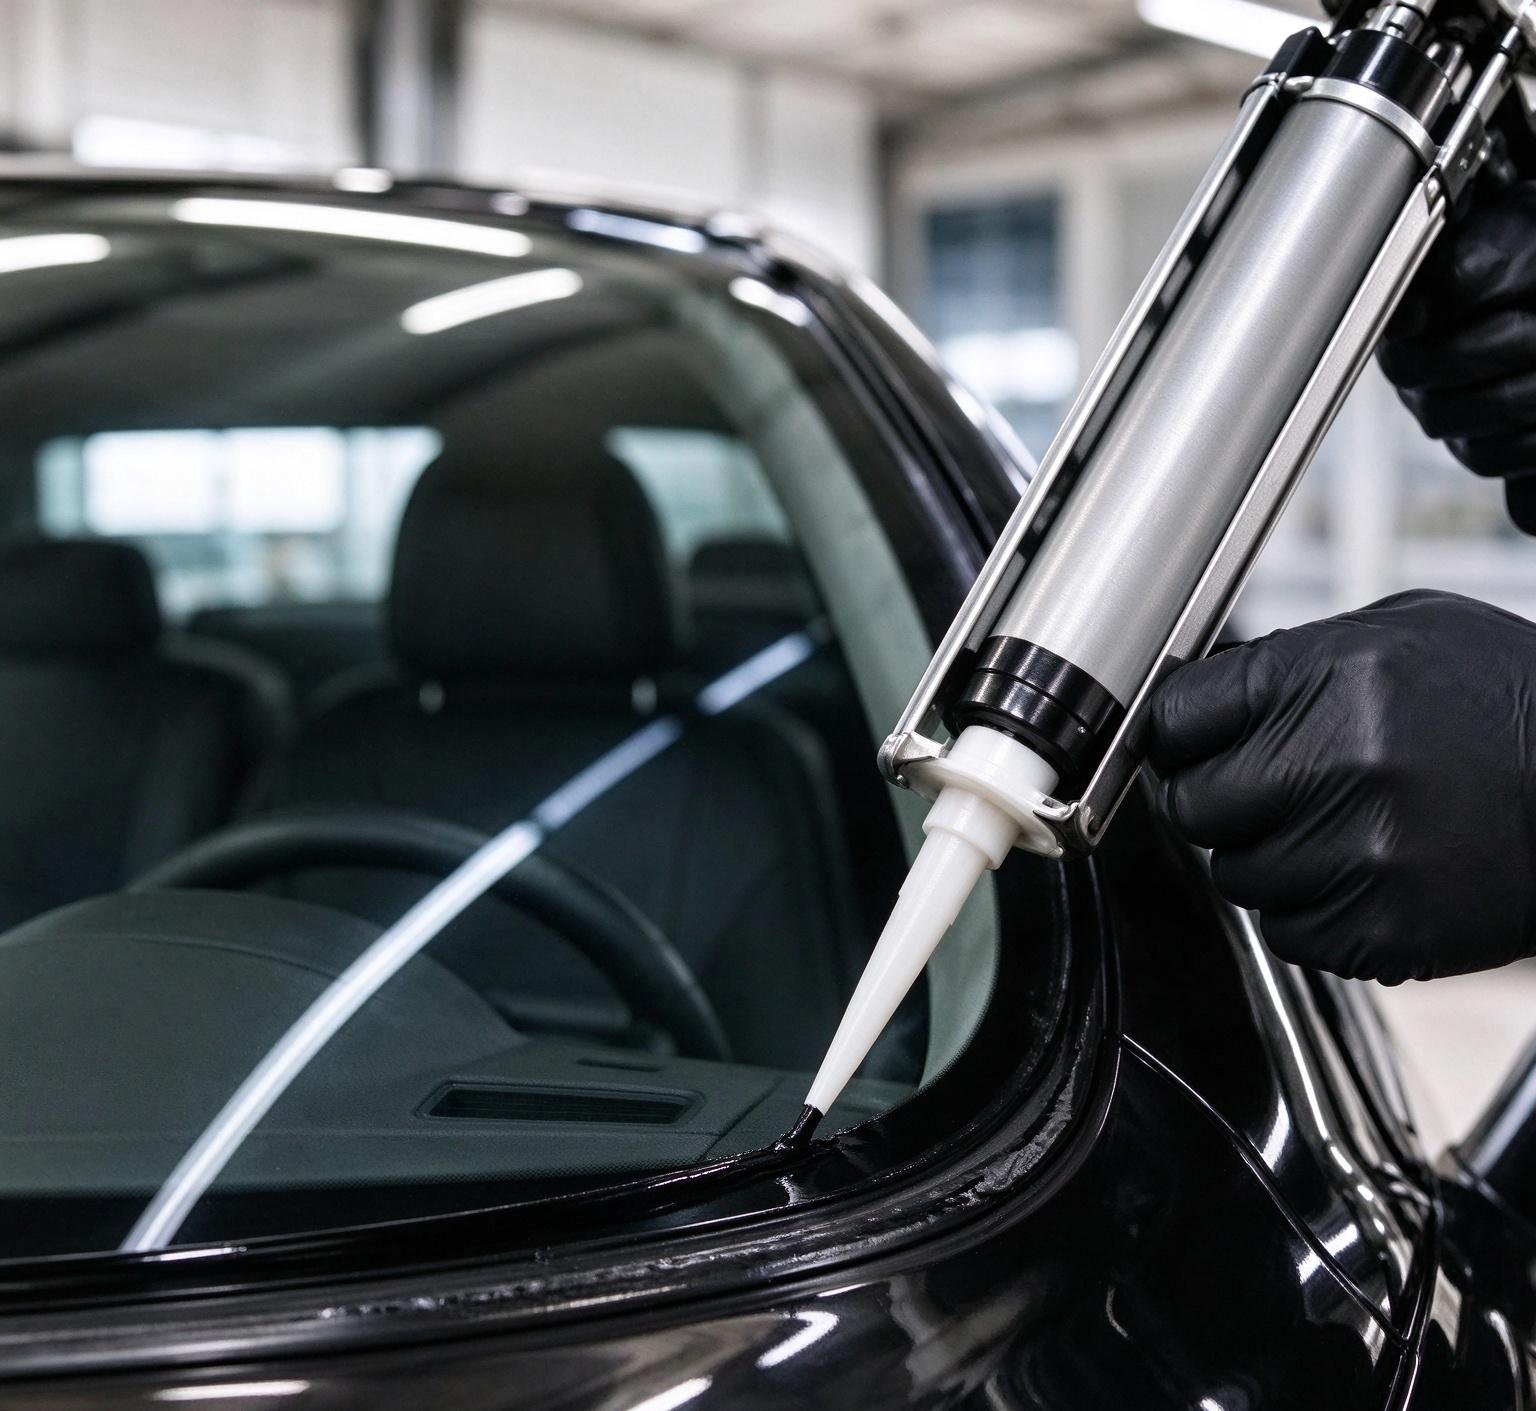
Figure 1: Complete windshield replacement becomes mandatory when stone damage reaches peripheral glass edges.
The Vacuum-Pressure Cycle: Eliminating Microscopic Air Pockets
Retail DIY squeeze bottles fail because they push liquid resin over trapped air pockets. Professional glass workshops utilize a dual-stage bridge injector mechanism:
Stage 1: Negative Pressure Vacuum De-Airing
The bridge assembly creates an airtight seal over the rock chip impact pit. Backing out the injector piston generates negative pressure, boiling out trapped air bubbles and ambient moisture from deep inside micro-cracks.
Stage 2: Positive Pressure Hydraulic Infusion
Threading the plunger inward applies positive hydraulic pressure. This positive force overcomes internal surface tension, driving liquid resin into radial micro-fissure tips that capillary action cannot reach alone.
The Safety Red Lines: When Windshield Replacement Is Legally Mandatory
Under automotive glass replacement safety standards (AGRSS / ROLAGS), chemical resin repair is strictly prohibited under these four critical conditions:
- Driver Critical Viewing Area: Any chip or repaired blemish within a 30 cm wide box directly above the steering wheel causes optical refraction, distorting driver perception.
- Interlayer Penetration: If the impact penetrates the inner glass layer or damages the polyvinyl butyral (PVB) acoustic film, structural integrity is permanently compromised.
- Edge Zone Proximity: Cracks extending within 5 cm (2 inches) of the outer glass edge weaken bonding to the pinchweld, risking windshield detachment in rollover crashes.
- ADAS Sensor Window Obstruction: Chips directly covering forward-facing optical cameras or LiDAR units trigger sensor calibration errors, disabling automatic emergency braking.
When damage crosses these boundaries, workshops must perform full glass replacement using certified polyurethane windshield adhesive detailed in our technical polyurethane windshield adhesive guide.
| Evaluation Criteria | UV Optical Resin Repair Kit | Full Glass Polyurethane Replacement |
|---|---|---|
| Permissible Damage Scope | Bullseyes < 25 mm, Cracks < 150 mm | Unlimited (Any Severe Fracture) |
| Average Turnaround Time | 20 to 30 Minutes | 2 to 4 Hours (Including SDAT Cure) |
| Optical Clarity Recovery | 85% to 95% Transparency | 100% Brand-New Factory Clarity |
| ADAS Recalibration Need | Zero (Glass Position Preserved) | Mandatory Dynamic/Static Calibration |
| Structural Roof Retention | Maintains Original OEM Seal | Full FMVSS 212 / 216 Compliance |
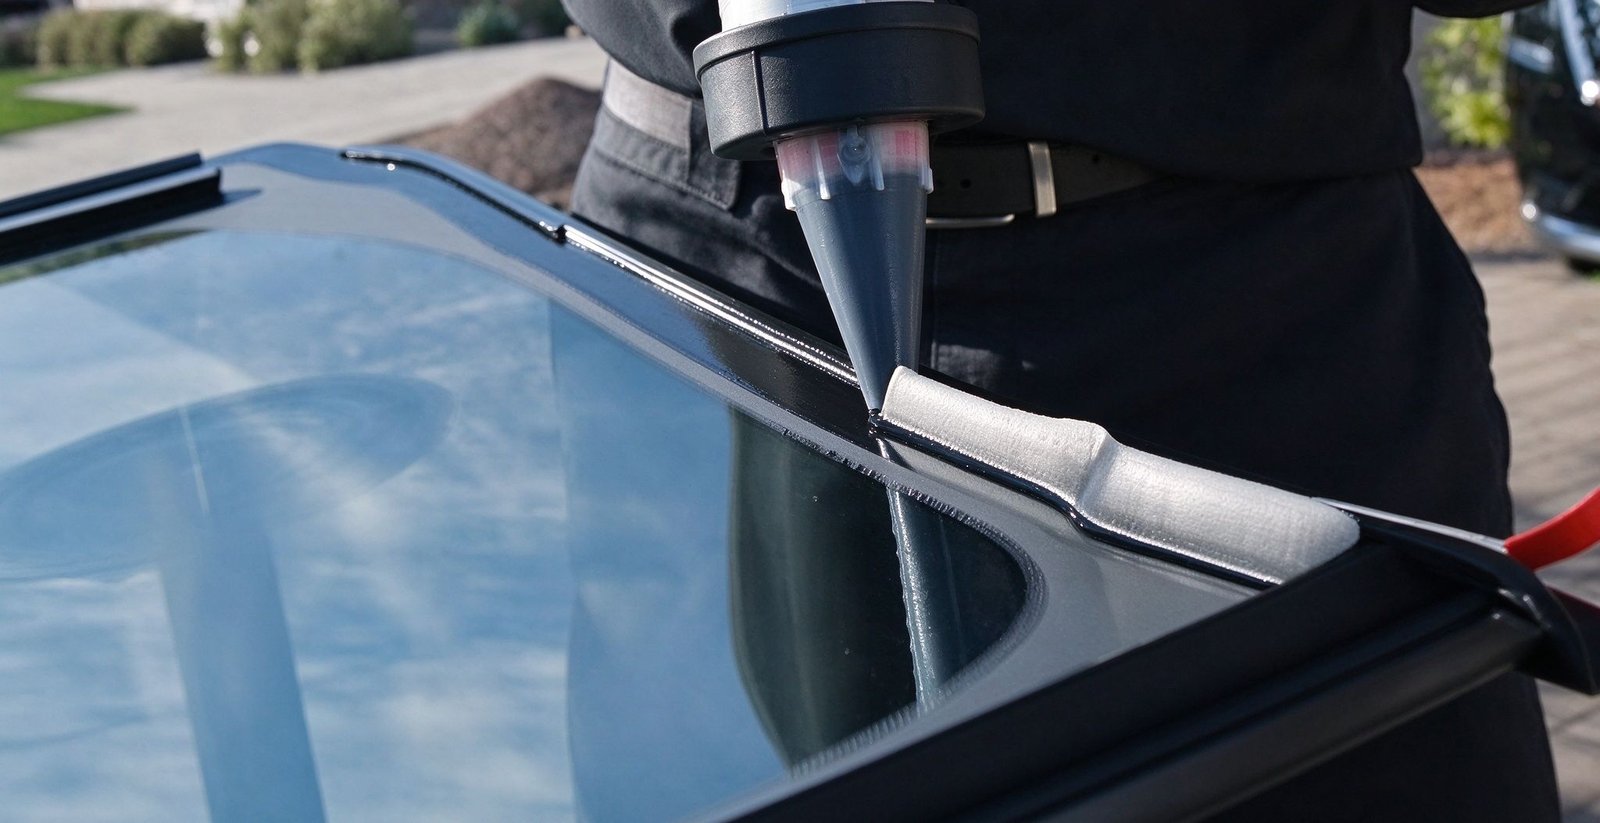
Figure 2: Professional direct glazing polyurethane application securing unrepairable windshield apertures.
Standard Operating Procedure: Professional Rock Chip Repair
Executing a long-lasting stone chip repair with the best windshield repair kit follows this rigorous five-step procedure:
- Impact Pit Debridement: Probe the impact center with a hardened carbide pick. Remove loose glass shards and blow away crushed glass powder using dry, oil-free compressed air.
- Bridge Injector Mounting: Center the suction bridge over the chip. Align the rubber seal directly onto the impact hole, ensuring firm, perpendicular contact against the exterior glass surface.
- Vacuum & Pressure Cycling: Dispense 4 to 6 drops of low-viscosity optical resin. Draw a 3-minute vacuum to pull out trapped air. Transition to positive pressure for 5 minutes, forcing liquid resin to every crack extremity.
- Curing Film & UV Irradiation: Remove the bridge apparatus. Place a clear polyester curing film tab over the wet resin pit. Apply a 365 nm UV lamp directly over the damage for 5 minutes to solidify the polymer.
- Surface Planing & Polishing: Peel off the curing tab. Scrape residual hardened resin flush with a new stainless razor blade held at a 90° angle. Buff the pit surface with cerium oxide glass polish to achieve pristine optical shine.
Typical Application Scenario: Rock Chip Injection Failure and Rapid Edge Crack
Case Overview: Defroster Thermal Shock Propagating Contaminated Rock Chip
Incident Profile: A passenger sedan sustained a 12 mm star chip near the lower cowl. The driver applied a cheap retail resin kit without pulling a vacuum. Two weeks later, turning on the windshield defroster during sub-zero winter weather triggered a sudden 45 cm horizontal crack across the glass.
Root Cause Investigation: The DIY repair trapped road salt, rain moisture, and air bubbles inside the micro-fissure tips. Liquid water trapped in unbonded crack tips expanded upon freezing, while warm defroster air created severe thermal shock. The high thermal gradient initiated rapid brittle fracture propagation directly into the outer glass edge.
Corrective Engineering Action: Because the crack penetrated the perimeter edge zone, resin repair was no longer permitted. The workshop performed complete glass replacement using OEM-grade polyurethane adhesive, observing full safe drive away time per our safe drive away time SDAT guidelines.
Frequently Asked Questions: Windshield Repair vs. Replacement
How does UV repair resin make stone chips and star cracks optically invisible?
Optical repair resins have a light refractive index calibrated between 1.51 and 1.53, perfectly matching vehicle float glass. When liquid resin completely displaces air trapped inside broken glass fractures, light beams pass straight through the boundary without scattering. This optical match restores visual clarity up to 95%.
What size of windshield crack can safely and legally be repaired with resin?
Industry standards (ROLAGS) permit resin injection for bullseye chips under 25 mm (1 inch) in diameter and single-line cracks up to 150 mm (6 inches) in length. Cracks exceeding 30 cm, damage penetrating the inner glass layer, or chips directly obstructing driver line of sight require complete glass replacement.
Why does DIY repair without a vacuum injector often leave permanent white blemishes?
Simple squeeze bottles press resin over trapped air pockets, forcing microscopic bubbles into the crack tips. When the resin solidifies under sunlight, those trapped air bubbles remain permanently sealed inside the glass. The refractive mismatch creates an unsightly cloudy white blemish that cannot be corrected afterward.
Engineering Summary: Timely Resin Repair Protects Factory Glazing Integrity
Repairing minor glass chips promptly with the best windshield repair kit preserves the irreplaceable original OEM factory pinchweld bond. However, when damage breaches safety red lines, technicians must enforce mandatory glass replacement with structural polyurethane adhesives to maintain passenger cabin crashworthiness.
ChemPU Auto Glass Engineering & Repair Division
Automotive Polyurethane Adhesives & Optical Resins Specialist
ChemPU manufactures certified direct glazing polyurethane adhesives, black glass primers, and optical repair accessories under ISO 9001 and IATF 16949 standards. Our technical engineering division supports global auto glass distributors and fleet repair networks with verified test data and direct WhatsApp technical consultation (+86 15216655520).
Source Certified OEM Direct Glazing Polyurethane Adhesives
Partner with ChemPU, an ISO 9001 and IATF 16949 certified Chinese manufacturer. We provide high-modulus polyurethane direct glazing adhesives, black glass primers, and private label cartridges for international distributors and fleet repair networks.
Direct WhatsApp Technical Inquiry: +86 15216655520

