
Discovering damp front footwell carpets, wet headliners, or fogged gauge clusters after a heavy thunderstorm frustrates vehicle owners. Most drivers automatically blame glass seals when a windshield leaks when it rains. In professional workshop environments, however, water ingress frequently stems from clogged sunroof drain hoses, deteriorated cowl air intake baffles, or pinchweld rust channels.
Executing permanent windshield leak repair requires rigorous differential diagnosis before applying sealants. Smearing random household silicone along exterior rubber mouldings traps moisture, accelerates body corrosion, and rarely stops water leaks.
This technical engineering guide delivers a diagnostic checklist for automotive leak detection. We cover soap-bubble cabin pressurization tests, ultrasonic acoustic scanning, and isolated water hose protocols. Automotive repair technicians and fleet service managers will learn how to identify leak paths and select appropriate sealing chemistries.
Executive Summary: Windshield Leak Diagnosis and Repair Protocols
- Differential Diagnostics First: Over 40% of suspected windshield leaks actually originate from clogged sunroof drain tubes or cowl plenum seams rather than the polyurethane glass bead.
- The Soap-Bubble Positive Pressure Test: Turning cabin blower fans to maximum high with windows sealed creates positive internal cabin pressure, blowing soap bubbles over external leak voids.
- Capillary Flowable Silicone for Hairline Voids: When technicians fix leaking windshield without removing glass, specialized flowable silicone wicks into micro-fissures through capillary action.
- Structural Replacement Mandate: Large urethane bead voids exceeding 20mm or leaks accompanied by pinchweld rust require full glass extraction and mechanical pinchweld remediation.
Root Cause Analysis: Polyurethane Voids vs. Body Drainage Failures
When a vehicle suffers from car windshield leaking water inside, technicians must separate primary adhesive joint failure from auxiliary chassis drainage blockages.
Adhesive Bead Voids and Lack of Compression
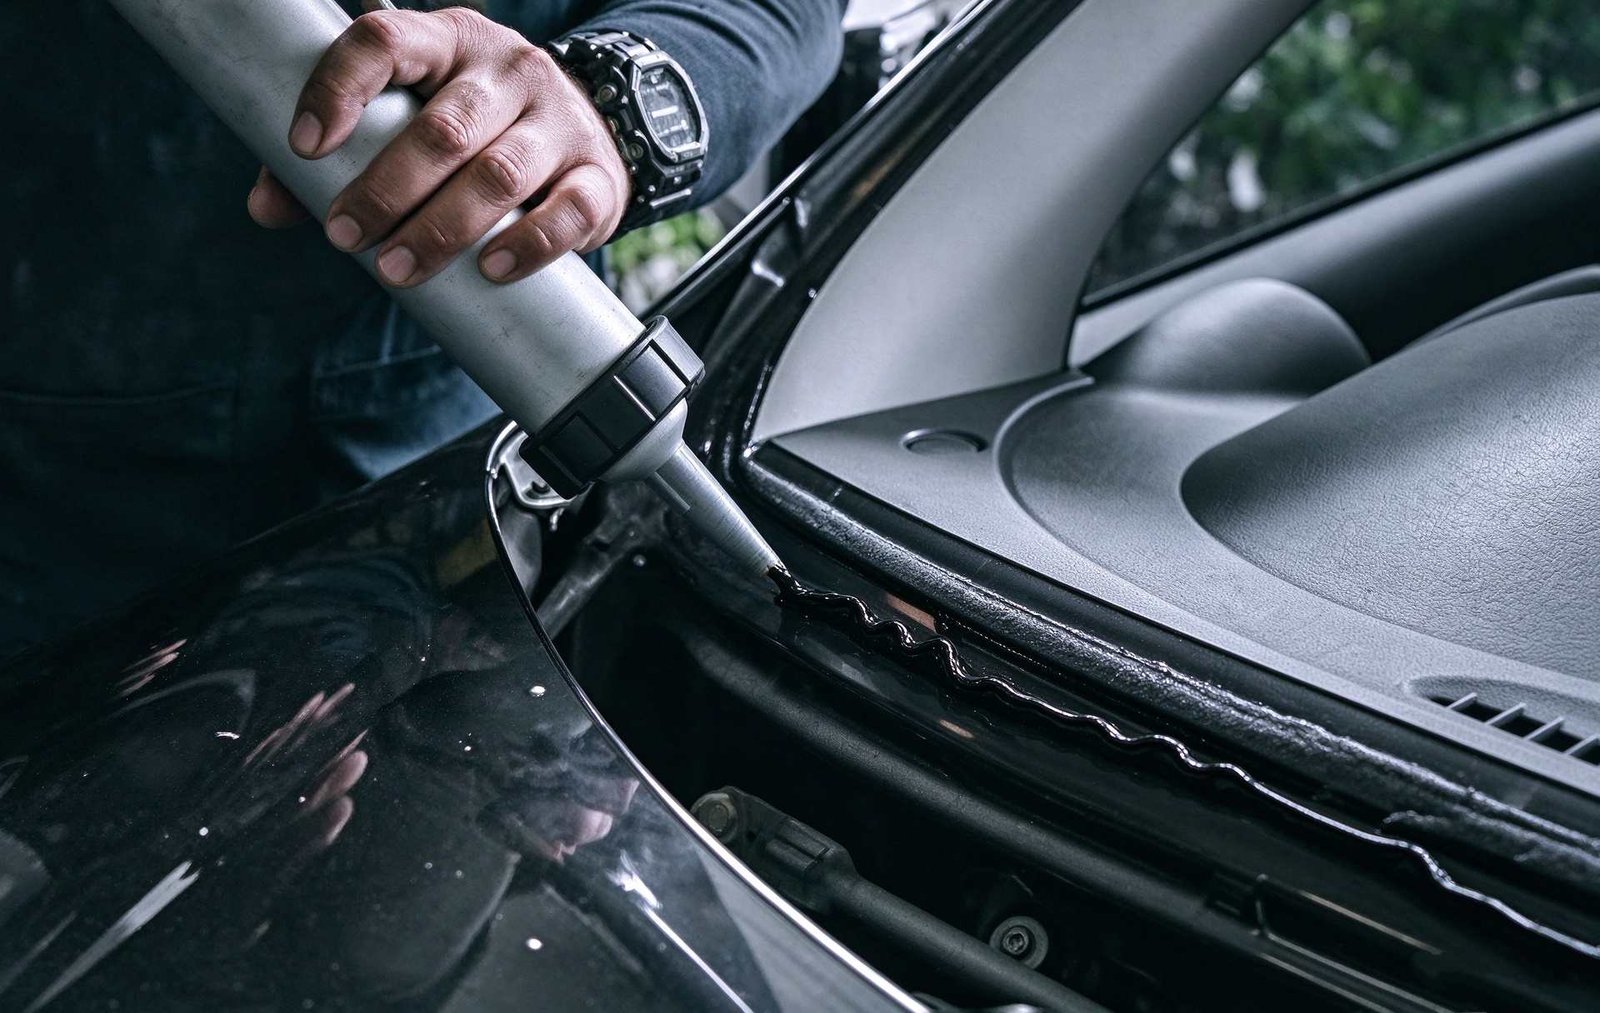
During direct glazing replacement, technicians must dispense an unbroken triangular bead. If the installer moves too quickly or stops the bead along an A-pillar, air voids form.
Furthermore, inadequate deck compression leaves gap bridges between the urethane and the ceramic frit. Water pooling along the roofline drains through these pinholes under hydrodynamic pressure.
Sunroof Drain Blockages and Cowl Intakes
Sunroof cassettes collect rainwater and route it through rubber hoses running down the A-pillars. Pine needles, pollen, and dust frequently clog these drain elbows.
When clogged, water overflows the cassette tray, tracking forward across headliner fabric and dripping onto windshield corners. Cleaning sunroof drains resolves over a third of phantom leaks.
Diagnostic Method Matrix: Comparing Leak Detection Techniques
Technicians utilize three primary auto glass leak detection methods to pinpoint moisture paths without dismantling interior dashboards.
| Detection Technique | Equipment Required | Accuracy & Speed | Best Diagnostic Application |
|---|---|---|---|
| Positive Air Pressure & Soap | HVAC Blower + Soapy Water Spray | High Accuracy (5 Minutes) | Locating pinhole urethane voids along glass perimeter |
| Ultrasonic Acoustic Scanning | Ultrasonic Transmitter & Receiver | Very High (Zero Water Required) | Vehicles with sensitive luxury electronics or mold risks |
| Segmented Low-Pressure Water Hose | Unpressurized Garden Hose | Moderate (15 to 30 Minutes) | Distinguishing cowl plenum leaks from glass seal leaks |
| Fluorescent Dye Tracing | UV Water Dye + Blacklight Torch | High (Traces Hidden Paths) | Complex hidden firewall seams and floor pan pooling |
Typical Application Scenarios: Workshop Diagnostics & Repair Cases
Real-world fleet repair facilities encounter varied leakage modes requiring targeted diagnostic procedures.
Scenario A: Mysterious Passenger Carpet Wetness on Commercial Van
A delivery fleet van reported soaked passenger floorboards following overnight downpours. The fleet mechanic sprayed soapy water across the exterior windshield while setting cabin ventilation to fresh air high.
Large soap bubbles immediately inflated along the lower passenger windshield corner. Water had penetrated a 3mm void where the urethane bead missed the glass edge. The technician cleaned the void and sealed it with an approved flowable windshield water leak sealant.
Scenario B: Rusty Pinchweld Leak on Aged Fleet Sedan
An older company sedan exhibited water dripping directly from the interior rearview mirror mount during heavy rain. Technicians performed an ultrasonic scan, detecting massive sound leakage along the top roofline.
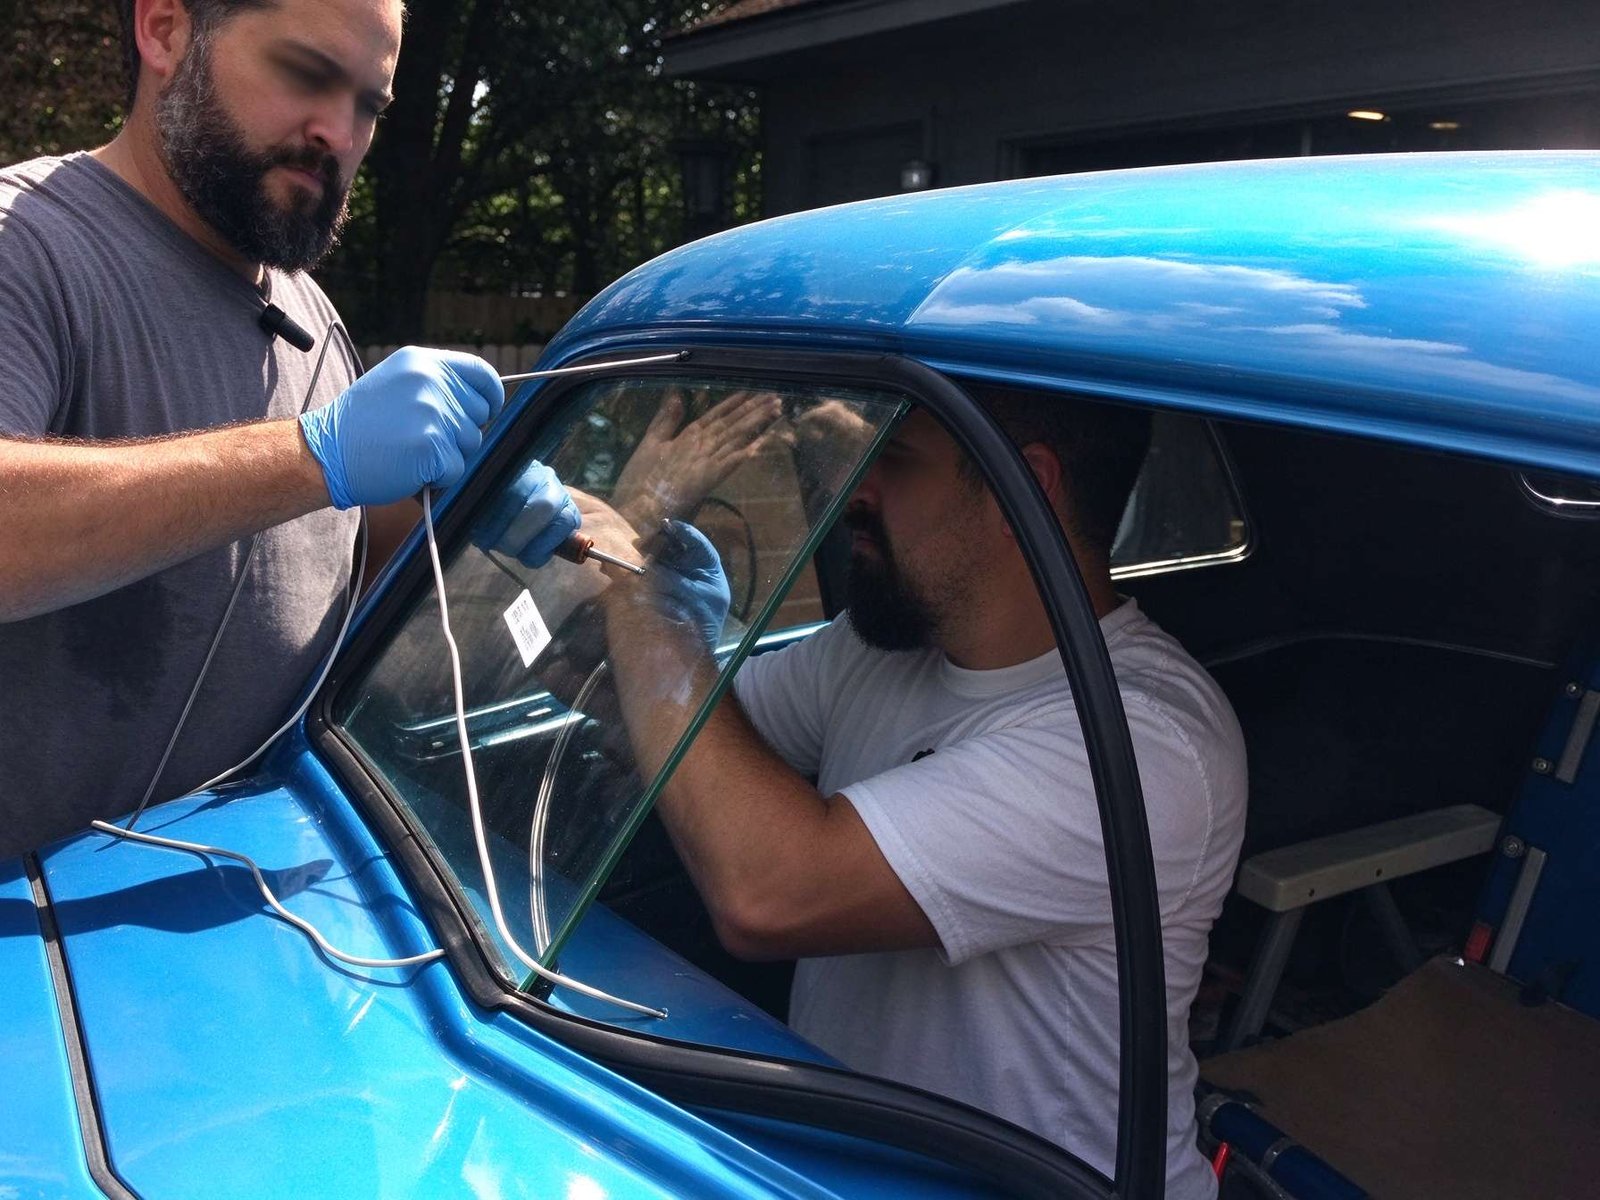
After cutting out the glass, technicians discovered that rust had blistered the pinchweld steel beneath the urethane. Surface sealing was impossible. The shop sandblasted the pinchweld rust, primed bare metal, and re-glazed with high-modulus polyurethane.
Standard Operating Procedure: Leak Detection and Sealing SOP
Executing this four-step diagnostic protocol guarantees fast, accurate leak localization without causing cosmetic vehicle damage.
Step 1: Visual Inspection of Drains and Leaves
Open the hood and inspect the cowl plenum beneath windshield wipers. Remove accumulated leaves, twigs, and road compost blocking the fender drain flaps. Inspect sunroof cassette corners for standing water.
Step 2: Positive Pressure Cabin Blower Test
Close all vehicle doors and windows completely. Start the engine, switch cabin ventilation to fresh air mode, and turn the blower fan to maximum speed. This builds positive cabin pressure.
Spray a concentrated solution of car wash soap and water along the exterior windshield moulding and glass edges. Inspect the perimeter closely for expanding soap bubbles indicating air voids.
Step 3: Isolated Low-Pressure Water Hose Testing
If soap testing proves inconclusive, use an open garden hose running at low pressure without a spray nozzle. Start at the bottom cowl and run water for five minutes while an assistant inspects the interior dashboard with a flashlight.
Gradually work upward along the A-pillars, finishing at the roofline. This isolated bottom-up approach identifies the exact elevation where water enters.
Step 4: Chemical Sealing and Void Repair
For pinhole voids under 5mm without rust, clean the void with isopropanol. Apply a low-viscosity flowable silicone sealant, allowing capillary force to draw the sealant deep into the cavity.
Engineer’s Technical Trade-Offs: Repairing vs. Full Replacement
Technicians must understand the mechanical boundaries of spot repairs versus complete windshield re-glazing.
- Spot Silicone Repairs: Flowable silicone seals minor water leaks quickly, but provides negligible mechanical strength and cannot restore vehicle roof crush structural ratings.
- Silicone Contamination Risks: Introducing silicone sealants contaminates pinchwelds, requiring aggressive chemical degreasing before future polyurethane bonding can occur.
- Rust Channel Realities: If water leaks result from expanding pinchweld rust beneath the urethane, top-coating with silicone will fail within weeks as oxidation continues.
Frequently Asked Questions: Windshield Water Leaks
Can a leaking windshield be repaired without removing the glass?
Yes, minor localized leaks caused by small urethane bead voids can be sealed without glass removal. Technicians use specialized flowable silicone that penetrates micro-gaps through capillary action. If the leak involves rust or large voids, glass removal is mandatory.
Why does water drip from the rearview mirror or sunglasses holder?
Water dripping from center overhead consoles typically indicates a clogged sunroof front drain hose or a void along the top center windshield adhesive bead. Rain enters along the roofline and flows forward across the headliner.
What kind of sealant should be used to fix a small windshield leak?
Use a dedicated automotive flowable silicone windshield sealant. Unlike thick standard silicone, flowable formulations have low viscosity that wicks deep into tiny cracks before curing into a flexible, waterproof elastomeric seal.
Engineering Summary: Eliminating Water Ingress at the Source
Stopping automotive water leaks requires systematic testing rather than speculative sealing. By isolating drainage hoses, employing positive pressure bubble diagnostics, and applying purpose-formulated sealants, technicians protect cabin electronics and ensure long-term structural weather-proofing.
Authored by ChemPU Automotive Application Engineering Team
Specializing in OEM direct-glazing polyurethane formulation, crash-retention validation per FMVSS 212 standards, and high-performance structural elastomeric bonding solutions for global automotive manufacturers.
Quality Certification: ISO 9001 / IATF 16949 Certified Adhesive Manufacturing
Source Professional Windshield Adhesives & Leak Repair Sealants
Partner with ChemPU, an ISO 9001 and IATF 16949 certified Chinese manufacturer. We provide high-modulus polyurethane direct glazing adhesives, flowable silicone repair sealants, and private label cartridges for international distributors and fleet repair networks.
Direct WhatsApp Technical Inquiry: +86 15216655520

