
Removing cured polyurethane windshield adhesive represents one of the most hazardous stages of automotive glass replacement. Inexperienced technicians often attempt to burn off tough urethane with open heat torches. Others soak pinchwelds in aggressive paint strippers or scrape metal flanges with dull utility blades. These dangerous shortcuts destroy factory cathodic electrocoat coatings, damage vehicle interior trim, and create severe pinchweld rust channels.
Learning how to remove windshield adhesive safely requires understanding polyurethane cross-linking chemistry. Cured direct glazing polyurethane forms an insoluble thermoset polymer network that resists chemical dissolution.
This standard operating procedure delivers a step-by-step technical guide for residual urethane removal. We cover surgical knife trimming techniques, safe chemical residue cleaners, and pinchweld surface preservation standards under AGRSS guidelines. Auto glass shop technicians and collision repair specialists will gain actionable instructions to prepare pristine bonding substrates without scratching vehicle metal.
Executive Summary: Rules for Safely Removing Windshield Adhesive
- The 1mm to 2mm Base Cushion Rule: Industry safety standards mandate leaving a smooth 1mm to 2mm base layer of existing polyurethane; never scrape down to bare metal unless rust is present.
- Thermoset Chemical Resistance: Cured urethane cannot be dissolved by liquid solvents; attempting to soften windshield urethane with gasoline, acetone, or paint thinner damages vehicle paint without dissolving the adhesive.
- Surgical Pinchweld Trimming: Specialized offset pinchweld scrapers and flexible pull knives provide calibrated cutting depth, preventing blade contact with factory cathodic e-coat layers.
- Fresh vs. Cured Urethane Cleaners: Technicians must distinguish uncured urethane cleaners (citrus and aliphatic solvents) from mechanical abrasion methods required for fully cross-linked adhesive beads.
Chemical Reality: Why Cured Windshield Polyurethane Cannot Be Dissolved
When technicians seek to remove old urethane windshield beads, they frequently ask for chemical softeners. Cured polyurethane is a three-dimensional thermoset polymer network that requires mechanical trimming rather than chemical liquefaction.
Thermoset Polymer Covalent Bonds
Polyurethane windshield adhesives cure through chemical addition reactions between isocyanate prepolymers and atmospheric moisture. This forms high-density polyurea cross-links across the entire polymer matrix.
Unlike hot-melt adhesives or butyl tapes, cross-linked polyurethane does not re-melt with heat. It also does not dissolve in organic solvents. Applying heat guns merely scorches the surface, releasing toxic isocyanate fumes without breaking the structural bond line.
Hazards of Unapproved Chemical Solvents
Pouring aggressive chemicals such as lacquer thinners, brake cleaners, or methylene chloride onto pinchwelds causes catastrophic damage. These aggressive solvents dissolve the OEM automotive clearcoat and primer.
The underlying bare carbon steel becomes exposed to moisture. Furthermore, solvent residues soak into the remaining urethane cushion, preventing fresh polyurethane from cross-linking and leading to complete adhesive joint release.
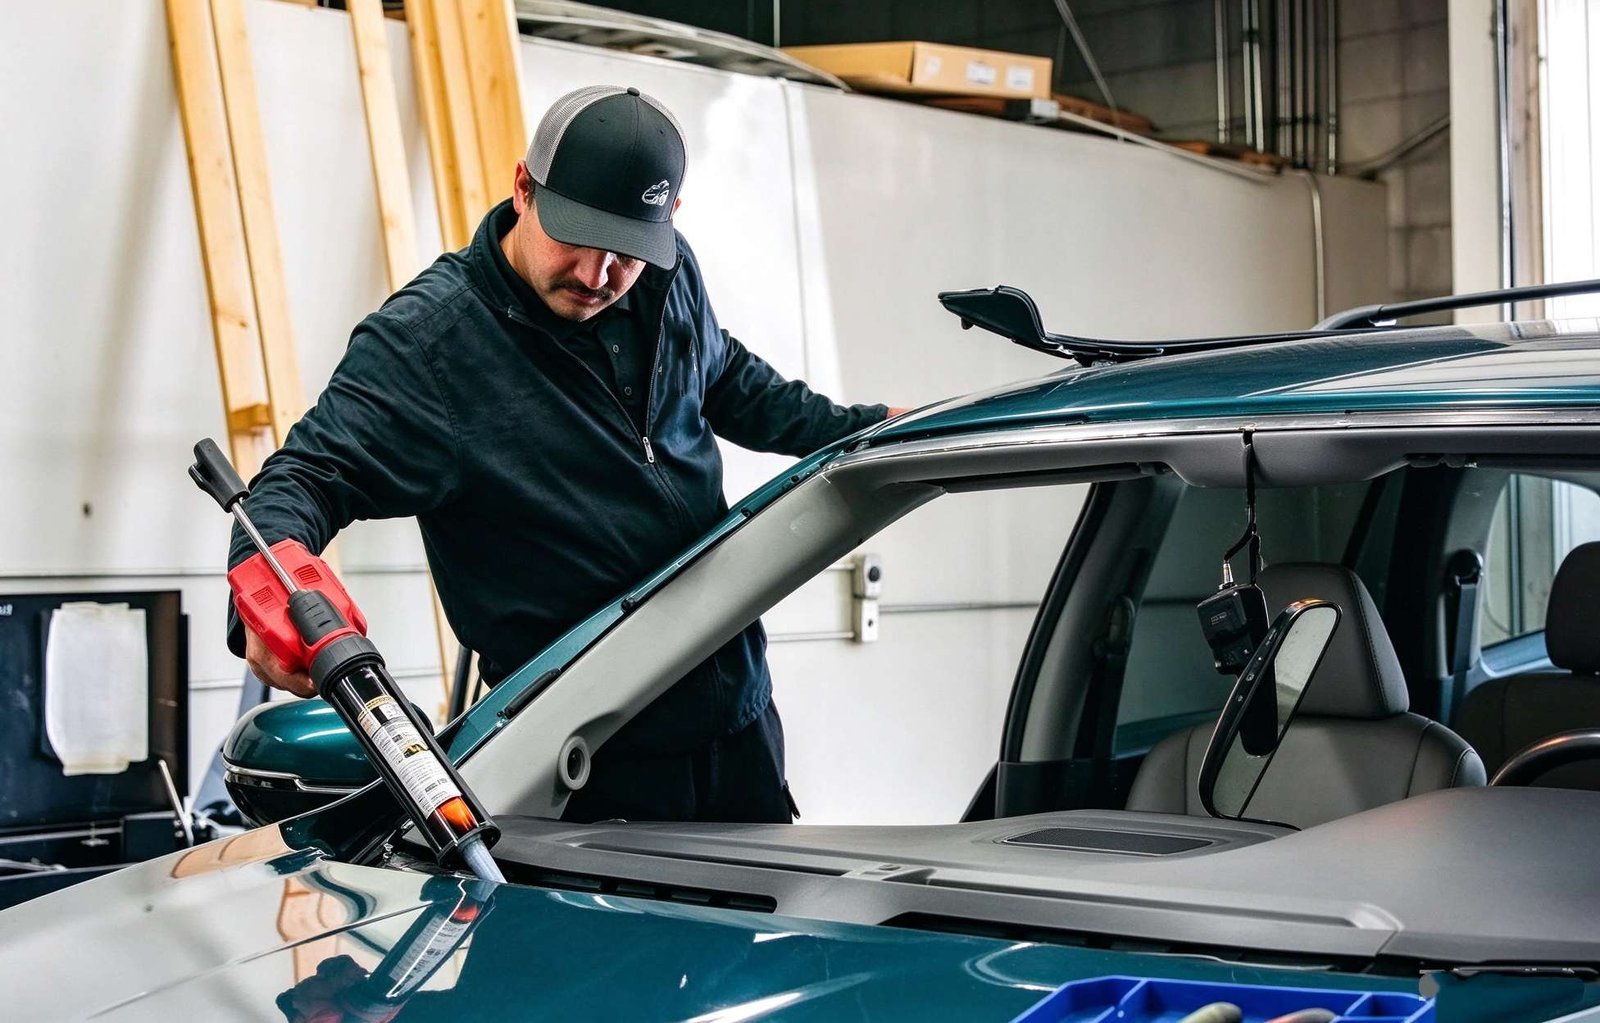
Trimming and Residue Removal: Tool & Chemical Selection Matrix
Auto glass technicians must choose the proper tool based on whether the adhesive is fully cured or wet. The engineering matrix below contrasts professional removal methods.
| Adhesive State | Target Surface | Recommended Removal Tool | Safety and Substrate Impact |
|---|---|---|---|
| Cured Bulk Bead (Old Glass) | Body Pinchweld Flange | Pinchweld Scraper with Depth Guide | Leaves safe 1mm cushion; zero metal gouging |
| Cured Thin Smears | Bare Glass Perimeter | Single-Edge Stainless Razor Blade | Hold blade at 45°; avoid scratching ceramic frit |
| Fresh Uncured Paste | Painted Body Panels | Plastic Scraper + Citrus Solvent | Wipe immediately; will not harm clearcoat |
| Adhesive Smudge Residue | Interior Trim / Glass Face | Specialized windshield glue remover Wipe | Dissolves tackifier oils without clouding plastics |
Typical Application Scenarios: Workshop Realities & Urethane Trimming
Real-world fleet repair facilities encounter severe surface challenges when removing old glass assemblies from previous substandard installations.
Scenario A: Remediation of Gouged Pinchweld Flanges
A fleet van arrived with chronic water leaks along the driver-side A-pillar. Upon removing the windshield, technicians discovered that a previous installer had scraped the pinchweld with a standard utility knife down to bare steel.
The knife blade had gouged ten deep gouges into the metal flange, triggering severe rust tracks beneath the urethane. Technicians wire-wheeled the rust, degreased the flange, and applied anti-corrosion pinchweld primer before re-glazing with structural polyurethane.
Scenario B: Cleaning Accidental Urethane Smears on New Paint
During windshield decking on a newly repainted commercial vehicle, an installer accidentally brushed a wet urethane nozzle tip against the passenger fender.
Instead of wiping vigorously with a dry towel, which spreads black pigment across clearcoat pores, the technician used a specialized windshield adhesive residue removal citrus wipe. The wipe lifted the uncured prepolymer cleanly in two passes, leaving zero swirl marks or paint discoloration.
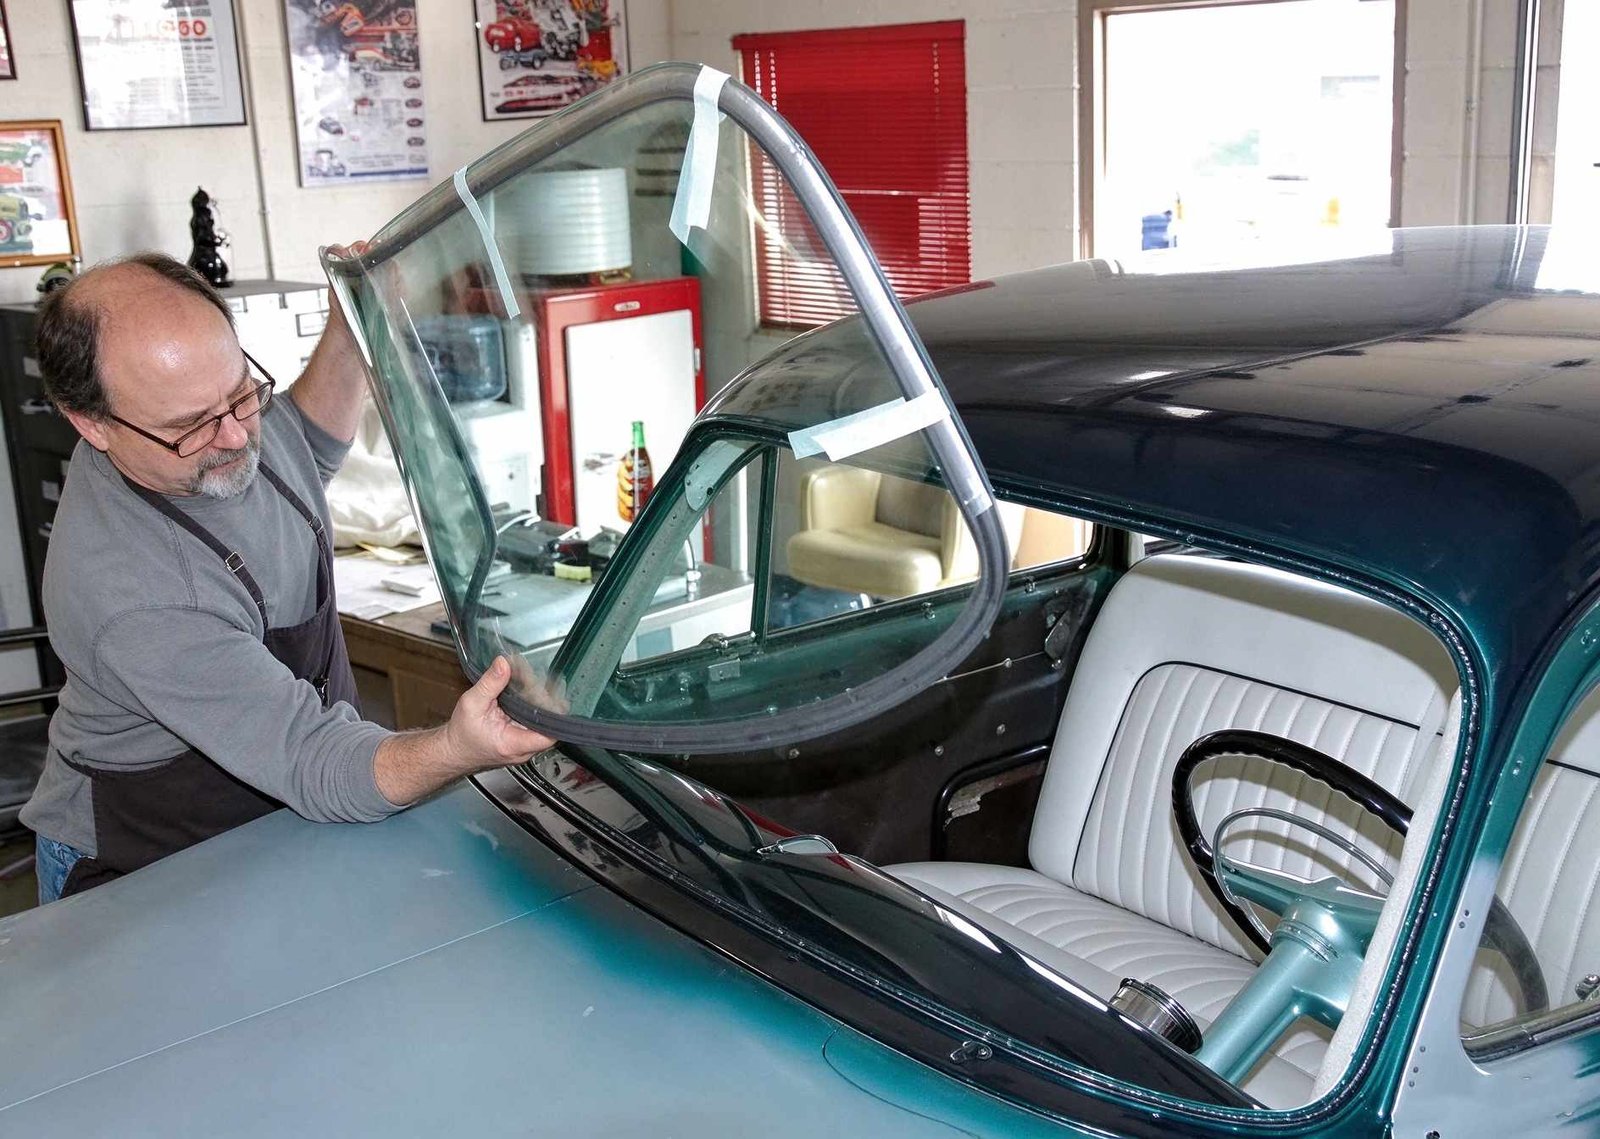
Standard Operating Procedure: Step-by-Step Pinchweld Trimming SOP
Executing this standardized five-step trimming procedure preserves vehicle electrocoat paint and guarantees maximum adhesion for the replacement glass.
Step 1: Pinchweld Inspection and Debris Removal
Immediately after lifting out the damaged windshield, vacuum all glass shards, dried leaves, and dirt from the pinchweld trough using a HEPA shop vacuum. Wipe away loose road grit with a damp towel.
Step 2: Surgical Pinchweld Urethane Trimming
Use a sharp, professional pinchweld urethane trimming knife with an offset handle. Slice the old polyurethane bead smoothly, maintaining a consistent forward blade angle.
Leave a smooth, level base layer measuring 1mm to 2mm in thickness. Ensure the trimmed surface is flat and free of jagged gouges, creating an ideal bonding cushion.
Step 3: Scratch and Bare Metal Treatment
Inspect the trimmed pinchweld perimeter closely under bright work lights. If any blade scratches reveal bare silver steel, immediately shake and apply an approved anti-corrosion pinchweld primer using a clean dauber. Allow 10 minutes of flash-off time.
Step 4: Two-Cloth Solvent Degreasing
Clean the trimmed urethane cushion using an approved isopropanol solvent. Wipe forward firmly with a solvent-wetted lint-free wipe. Follow immediately with a clean, dry microfiber cloth before the solvent flashes off.
Engineer’s Technical Trade-Offs: Practical Boundaries of Adhesive Removal
Technicians must understand the engineering compromises involved in adhesive trimming and substrate restoration.
- Trimming Speed vs. Scratch Risks: Power reciprocating cut-out blades accelerate bead trimming, but increase the risk of gouging the metal flange compared to manual surgical knives.
- Chemical Cleaner Evaporation: Rapid-flash solvents evaporate quickly, but can trap hydrocarbon films on the urethane cushion if not wiped off with a dry towel immediately.
- Aged vs. Fresh Polyurethane: Trimming old urethane older than five years requires sharp carbon steel blades, as aged polyurethane cross-links harden significantly over vehicle lifespans.
Frequently Asked Questions: Windshield Adhesive Removal
Why should technicians leave 1mm of old urethane on the pinchweld instead of scraping to bare metal?
Existing factory polyurethane provides an ideal, highly compatible bonding substrate for fresh urethane. Scraping down to bare metal damages the OEM cathodic e-coat, increases corrosion risk, and creates scratch channels where moisture can initiate rust delamination.
Can acetone or lacquer thinner dissolve cured polyurethane windshield glue?
No. Cured polyurethane is a thermoset polymer with cross-linked molecular bonds that cannot be dissolved by acetone or lacquer thinner. Applying these aggressive solvents will soften and damage automotive body paint without dissolving the urethane.
How do you remove accidental polyurethane smudges from vehicle paint?
If the urethane is still wet, gently scrape the bulk away with a flexible plastic scraper and wipe the residue immediately using a citrus-based solvent or approved specialty auto glass cleaner wipe. If the urethane has cured, it must be carefully peeled mechanically or softened with specialized plastic-safe cleaners.
Engineering Summary: Safe Preparation for Permanent Bond Reliability
Proper windshield adhesive removal bridges the gap between old glass extraction and successful direct glazing. By respecting the 1mm urethane cushion rule, utilizing surgical trimming tools, and avoiding aggressive chemical thinners, workshops eliminate corrosion liabilities and guarantee lasting occupant crash protection.
Authored by ChemPU Automotive Application Engineering Team
Specializing in OEM direct-glazing polyurethane formulation, crash-retention validation per FMVSS 212 standards, and high-performance structural elastomeric bonding solutions for global automotive manufacturers.
Quality Certification: ISO 9001 / IATF 16949 Certified Adhesive Manufacturing
Source Professional Auto Glass Replacement Adhesives & Accessories
Partner with ChemPU, an ISO 9001 and IATF 16949 certified Chinese manufacturer. We provide high-modulus polyurethane direct glazing adhesives, specialized pinchweld cleaners, and private label replacement kits for international auto glass distributors and fleet repair networks.
Direct WhatsApp Technical Inquiry: +86 15216655520

