
Automotive glass workshops frequently face fallen interior rearview mirrors and severed rear window defogger grid lines. Modern rearview mirrors carry forward-facing ADAS cameras, auto-dimming sensors, and microphones. These added components exert severe continuous cantilever torque on a small glass-mounted mounting button.
Using incorrect glues risks dropped hardware, damaged laminated glass, or failed electrical defrosters. Selecting a professional rearview mirror adhesive kit guarantees high shear resistance across harsh vehicle temperature swings while protecting sensitive glass surfaces.
Key Takeaways: Mirror Button Bonding & Defogger Restoration
- Two-Part Modified Acrylic: OEM technicians rely on a specialized rearview mirror adhesive kit featuring toughened acrylic and chemical activator to handle dynamic cantilever shear and thermal expansion mismatches.
- Never Use Superglue or Rigid Epoxy: Cyanoacrylate becomes brittle under vibration, while rigid epoxies tear glass chunks off the windshield during summer heat cycles.
- Conductive Silver Grid Chemistry: Repair broken rear window defroster lines using silver-filled conductive paint to restore electrical continuity without hot soldering.
- Defroster Tab Reattachment: Secure separated electrical spade tabs with two-component conductive silver epoxy, avoiding thermal shock to tempered backlites.
High Shear Stress on Glass: Why Superglue and Rigid Epoxies Fail
Vehicle windshields experience dramatic thermal fluctuations. Interior glass temperatures swing from -30°C during sub-zero winters to over +85°C under intense direct summer sunlight. Uninformed operators often try general household adhesives, creating rapid structural joint failures.
Cyanoacrylate (standard superglue) forms a rigid, glassy polymer network. Under constant vehicle chassis vibration and thermal movement, cyanoacrylate bondlines develop microscopic stress fractures. Moisture intrusion accelerates polymer degradation, causing mirror buttons to drop off within weeks.
Thermal Expansion Mismatch and Glass Divoting
Standard rigid epoxies create an even greater hazard. Steel mirror buttons exhibit a thermal expansion coefficient around 12 × 10-6/K. In comparison, automotive soda-lime float glass expands at roughly 8.5 × 10⁻⁶/K.
When exposed to scorching cabin heat, this expansion differential creates severe interfacial shear stress. Because rigid epoxy cannot flex, it pulls a circular divot of glass directly out of the inner laminated windshield pane. Repairing this damage requires complete glass replacement.
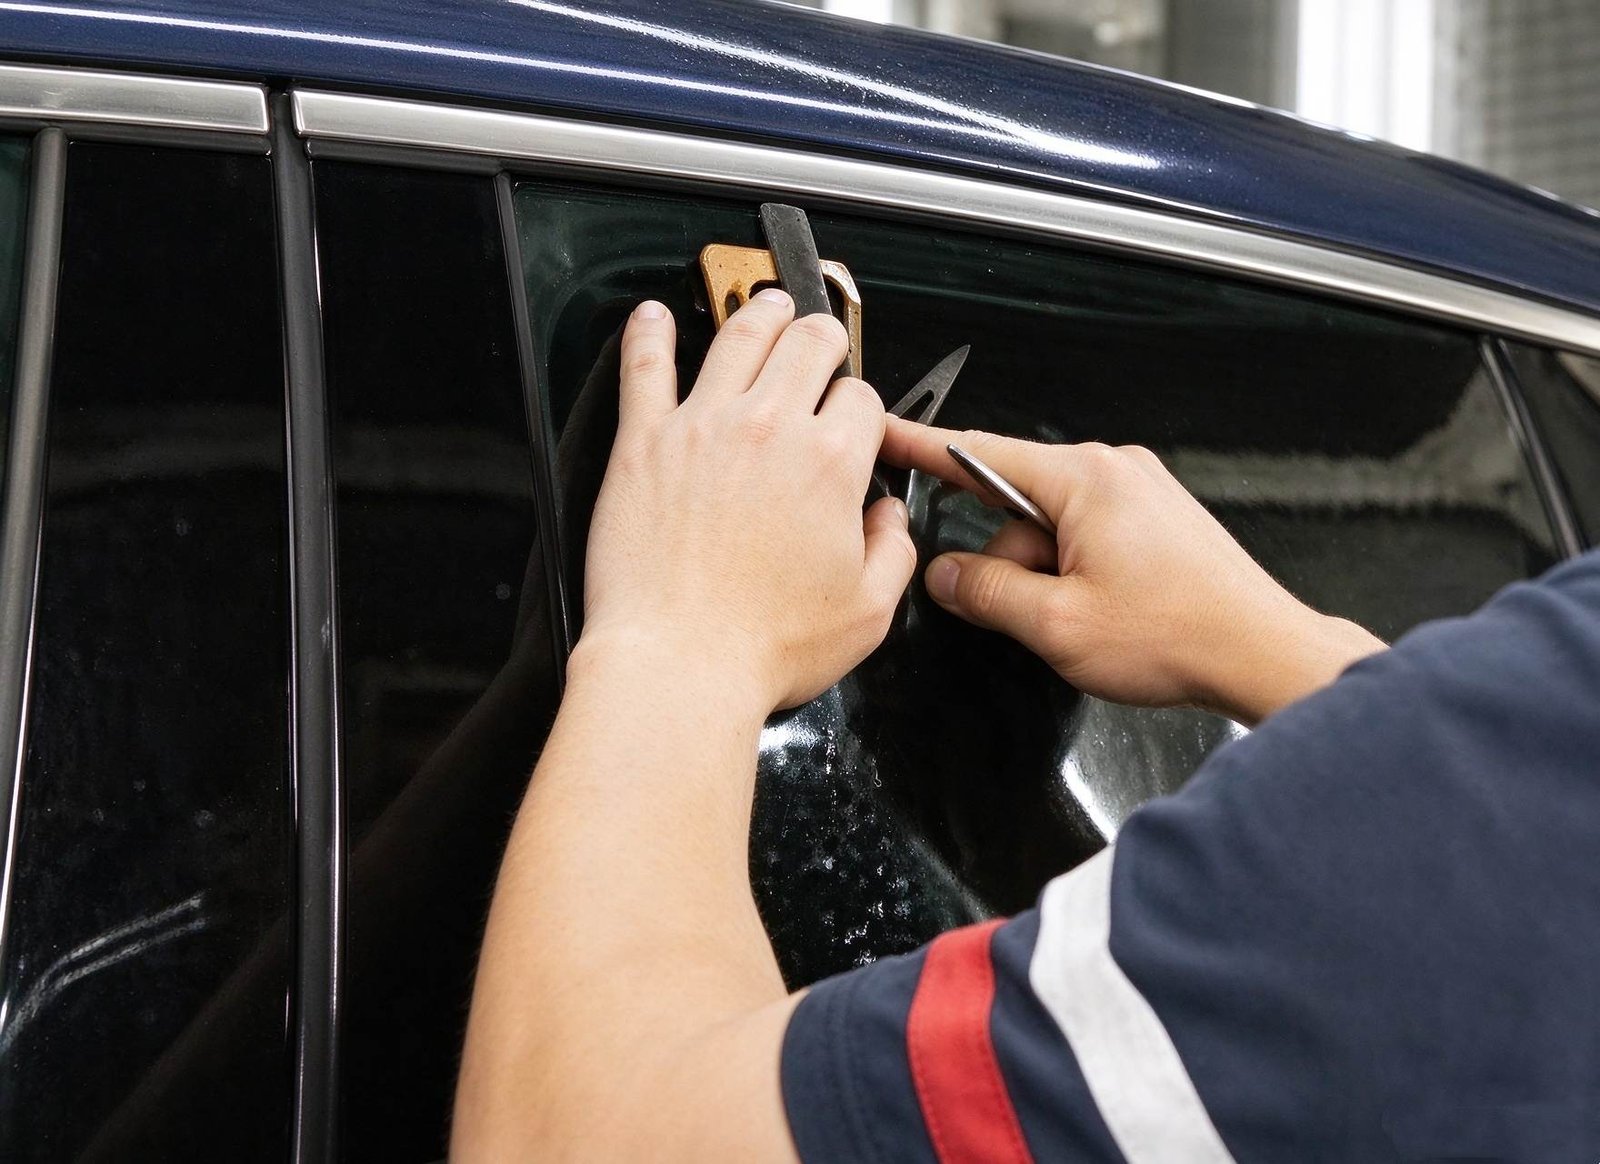
Figure 1: Preparing clean glass surface by stripping oxidized urethane and adhesive residue before bracket installation.
Two-Part Modified Acrylic Systems: OEM Standard for Mirror Button Bonding
Vehicle manufacturers mandate two-part modified structural acrylic adhesives for windshield mirror buttons. A professional rearview mirror adhesive kit contains a specialized liquid chemical activator paired with high-viscosity elastomeric acrylic resin.
The surface activator cleans microscopic glass pores and deposits reactive organometallic compounds. When the acrylic resin contacts the primed button, rapid anaerobic free-radical polymerization begins across the micro-thin bondline.
Vibration Damping and Elastomeric Compliance
Modified acrylic adhesives incorporate elastomeric rubber tougheners within the cross-linked matrix. This hybrid structure achieves lap shear strengths exceeding 18 MPa under ASTM D1002 while retaining critical elastic elongation.
This built-in flexibility absorbs continuous road shock and cushions differential thermal expansion. Modern heavy sensor-equipped mirrors remain firmly locked in position across rugged driving conditions.
Step-by-Step SOP: Reattaching Windshield Mirror Buttons Correctly
Successful mirror button bonding requires strict surface preparation and precise curing discipline. Technicians should execute the following protocol during automotive glass repairs.
Step 1: Separate Button and Clean Glass Substrate
Never attempt to glue the entire mirror assembly while the mounting button remains locked inside the mirror bracket. Loosen the set screw or rotate the bracket to remove the metal button. Mark the exact mounting location on the outside of the windshield using masking tape.
Scrape away all residual cured adhesive from the glass using a sharp single-edge razor blade held at a 45-degree angle. Degrease the glass with 99% isopropyl alcohol, ensuring zero oily residue remains.
Step 2: Surface Abrasion and Activator Flashing
Lightly abrade the bonding face of the metal button using 220-grit sandpaper to remove surface oxidation. Wipe the button clean with an alcohol pad.
Crush the chemical activator vial from your rearview mirror adhesive kit. Apply a continuous liquid coat across both the windshield target zone and the metal button face. Allow the volatile solvent to flash off for 90 seconds until visibly dry.
Step 3: Resin Application and Curing Gate
Apply one single droplet of acrylic adhesive to the center of the metal button. Immediately press the button firmly against the activated windshield mark.
Maintain firm thumb pressure for 60 seconds without twisting or sliding the bracket. Secure the button with low-tack painter tape. Wait a strict minimum of 30 minutes before re-hanging the heavy mirror arm.
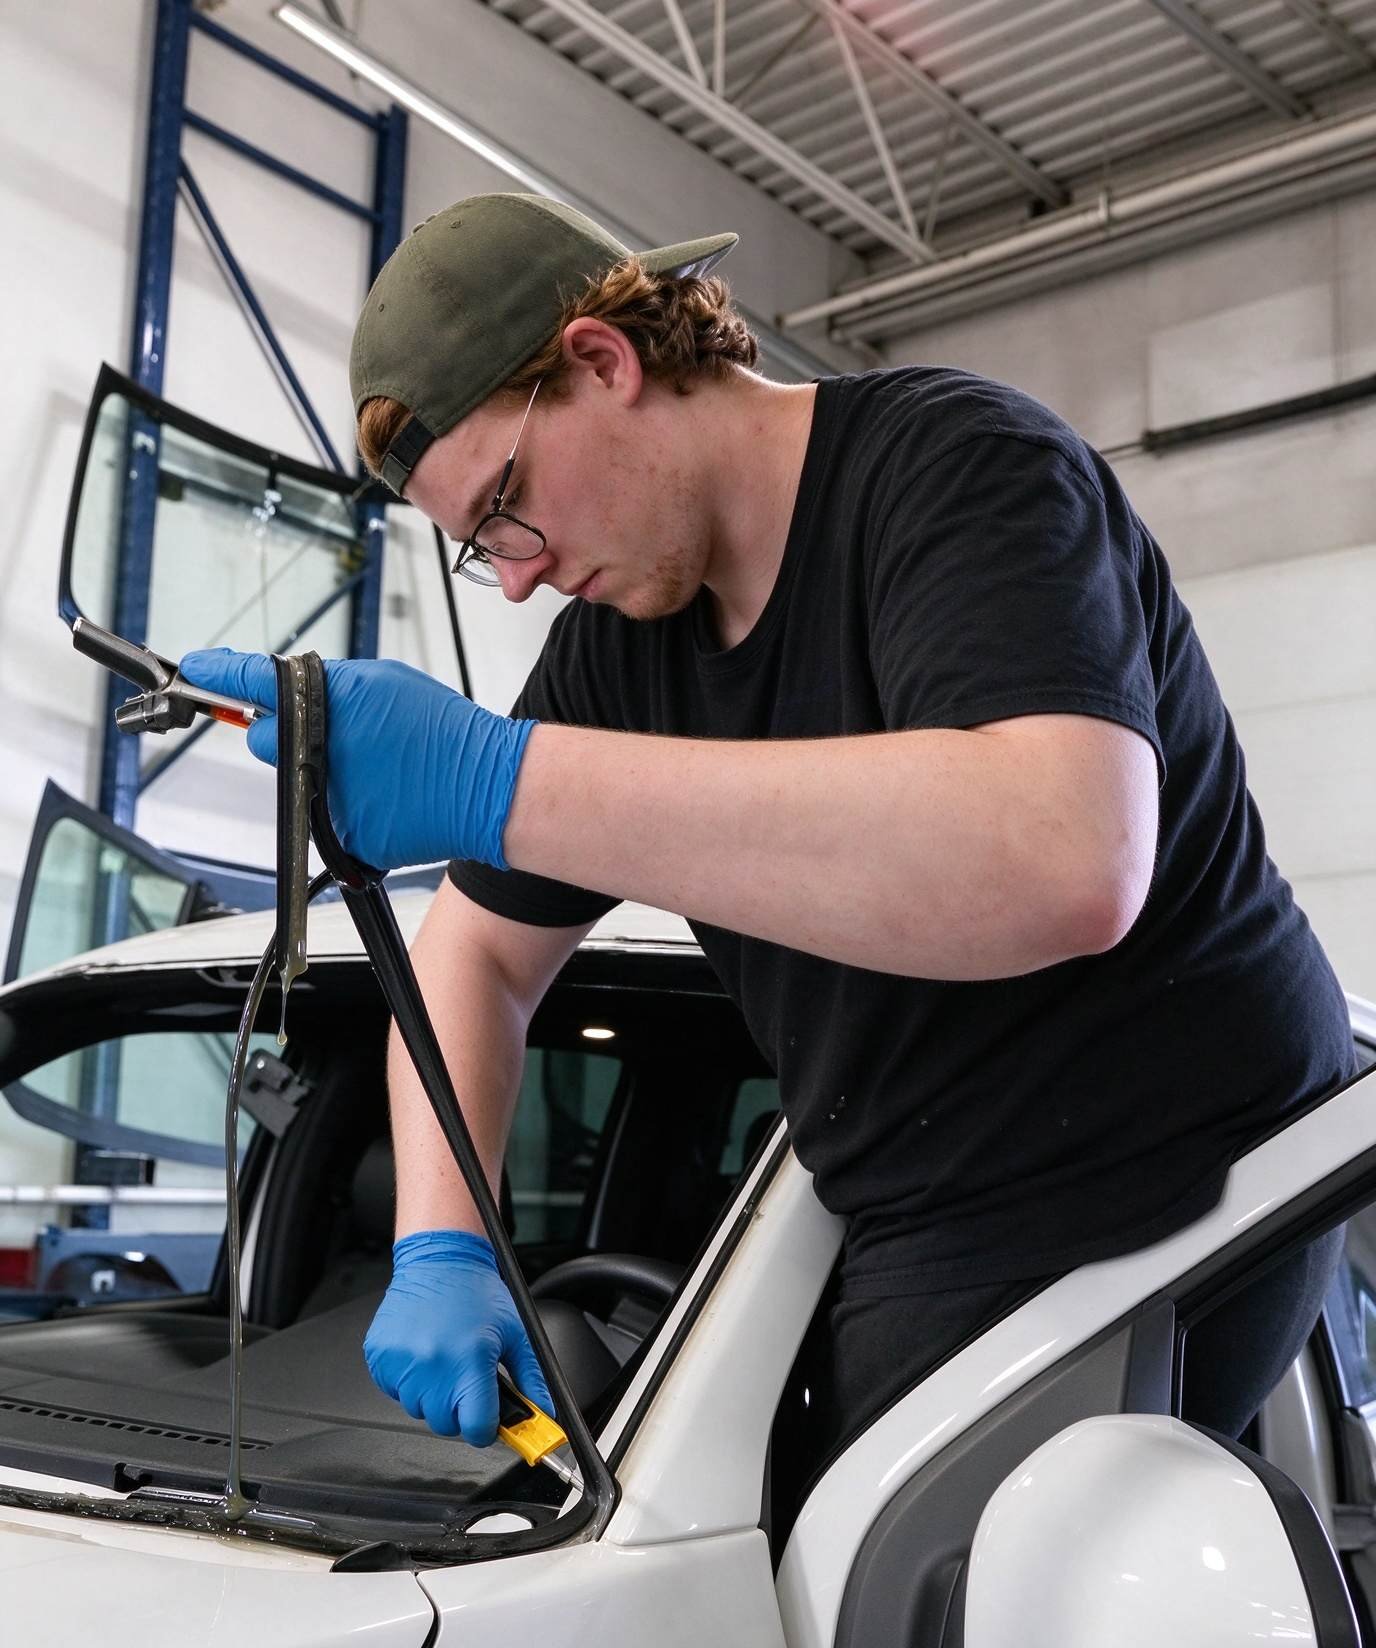
Figure 2: Precision dispensing and controlled compression ensure structural bondline integrity on automotive glass.
Rear Defogger Grid & Tab Restoration: Silver Conductive Repair Technology
Rear window defoggers utilize ceramic silver frit conductors baked onto the tempered glass surface. Cargo abrasion, pet contact, or aggressive window tint stripping often severs individual grid lines. Detached electrical bus tabs also disable entire heating zones.
Soldering detached defroster tabs with electrical irons presents catastrophic risks. Concentrated iron heat exceeding 350°C triggers intense localized thermal shock, instantly shattering tempered rear backlites into thousands of pebbles.
Restoring Broken Heating Traces with Conductive Silver Resin
Locate broken grid points using a digital multimeter set to 12V DC. Place the ground probe on the ground bus bar and drag the positive probe along the energized trace. The exact break appears where the multimeter reading abruptly drops from 12V to zero.
Mask the broken section with fine precision tape, leaving a clean 1 mm slot aligned over the severed line. Apply pure silver-filled conductive coating across the gap, overlapping 6 mm onto existing undamaged conductors. Remove tape while wet, then allow 24 hours room-temperature curing.
Reattaching Defroster Bus Tabs Using Conductive Adhesive
When main electrical spade terminals break away, use two-component silver-loaded conductive epoxy. Clean both the brass tab and glass bus pad using fine wire wool and solvent.
Mix equal parts of conductive silver resin and hardener. Apply a uniform film to the tab, clamp firmly against the bus pad, and cure under gentle infrared heating for 20 minutes. This creates a low-resistance electrical connection without thermal shock hazards.
Adhesive Chemistry Comparison: Mirror Mounting vs. Circuit Restoration
Selecting the correct adhesive chemistry depends directly on mechanical load, electrical conductivity, and thermal elasticity requirements. The table below outlines key technical performance parameters.
| Adhesive Chemistry | Lap Shear Strength | Thermal Flexibility | Electrical Conductivity | Primary Automotive Application |
|---|---|---|---|---|
| Modified Structural Acrylic | > 18 MPa (High) | Excellent (Toughened) | Dielectric Insulator | OEM Windshield Mirror Buttons |
| Silver-Filled Conductive Epoxy | 8 – 12 MPa (Moderate) | Moderate Compliance | < 0.001 Ω·cm | Rear Defogger Tab Reattachment |
| Silver Conductive Acrylic Paint | Film Coating (Low) | High Surface Adhesion | < 0.02 Ω·cm | Defroster Grid Line Bridging |
| Standard Cyanoacrylate | 10 – 14 MPa (Brittle) | Zero (Fails Thermal Shock) | Dielectric Insulator | Prohibited on Glass Hardware |
| Standard Rigid Epoxy | 15 – 20 MPa (Rigid) | Poor (Thermal Mismatch) | Dielectric Insulator | Causes Windshield Glass Spalling |
Typical Application Scenario: Commercial Fleet Windshield Hardware Refitting
Fleet Logistics Van Pre-Delivery Glass Conditioning
Workshop Profile: An automotive glass fleet service center preparing 120 commercial delivery vans equipped with digital telematics mirrors and rear heating grids.
Operational Challenge: Heavy commercial telematics mirrors weighing over 650 grams suffered recurring bracket detachment when installed with generic hardware tapes. Concurrently, loading cargo fractured rear window defogger grid lines on 15% of inbound vehicles.
Engineering Solution: Technicians deployed an industrial-grade rearview mirror adhesive kit featuring two-part modified acrylic chemistry. All mirror buttons achieved solid 60-second tack and full functional load-bearing cure within 30 minutes. Severed defroster traces were bridged with precision silver conductive paint.
Inspection Result: Zero bracket detachments recorded over 12 months of high-mileage fleet operation. All repaired rear defogger circuits passed thermal infrared camera validation, reaching 45°C clear defrosting performance within five minutes.
Frequently Asked Questions: Mirror Adhesive & Defogger Repairs
Can I reattach a rearview mirror button without removing it from the mirror bracket?
No. Never attempt to glue the assembly while the button is inside the bracket. The continuous cantilever weight of the mirror slides the wet button out of position, ruining bondline alignment. Always detach the button, bond it independently, and allow at least 30 minutes curing before mounting the mirror.
How long should I wait before hanging the mirror onto a newly glued button?
When using a two-part rearview mirror adhesive kit, wait at least 30 minutes at room temperature (20°C to 25°C) before attaching the mirror bracket. Full chemical cure and ultimate lap shear strength reach completion after 24 hours. In cold winter conditions under 15°C, warm the windshield glass gently with vehicle cabin heat before bonding.
Why does soldering a detached defroster tab crack tempered rear backlites?
Automotive backlites consist of tempered safety glass manufactured under high internal compression. Touching a 350°C soldering iron to cold glass creates intense localized thermal expansion. This sudden thermal gradient shatters tempered glass instantaneously. Always use room-temperature conductive silver epoxy.
Technical Review by ChemPU Glazing Systems Engineering Team
Authored by Senior Application Engineers specializing in direct glazing polyurethanes, structural modified acrylics, and automotive conductive resins. Certified under ISO 9001 and IATF 16949 quality standards.
Source Certified OEM Direct Glazing Polyurethane Adhesives
Partner with ChemPU, an ISO 9001 and IATF 16949 certified Chinese manufacturer. We provide high-modulus polyurethane direct glazing adhesives, structural acrylics, and private label cartridges for international distributors and fleet repair networks.
Direct WhatsApp Technical Inquiry: +86 15216655520

