
Automotive technicians and vehicle owners frequently face sudden rearview mirror failure. A mirror bracket dropping off windshield glass on a scorching summer afternoon creates an immediate safety hazard. When learning how to reattach a rearview mirror, using standard hardware superglue guarantees rapid bond failure.
Executing a permanent repair demands professional-grade rearview mirror adhesive designed for mismatched substrates. The coefficient of thermal expansion between soda-lime glass and metallic mounting buttons differs drastically under direct solar heat.
This standard engineering guide details the chemistry of structural acrylics and two-part bonding kits. We examine why cyanoacrylate shatters under cabin heat, how amino-silane primers anchor to silica networks, and the exact button mounting SOP. Auto glass technicians and workshop owners will master permanent mirror bracket installation that withstands intense road vibration.
Executive Summary: Rearview Mirror Bonding & Thermal Physics
- Thermal Expansion Mismatch: Windshield glass expands at 8.5 × 10⁻⁶ /K, while zinc/steel buttons expand at 12 to 18 × 10-6 /K; rigid adhesives crack under this shear strain.
- Structural Acrylic Superiority: Professional two-part modified acrylic adhesives absorb thermal shock and high dynamic shear stress from modern weighted auto-dimming mirrors.
- Silane Surface Chemistry: Applying liquid activator deposits organosilane coupling agents, creating permanent covalent siloxane bonds with glass silica molecules.
- Weight-Free Cure Window: Never attach the heavy mirror housing immediately; the mounting button must cure undisturbed for at least 30 to 60 minutes.
Material Physics: Differential Expansion and Adhesive Shear Stress
When selecting the best rearview mirror adhesive, technicians must account for solar cabin heating. Glass and metal buttons expand at drastically different physical rates.
The Physics of Thermal Mismatch Failure
Automotive windshield glass possesses a low linear thermal expansion coefficient of approximately 8.5 × 10⁻⁶ /K. In stark contrast, cast zinc or steel mirror mounting buttons expand at 12 to 18 × 10-6 /K.
Under summer sun, cabin dashboard temperatures routinely exceed 85°C. The metal button expands nearly twice as much as the underlying glass. A brittle adhesive fractures along the bond boundary, causing sudden bracket detachment.
Why Household Superglue Fails Prematurely
Standard cyanoacrylate glues cure through rapid surface moisture reaction into a rigid, non-flexible acrylic glass. While tensile strength appears high initially, its elongation at break is near zero percent.
Vehicle vibration, road potholes, and thermal cycling quickly shatter brittle cyanoacrylate crystalline structures. High-performance structural acrylics incorporate elastomeric rubber flexibilizers, maintaining elasticity under continuous dynamic shock.
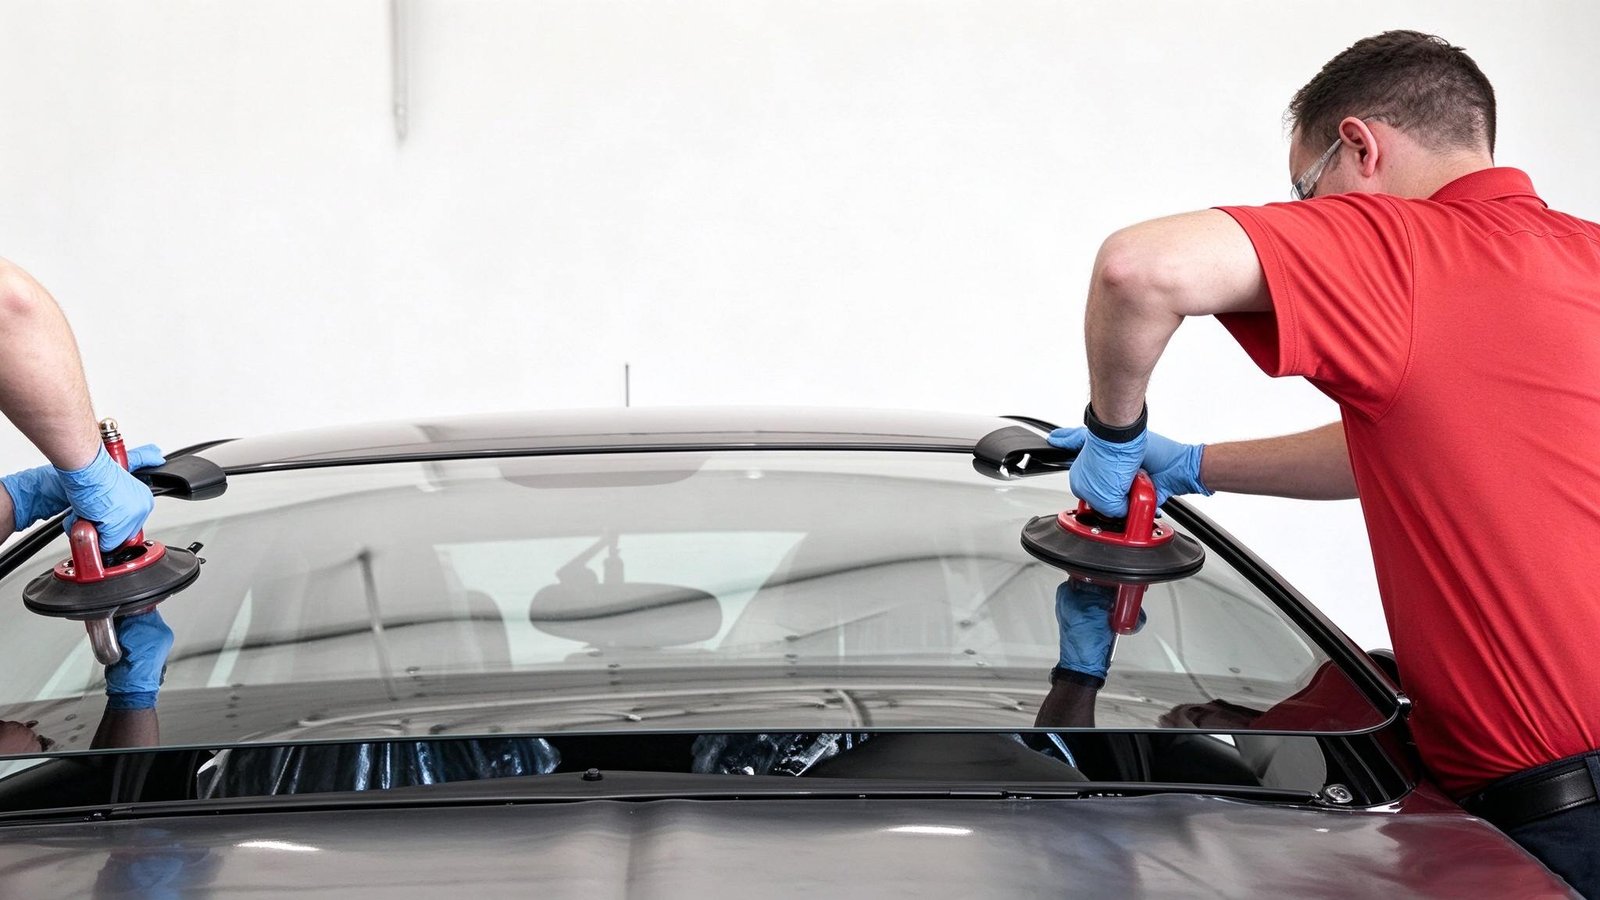
Adhesive Matrix: Comparing Rearview Mirror Bonding Systems
The engineering matrix below outlines performance parameters across common automotive mirror bonding technologies.
| Adhesive Formulation | Shear Strength (25°C) | Thermal Cycle Resistance | Installation Handling Time |
|---|---|---|---|
| Two-Part Structural Acrylic + Primer | 18 to 22 MPa (High) | Superior (-40°C to +120°C) | Button set in 2 min; Full cure 30 min |
| UV-Curable Optical Acrylic Resin | 14 to 17 MPa | Excellent (Factory OEM Line standard) | Instant (30 sec UV lamp irradiation) |
| Standard Household Superglue | 8 to 12 MPa (Brittle) | Poor (Degrades rapidly above 60°C) | Rapid (10 sec set; High failure rate) |
| Double-Sided Foam Adhesive Pads | 2 to 4 MPa (Very Low) | Unreliable (Creeps under mirror weight) | Immediate pressure stick |
Typical Application Scenarios: Workshop Realities & Bracket Detachment
Examining real-world repair challenges reveals why proper surface preparation and adhesive choice prevent costly customer callbacks.
Scenario A: Heavy Auto-Dimming Mirror Detachment in Delivery Fleet
A commercial delivery fleet experienced repeated mirror detachment on modern cargo vans equipped with integrated forward dashcams and auto-dimming electronics. The replacement mirror assembly weighed over 450 grams.
The previous workshop had used double-sided adhesive pads, which softened in summer heat, dropping the mirror into the steering wheel. Technicians resolved the issue by scraping the glass to bare silica, treating the metal button with copper-based activator, and bonding with structural acrylic. The repair withstood extreme fleet road vibration.
Scenario B: Stress Crack Prevention from Improper Glass Scraping
A customer attempted a DIY mirror repair using an electric rotary grinder to strip old glue residue from the windshield, creating deep micro-grooves in the glass.
When autumn temperatures dropped, thermal stress concentrated along the gouged glass surface, radiating into a 30cm spider crack across the windshield. Technicians replaced the entire windshield, emphasizing that old adhesive residue must only be removed with a sharp stainless steel razor blade held flat at 45 degrees.
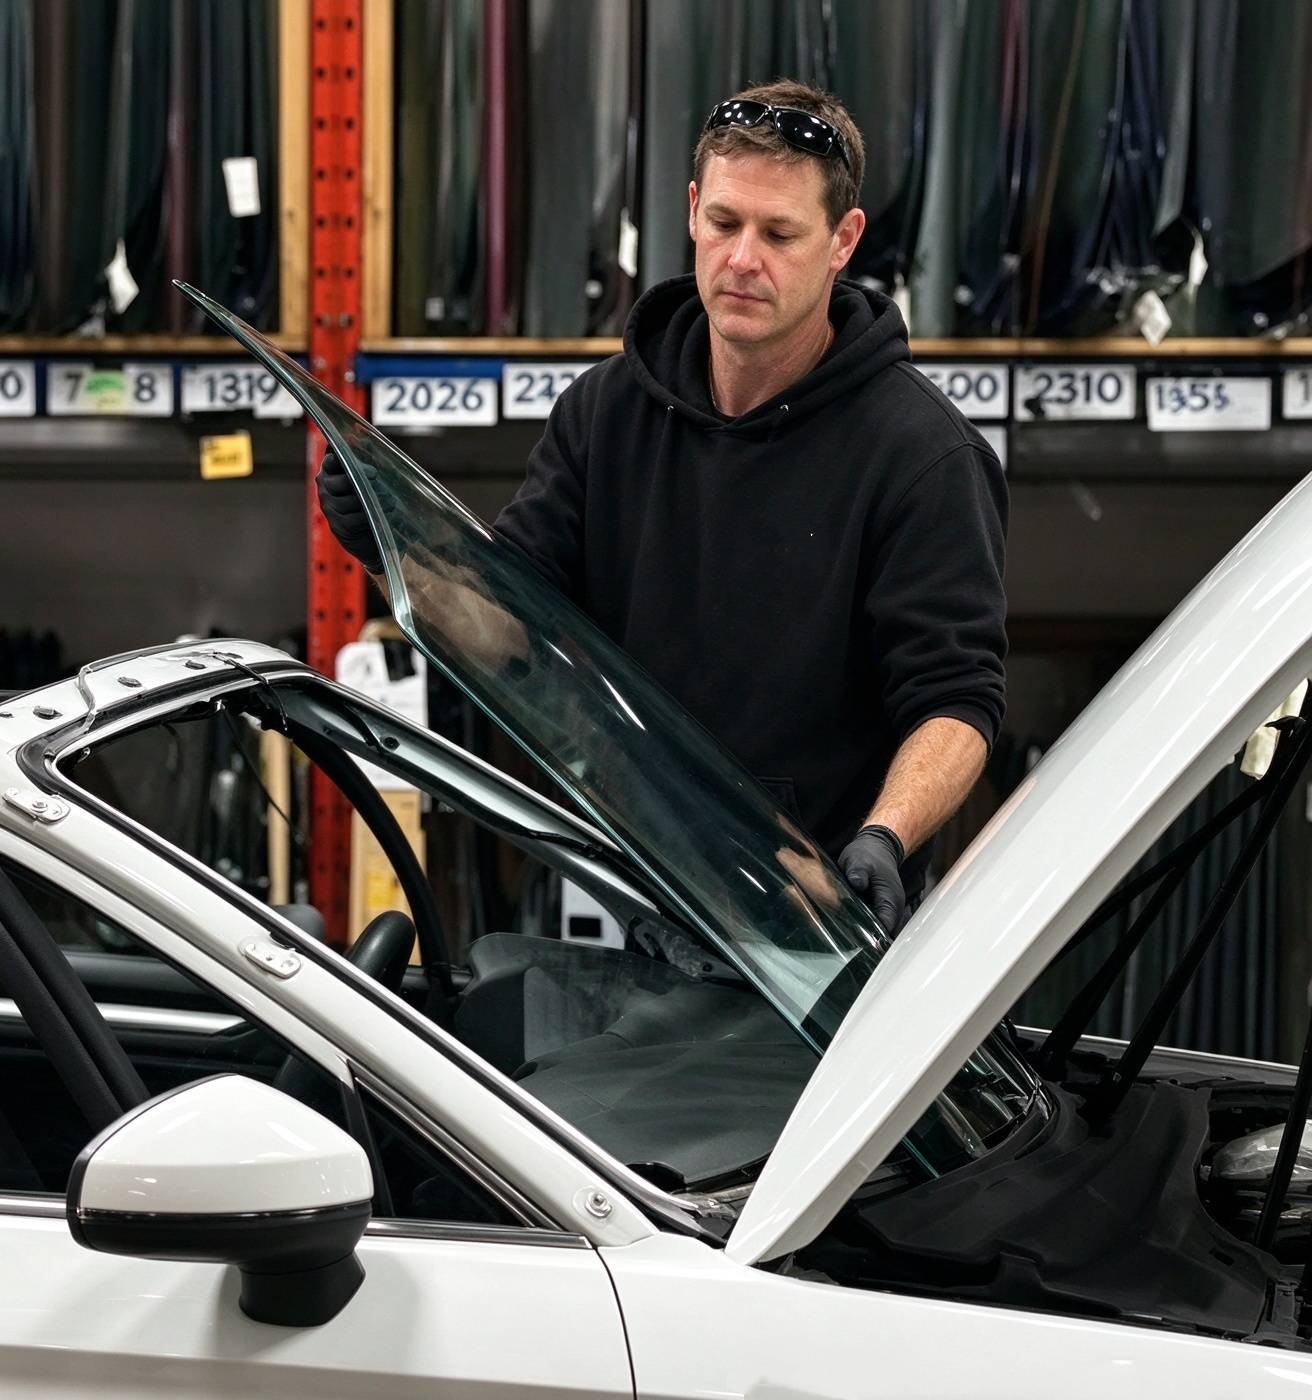
Standard Operating Procedure: Five-Stage Mirror Reattachment SOP
Following this five-stage engineering protocol ensures permanent bracket adhesion that matches factory OEM standards.
Step 1: Outer Glass Reference Marking
From the exterior of the windshield, place a square of blue painter’s tape directly behind the original mirror mounting button location. Trace the outline with a marker to establish an exact mounting reference.
Step 2: Old Adhesive Residue Removal
Hold a fresh single-edge stainless razor blade at a 45-degree angle. Carefully shave away all hardened glue residue from the interior glass surface. Scrape the flat bonding side of the metallic mounting button down to bare metal.
Step 3: Solvent Degreasing and Primer Activation
Clean both bonding faces thoroughly with 99% pure isopropyl alcohol. Open the primer vial from your rearview mirror bonding kit and apply a continuous film to the interior glass target zone. Allow two minutes for the amino-silane activator to flash off completely.
Step 4: Adhesive Dispensing and Button Setting
Apply a single droplet of structural acrylic adhesive to the center of the metal mounting button. Align the button with your exterior tape markings, verifying that the directional notch points upward. Press firmly against the glass for two full minutes without twisting.
Step 5: Cure Window and Final Mirror Assembly
Allow the mounting button to cure without weight for at least 30 to 60 minutes. Slide the heavy mirror assembly onto the button track and tighten the setscrew securely.
Engineer’s Technical Trade-Offs: Boundaries of Mirror Adhesives
Professional auto glass technicians must respect the operational boundaries of bracket bonding chemistries.
- Temperature Window Restrictions: Never apply acrylic mirror adhesives below 15°C (59°F); cold glass retards free-radical polymerization, causing incomplete curing and premature release.
- Anaerobic Activator Sensitivity: Two-part structural acrylics require contact with the copper/amine primer to initiate polymerization; omitting the chemical activator prevents adhesive hardening.
- Structural Glass Boundary: Mirror adhesives are formulated for small-area rigid bracket bonding; they must never be substituted for perimeter polyurethane windshield sealing beads.
Frequently Asked Questions: Rearview Mirror Reattachment
Can I use Gorilla Glue or standard superglue to reattach my rearview mirror?
No. Standard cyanoacrylate and polyurethane expansion glues lack the shear strength and thermal cycling flexibility required for automotive glass. Windshield glass and metal buttons expand at different rates under solar heat; brittle superglue fractures quickly, dropping the mirror.
How long should I wait before hanging the mirror onto the glued button?
Wait a minimum of 30 to 60 minutes after pressing the button onto the glass. Modern electronic auto-dimming mirrors weigh significantly more than classic mirrors. Hanging the assembly too early introduces gravitational peel stress before the acrylic polymer achieves full shear strength.
Why does the glue kit include an activator towelette?
The activator towelette contains an organosilane coupling agent and chemical accelerator. Silane molecules form covalent bonds with the inorganic silica in the glass, while the accelerator initiates free-radical polymerization of the acrylic adhesive resin. Skipping the activator prevents the glue from curing properly.
Engineering Summary: Reliable Cabin Safety and Vibration Resistance
Reattaching an automotive rearview mirror is a precise chemical bonding process rather than a quick glue task. By deploying purpose-formulated structural acrylic adhesives, activating glass surfaces with silane promoters, and observing necessary cure windows, auto glass specialists deliver durable installations that withstand harsh thermal cycling and intense highway vibration.
Authored by ChemPU Automotive Application Engineering Team
Specializing in OEM direct-glazing polyurethane formulation, crash-retention validation per FMVSS 212 standards, and high-performance structural elastomeric bonding solutions for global automotive manufacturers.
Quality Certification: ISO 9001 / IATF 16949 Certified Adhesive Manufacturing
Source Professional Rearview Mirror Adhesives & Automotive Bonding Kits
Partner with ChemPU, an ISO 9001 and IATF 16949 certified Chinese manufacturer. We provide structural acrylic rearview mirror adhesives, direct glazing polyurethanes, and private label repair kits for international distributors and fleet supply chains.
Direct WhatsApp Technical Inquiry: +86 15216655520

