
Automotive glass replacement failures frequently trace back to improper adhesive bead geometry and erratic deck compression. Novice technicians often dispense round cylindrical beads or inconsistent zigzag patterns. When the replacement glass is pressed into the aperture, round beads trap air bubbles against the ceramic frit. These trapped air pockets create persistent cabin wind whistles, severe water leaks, and structural weak spots.
Executing a compliant direct glazing installation demands strict adherence to OEM engineering geometry. Direct glazing integrates laminated glass into the vehicle unibody structure, contributing up to 45% of cabin roof crush resistance under FMVSS 216 mandates.
This standard operating procedure delivers comprehensive guidelines for triangular V-notch nozzle cutting, bead height calculation, and glass decking. We detail open time management, paddle alignment techniques, and retention taping protocols. Auto glass technicians and fleet maintenance managers will gain actionable instructions to guarantee certified structural crash performance.
Executive Summary: Direct Glazing Engineering & Installation Rules
- Triangular Bead Superiority: A triangular bead windshield installation eliminates trapped air bubbles by collapsing smoothly from the apex outward during deck compression.
- V-Notch Nozzle Geometry: Dispensing tips must feature a calibrated v notch nozzle windshield cutout, maintaining a base width of 8mm to 10mm and an apex height of 12mm to 15mm.
- Calculated Compression Ratio: Final compressed urethane bed thickness must measure between 4mm and 6mm, matching vehicle aerodynamic flushness and sensor calibration tolerances.
- Single-Joint Perimeter Bead: The adhesive bead must be extruded continuously around the aperture, placing the single seam overlap along the bottom cowl center.
Bead Profile Dynamics: Why OEM Standards Mandate Triangular V-Notch Geometry
Correct auto glass bead profile engineering prevents air entrapment. When compressed against flat glass, a triangular bead collapses progressively from its peak, driving air outward across the bonding interface.
The Air Entrapment Trap of Round Cylindrical Beads
When technicians cut nozzle tips square, the caulking gun extrudes a round cylindrical bead. As the flat glass contacts the curved cylinder crown, it contacts only a narrow tangential line.
Further downward compression traps two longitudinal air channels along both sides of the bead. Under vehicle road vibration and thermal cycling, these trapped micro-channels expand, forming water leak paths and reducing effective lap shear strength by over 30%.
Triangular Apex Collapse and Cohesive Wet-Out
A calibrated triangular bead features a sharp 60-degree to 70-degree apex. When glass contacts the peak, adhesive displacement starts at the center and spreads smoothly outward toward the flanks.
This progressive displacement evacuates all air, achieving 100% cohesive wet-out against the ceramic frit band. The resulting bond line delivers uniform stress distribution during passenger airbag deployment.
Engineering Dimensions: Bead Height, Width, and Compressed Deck Tolerances
Calculating proper windshield urethane bead height depends on vehicle pinchweld depth and glass moulding dimensions. The engineering table below specifies standard dimensional tolerances.
| Vehicle Glass Application | Extruded Bead Base Width | Extruded Apex Height | Final Compressed Thickness |
|---|---|---|---|
| Standard Passenger Sedans | 8 mm to 10 mm | 12 mm to 14 mm | 4.0 mm to 5.0 mm |
| SUVs & Light Commercial Trucks | 9 mm to 11 mm | 13 mm to 15 mm | 4.5 mm to 5.5 mm |
| Heavy Commercial Buses & Coaches | 12 mm to 14 mm | 16 mm to 20 mm | 6.0 mm to 8.0 mm |
| Direct Glazed Stationary Quarter Glass | 6 mm to 8 mm | 9 mm to 11 mm | 3.0 mm to 4.0 mm |
Typical Application Scenarios: Workshop Realities & Installation Defects
Examining common field failures illustrates how minor deviations in bead geometry cause serious post-replacement liabilities.
Scenario A: Over-Compression and ADAS Camera Calibration Failure
An installer replaced a windshield on a modern luxury sedan equipped with forward-facing ADAS cameras. The technician pressed the top glass edge aggressively, squeezing the urethane bead down to 2 mm thickness.
The over-compressed bead altered the windshield rake angle by 1.2 degrees. When the diagnostic technician attempted static camera calibration, the calibration target failed repeatedly. The shop had to cut out the brand-new windshield and re-glaze with calibrated 5 mm spacers.
Scenario B: Cowl Seam Overlap Leaks on Fleet Cargo Vans
A mobile technician ran out of adhesive midway along an A-pillar, starting a second cartridge with an abrupt butt joint. During the next heavy rainstorm, water entered the cabin and damaged the interior fuse block.
Forensic inspection revealed a pinhole leak at the butt joint. The workshop revised its automotive direct glazing sop, mandating a 20 mm tapered diagonal overlap positioned exclusively along the bottom cowl center.
Standard Operating Procedure: Five-Stage Direct Glazing Installation SOP
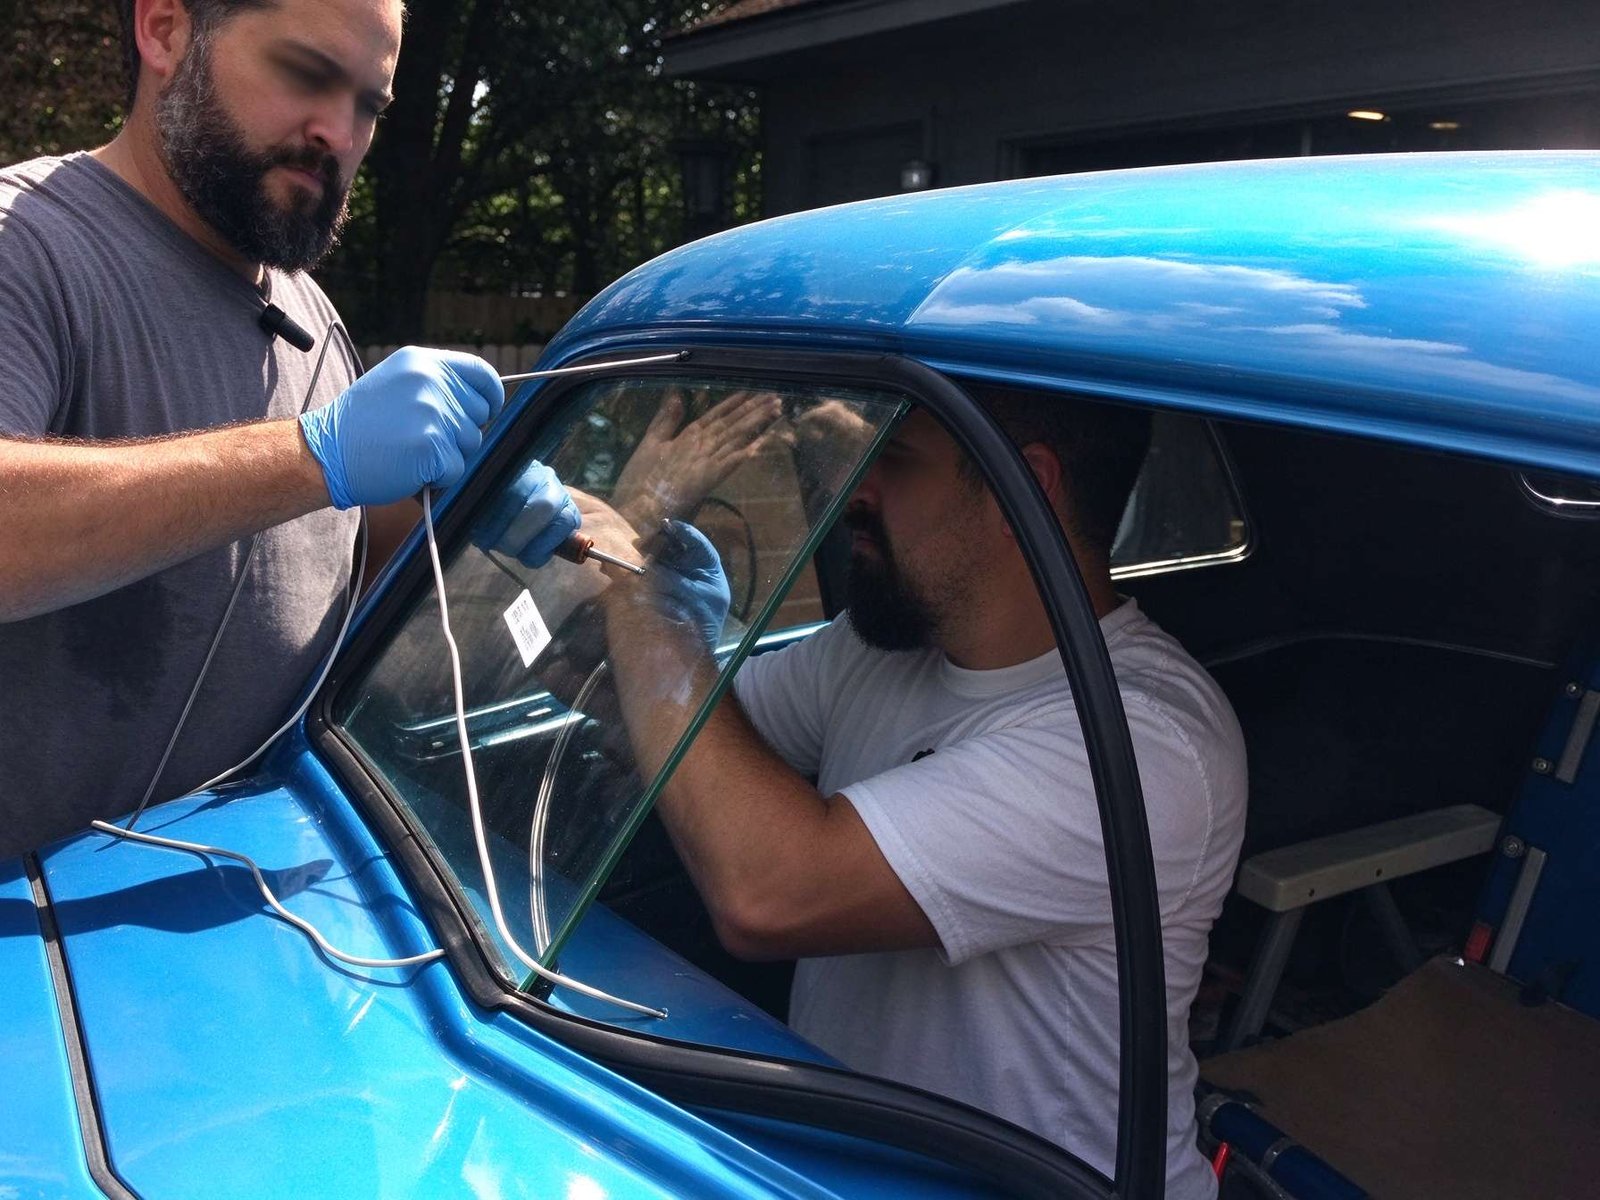
Following this five-stage installation sequence ensures structural integrity and eliminates cabin air and water leaks.
Step 1: Calibrated V-Notch Nozzle Cutting
Use a dedicated nozzle cutter tool. Cut a vertical slit matching the required bead height (typically 13 mm). Make two angled side cuts meeting the top of the slit, forming an equilateral triangle with a 9 mm base.
Step 2: Continuous Perimeter Extrusion
Hold the electric dispenser perpendicular (90 degrees) to the glass ceramic frit band. Dispense direct glazing adhesive in a continuous stroke. Maintain a consistent 10 mm offset from the outer glass edge, placing the start-stop overlap at the bottom center with a 20 mm diagonal taper.
Step 3: Two-Technician Vacuum Decking
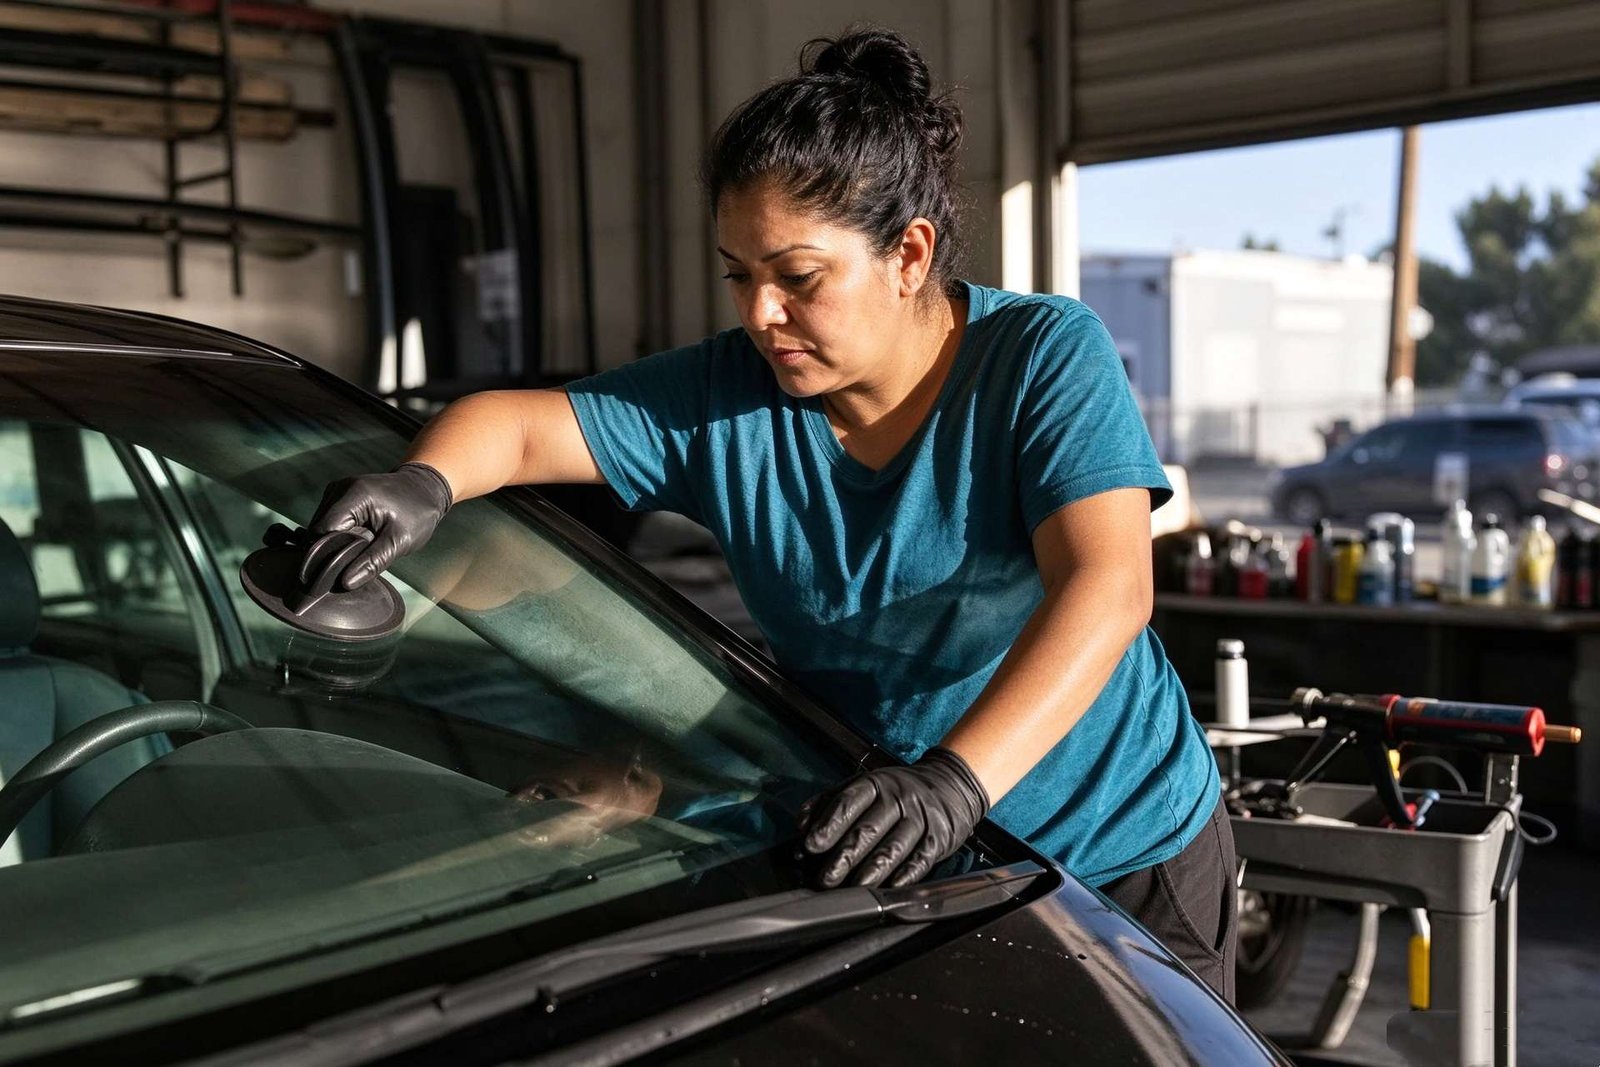
Attach calibrated pump-action vacuum lifters to the glass face. Two installers lift the windshield, aligning the lower glass edge with bottom setting blocks before swinging the upper corners into the aperture.
Step 4: Calibrated Deck Compression
Press the glass perimeter gently with open palms until the glass sits flush with adjoining rooflines. Check that the final compressed urethane thickness measures uniformly between 4 mm and 5 mm.
Step 5: Retention Taping and Window Crack
Apply heavy-duty automotive masking tape across the top corners to prevent glass slippage. Roll down one side window 25 mm; this relieves air pressure spikes when doors are closed, preventing green-state bead blowout.
Engineer’s Technical Trade-Offs: Direct Glazing Application Boundaries
Installers must balance bead volume against compression resistance and sensor calibration tolerances.
- Bead Height vs. Squeeze-Out Risk: Excessively tall beads (>16 mm) risk urethane squeezing past the ceramic frit, visibly staining interior headliner fabric.
- Open Time vs. Setting Speed: Fast-curing polyurethanes provide rapid SDAT, but contract open working times to 8 minutes, demanding prompt glass positioning.
- Cold Flow Resistance: High-modulus adhesives resist bead slump, but require high-thrust battery dispensers delivering over 3,000 N.
Frequently Asked Questions: Direct Glazing Installation
Why is a triangular bead required instead of a round bead for windshield replacement?
A triangular bead features a sharp apex that contacts glass at a single point, spreading outward smoothly to evacuate air. Round beads contact glass along two tangential sides, trapping air pockets that create wind whistles and water leaks.
Should the adhesive bead be applied to the glass or to the vehicle pinchweld?
OEM vehicle manufacturers recommend applying the bead directly to the glass ceramic frit band. This ensures consistent distance from the glass edge and prevents accidental adhesive dripping onto interior dashboard trims.
Why should a side door window be left open after windshield installation?
Closing vehicle doors creates an instantaneous positive air pressure spike inside the cabin. If windows are sealed, this pressure spike can blow a hole through the uncured urethane bead, causing permanent water and air leaks.
Engineering Summary: Structural Excellence in Every Bead
Direct glazing is an exact structural engineering discipline. By executing calibrated triangular V-notch dispensing, respecting open times, and enforcing uniform deck compression, workshops eliminate leak liabilities and ensure total passenger crash protection.
Authored by ChemPU Automotive Application Engineering Team
Specializing in OEM direct-glazing polyurethane formulation, crash-retention validation per FMVSS 212 standards, and high-performance structural elastomeric bonding solutions for global automotive manufacturers.
Quality Certification: ISO 9001 / IATF 16949 Certified Adhesive Manufacturing
Source Certified OEM Direct Glazing Polyurethane Adhesives
Partner with ChemPU, an ISO 9001 and IATF 16949 certified Chinese manufacturer. We provide high-modulus polyurethane direct glazing adhesives, pre-cut V-notch nozzles, and private label cartridges for international distributors and fleet repair networks.
Direct WhatsApp Technical Inquiry: +86 15216655520

